
Blog
- Updated on Sat, 05 Aug 2023 by John Allen
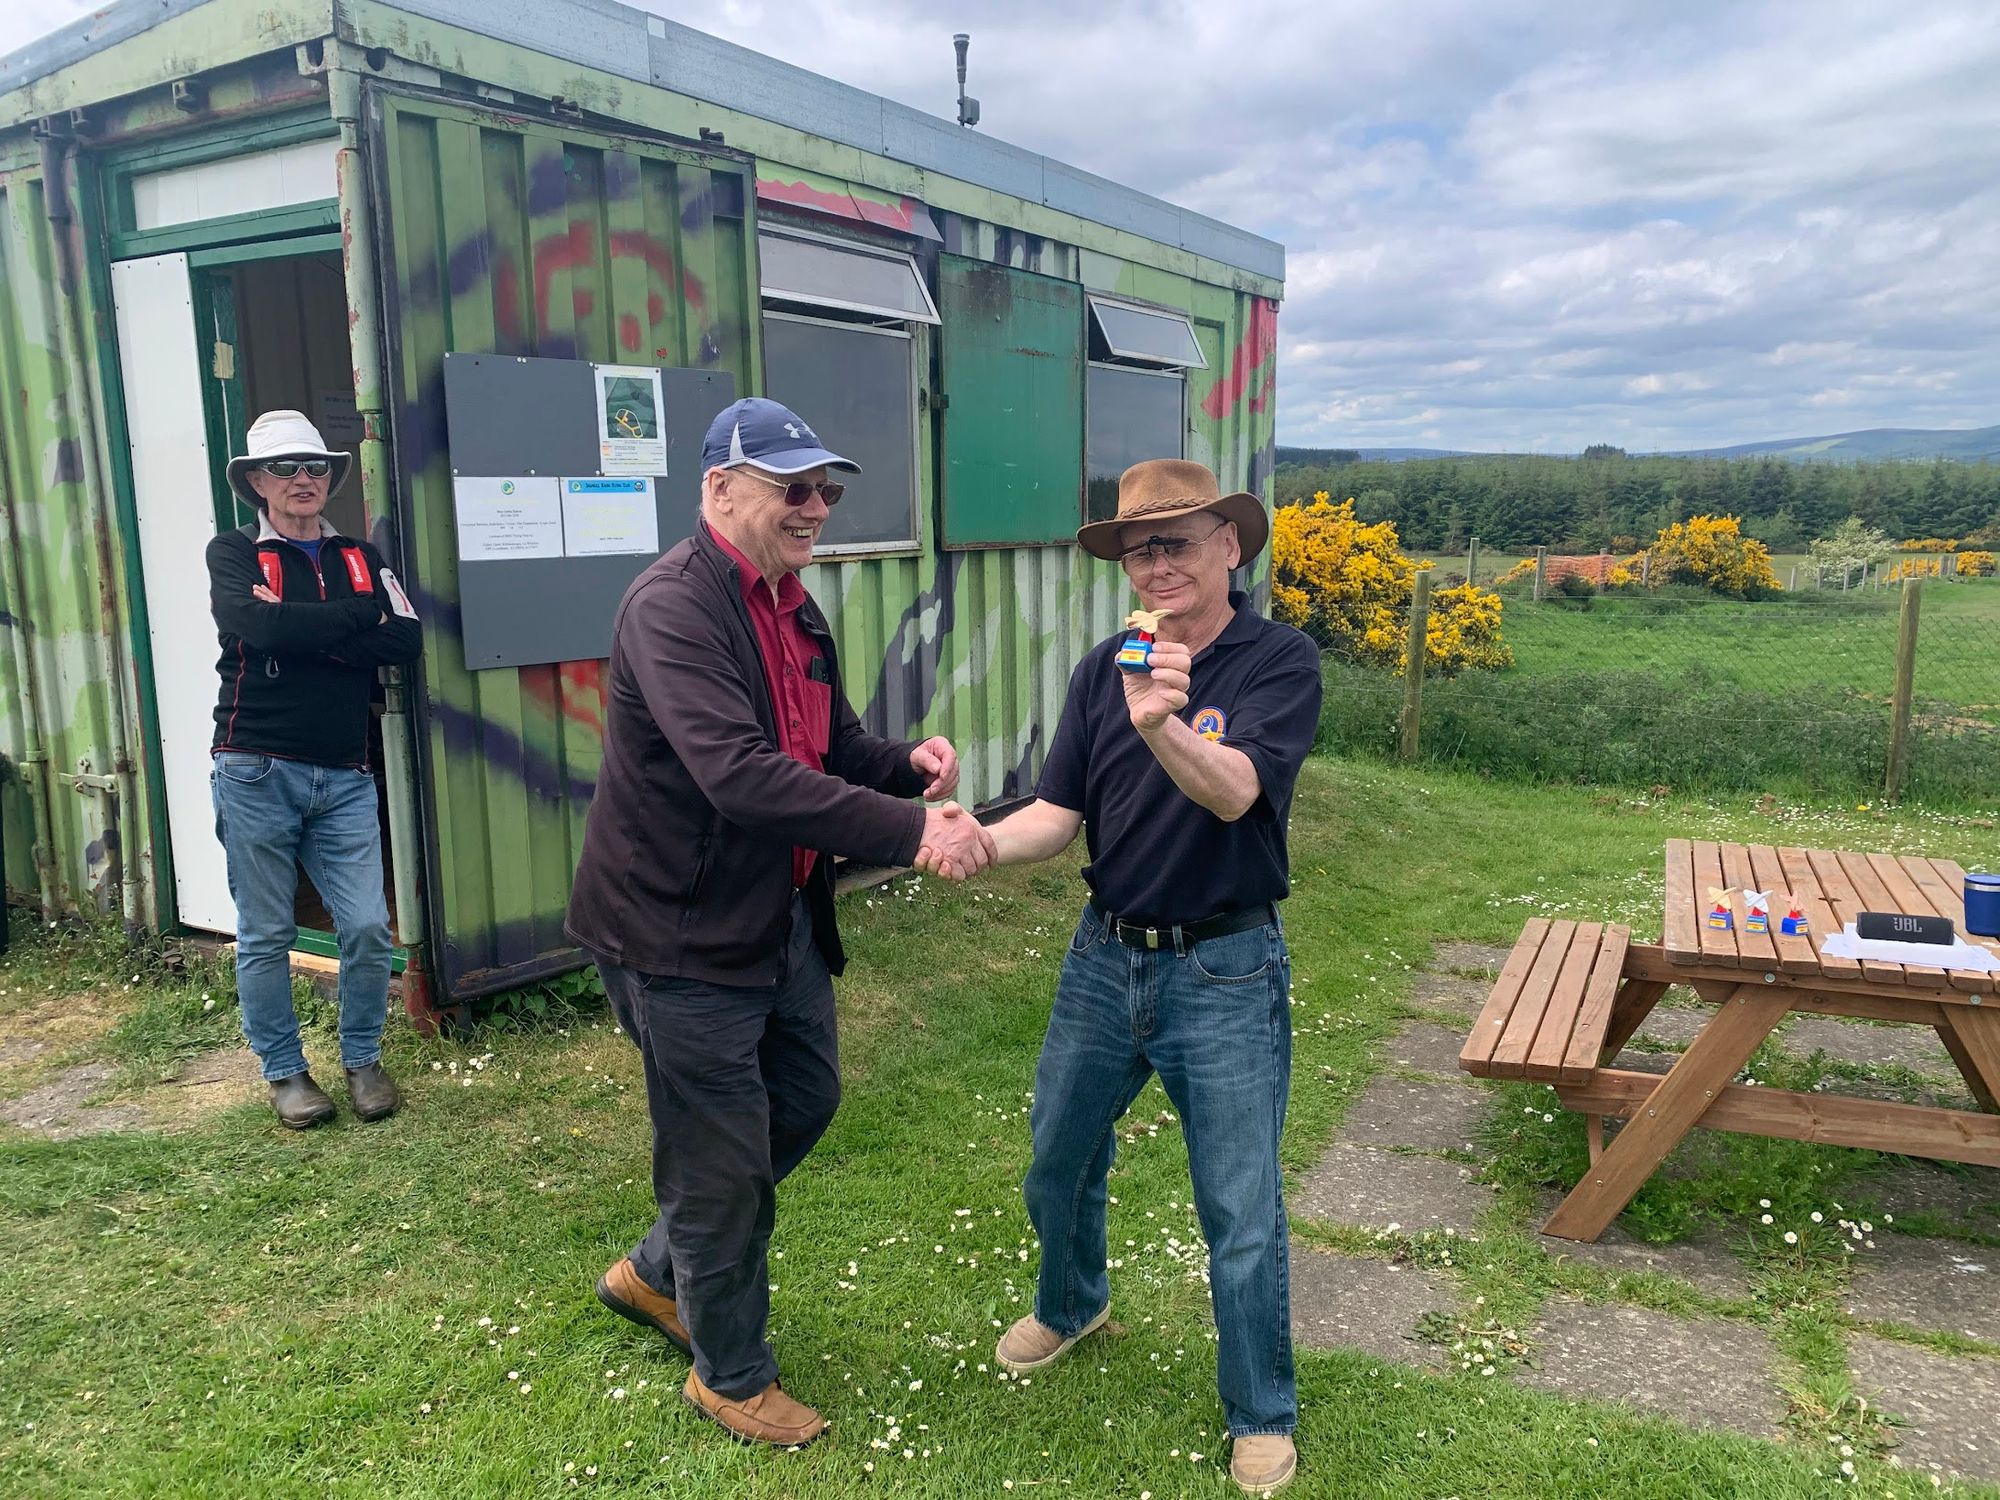
Advanced
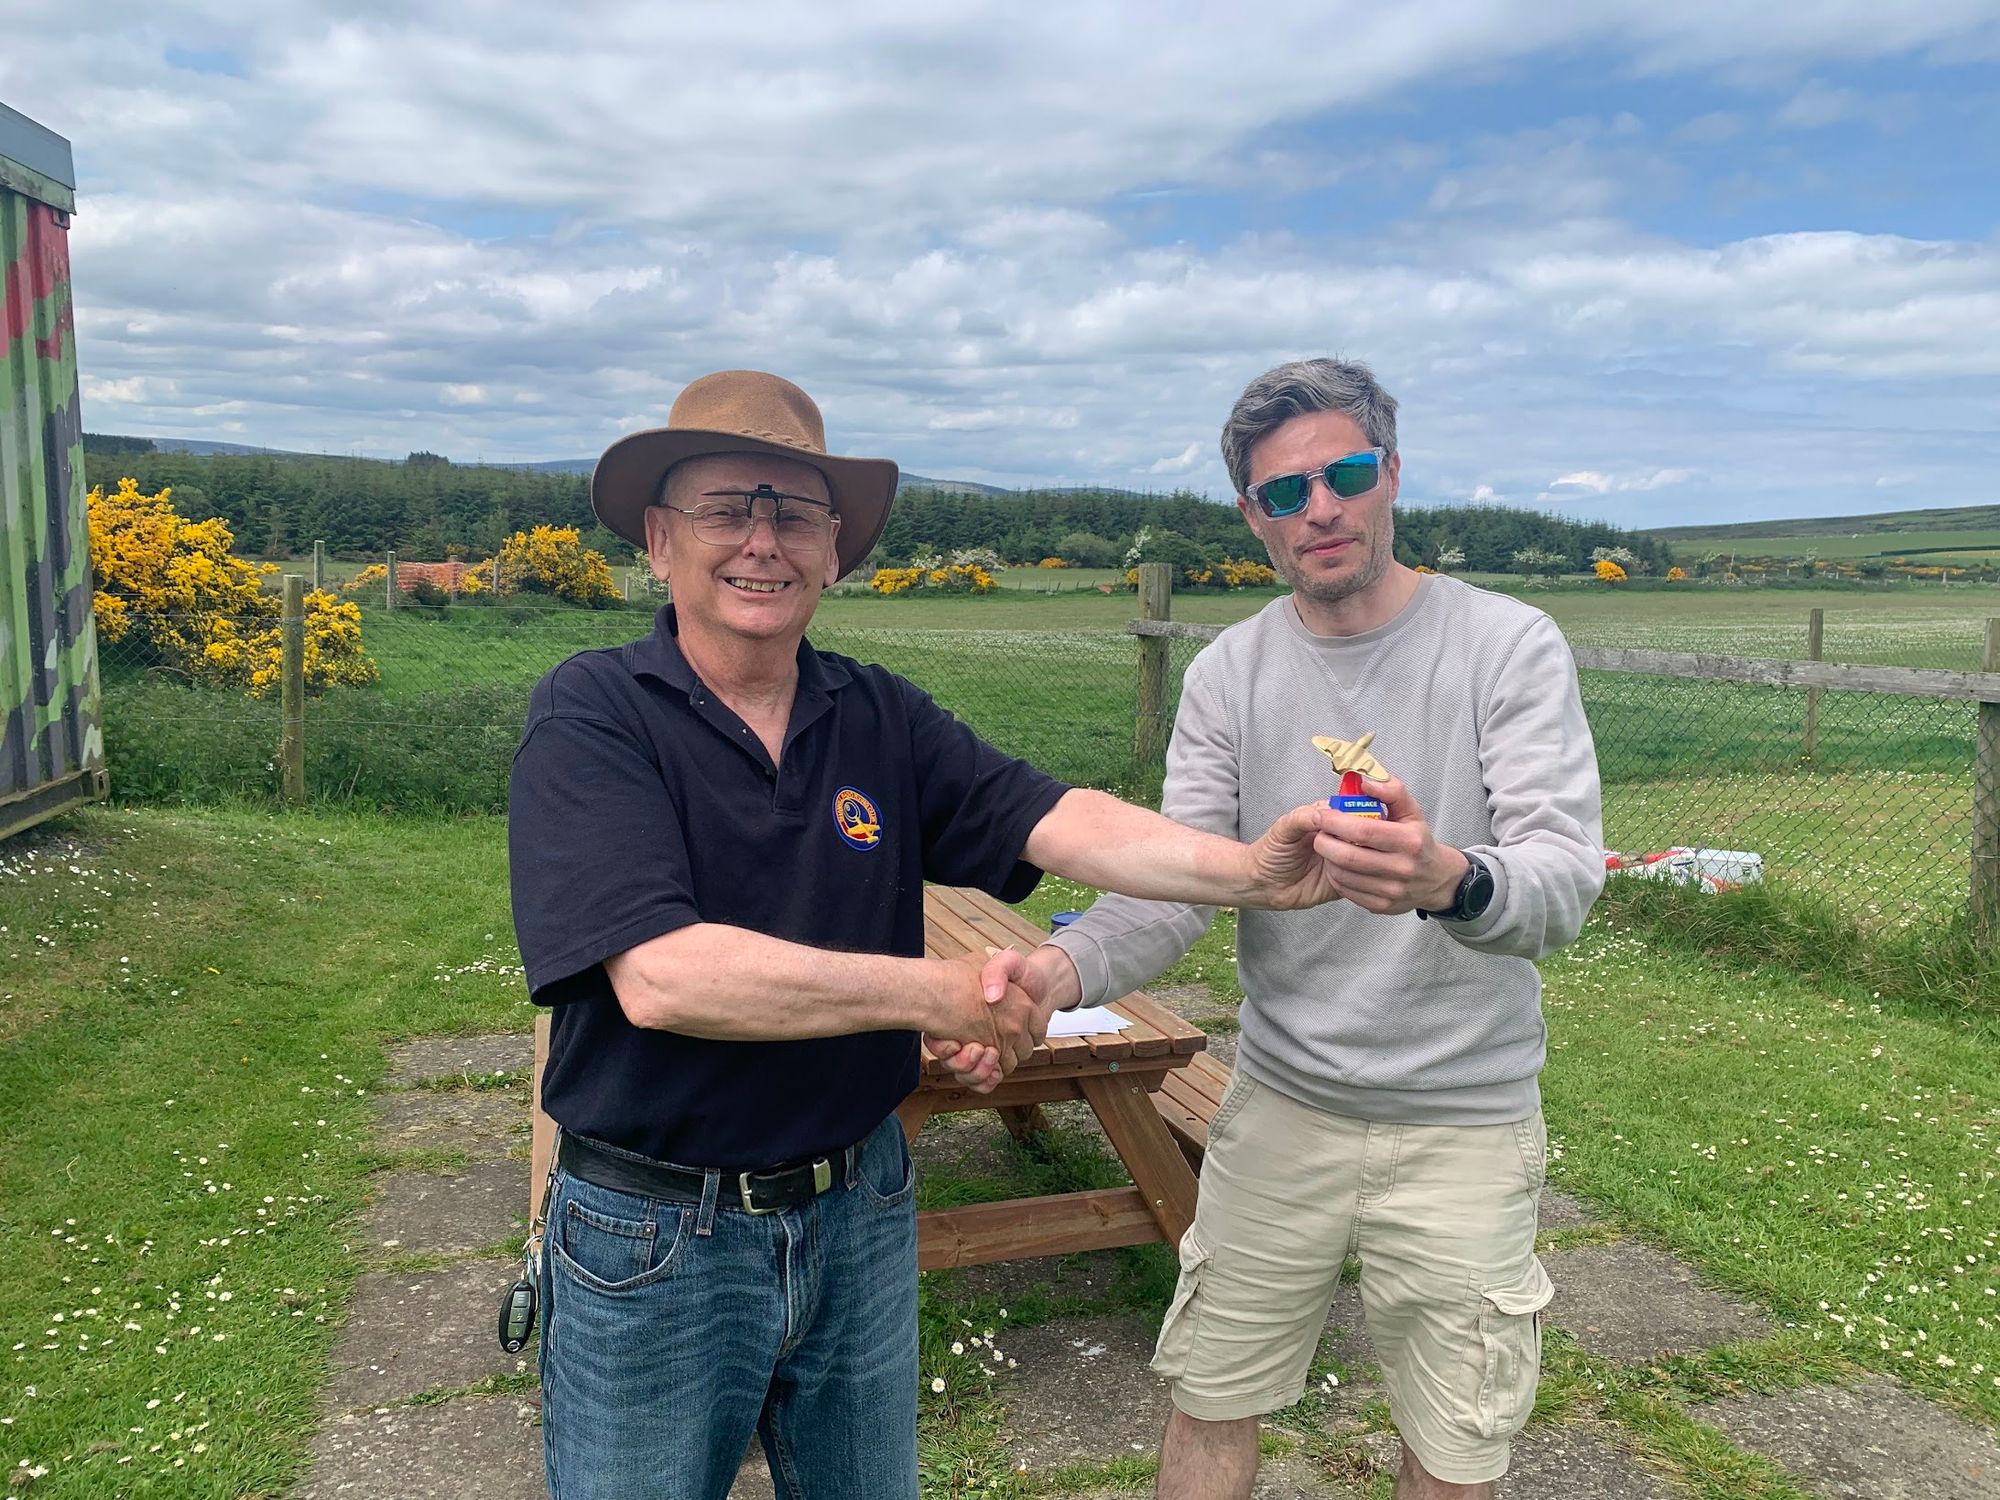
1st Place - Barry Waugh 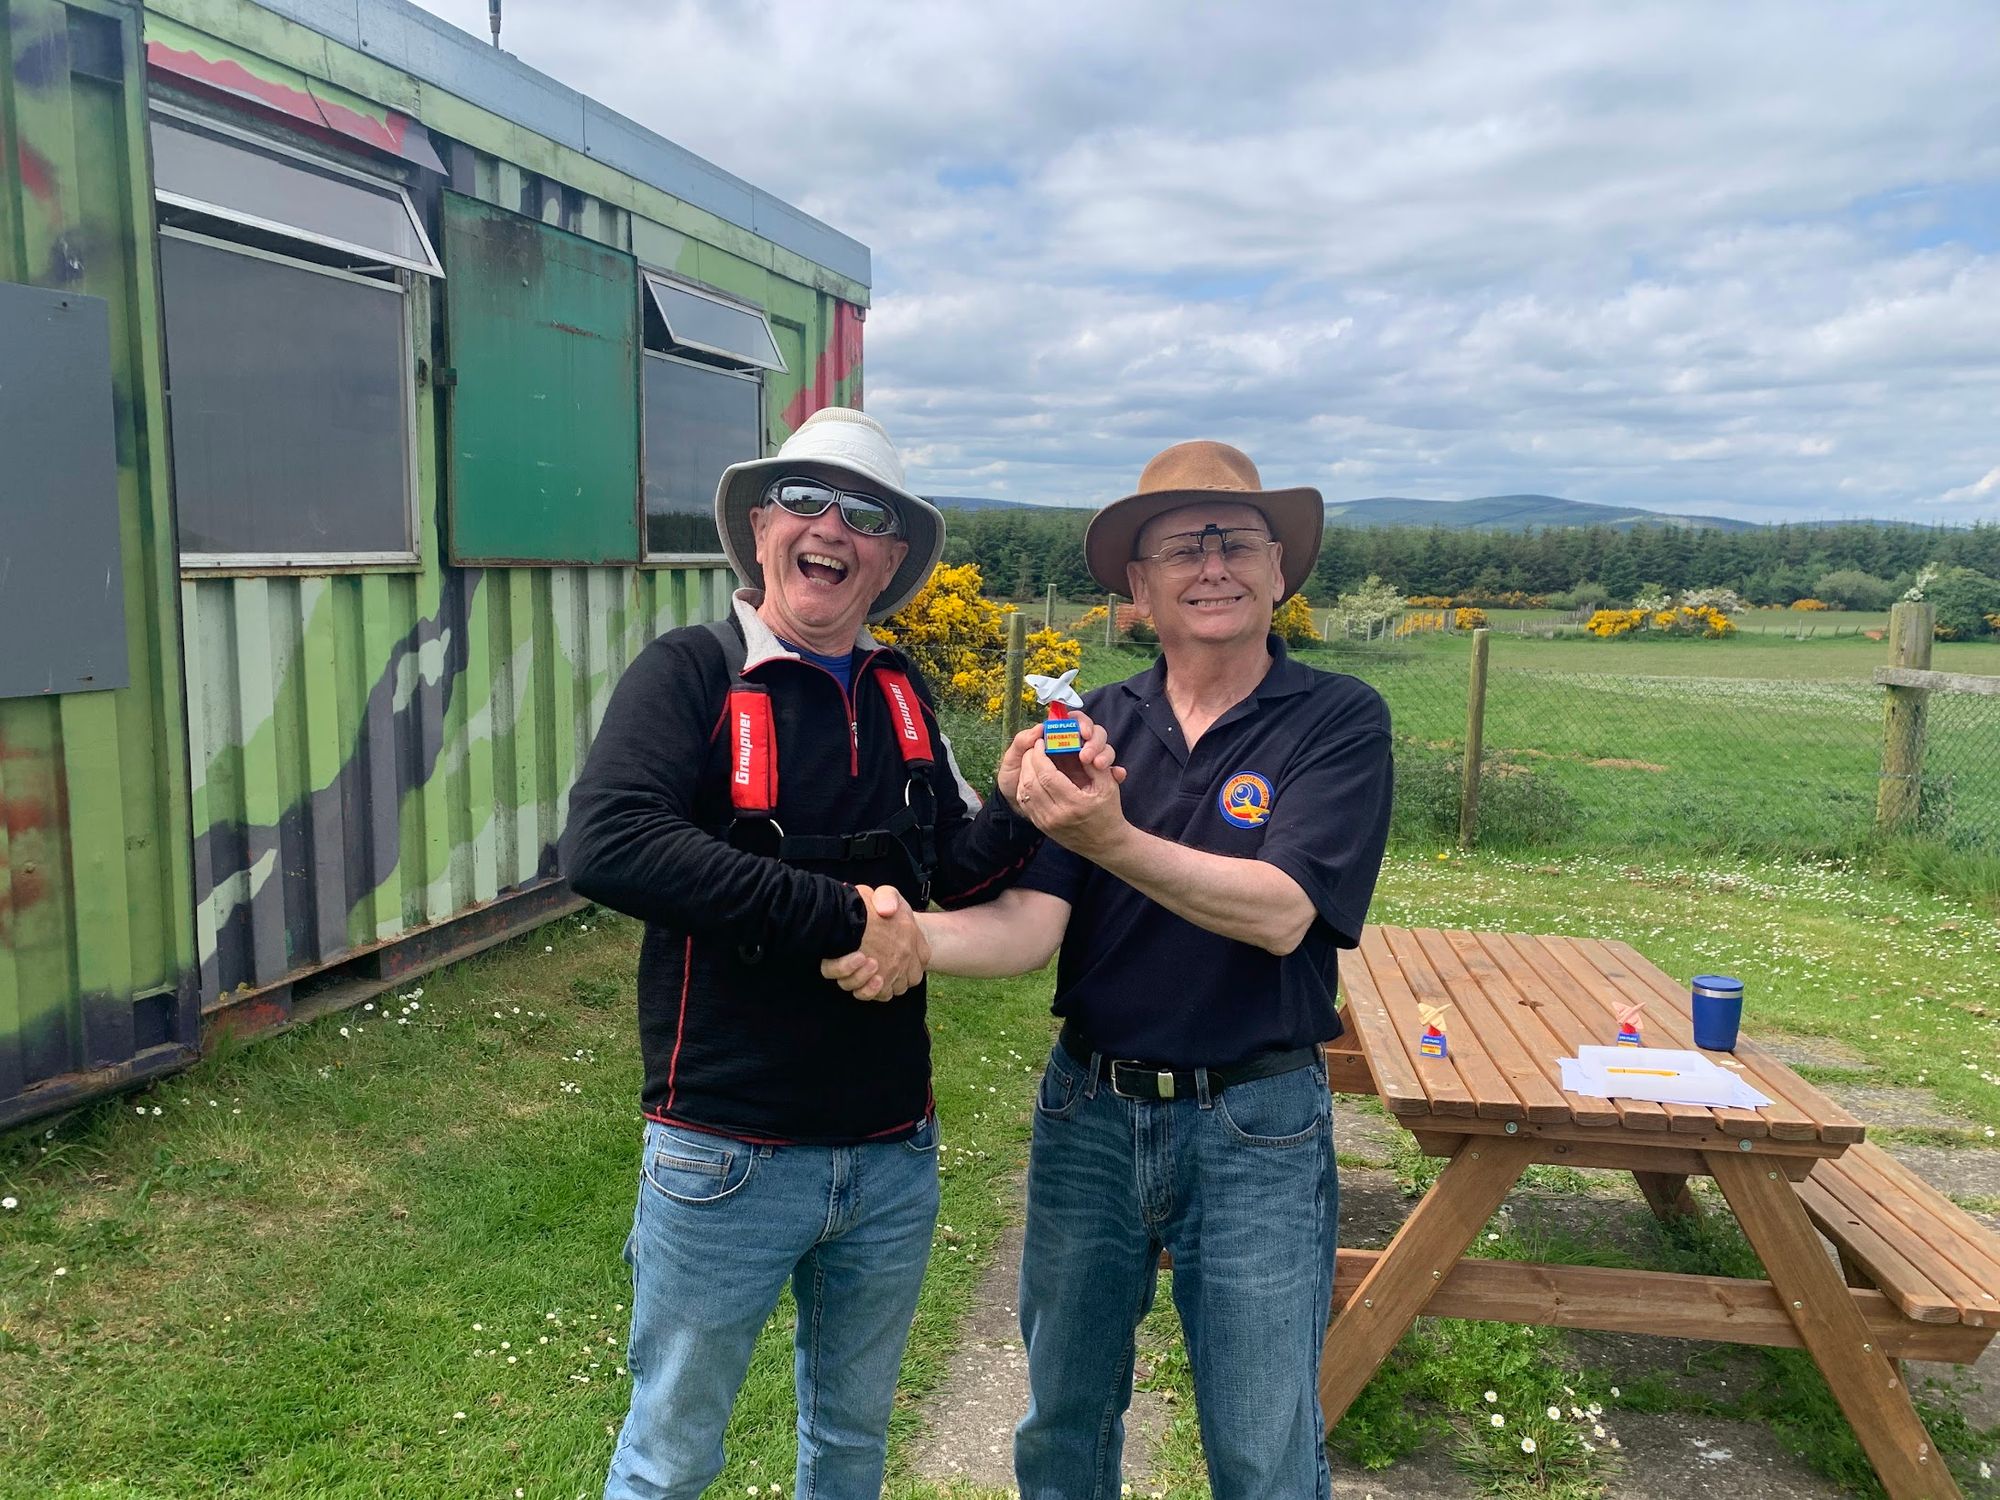
2nd Place - Neil Agnew 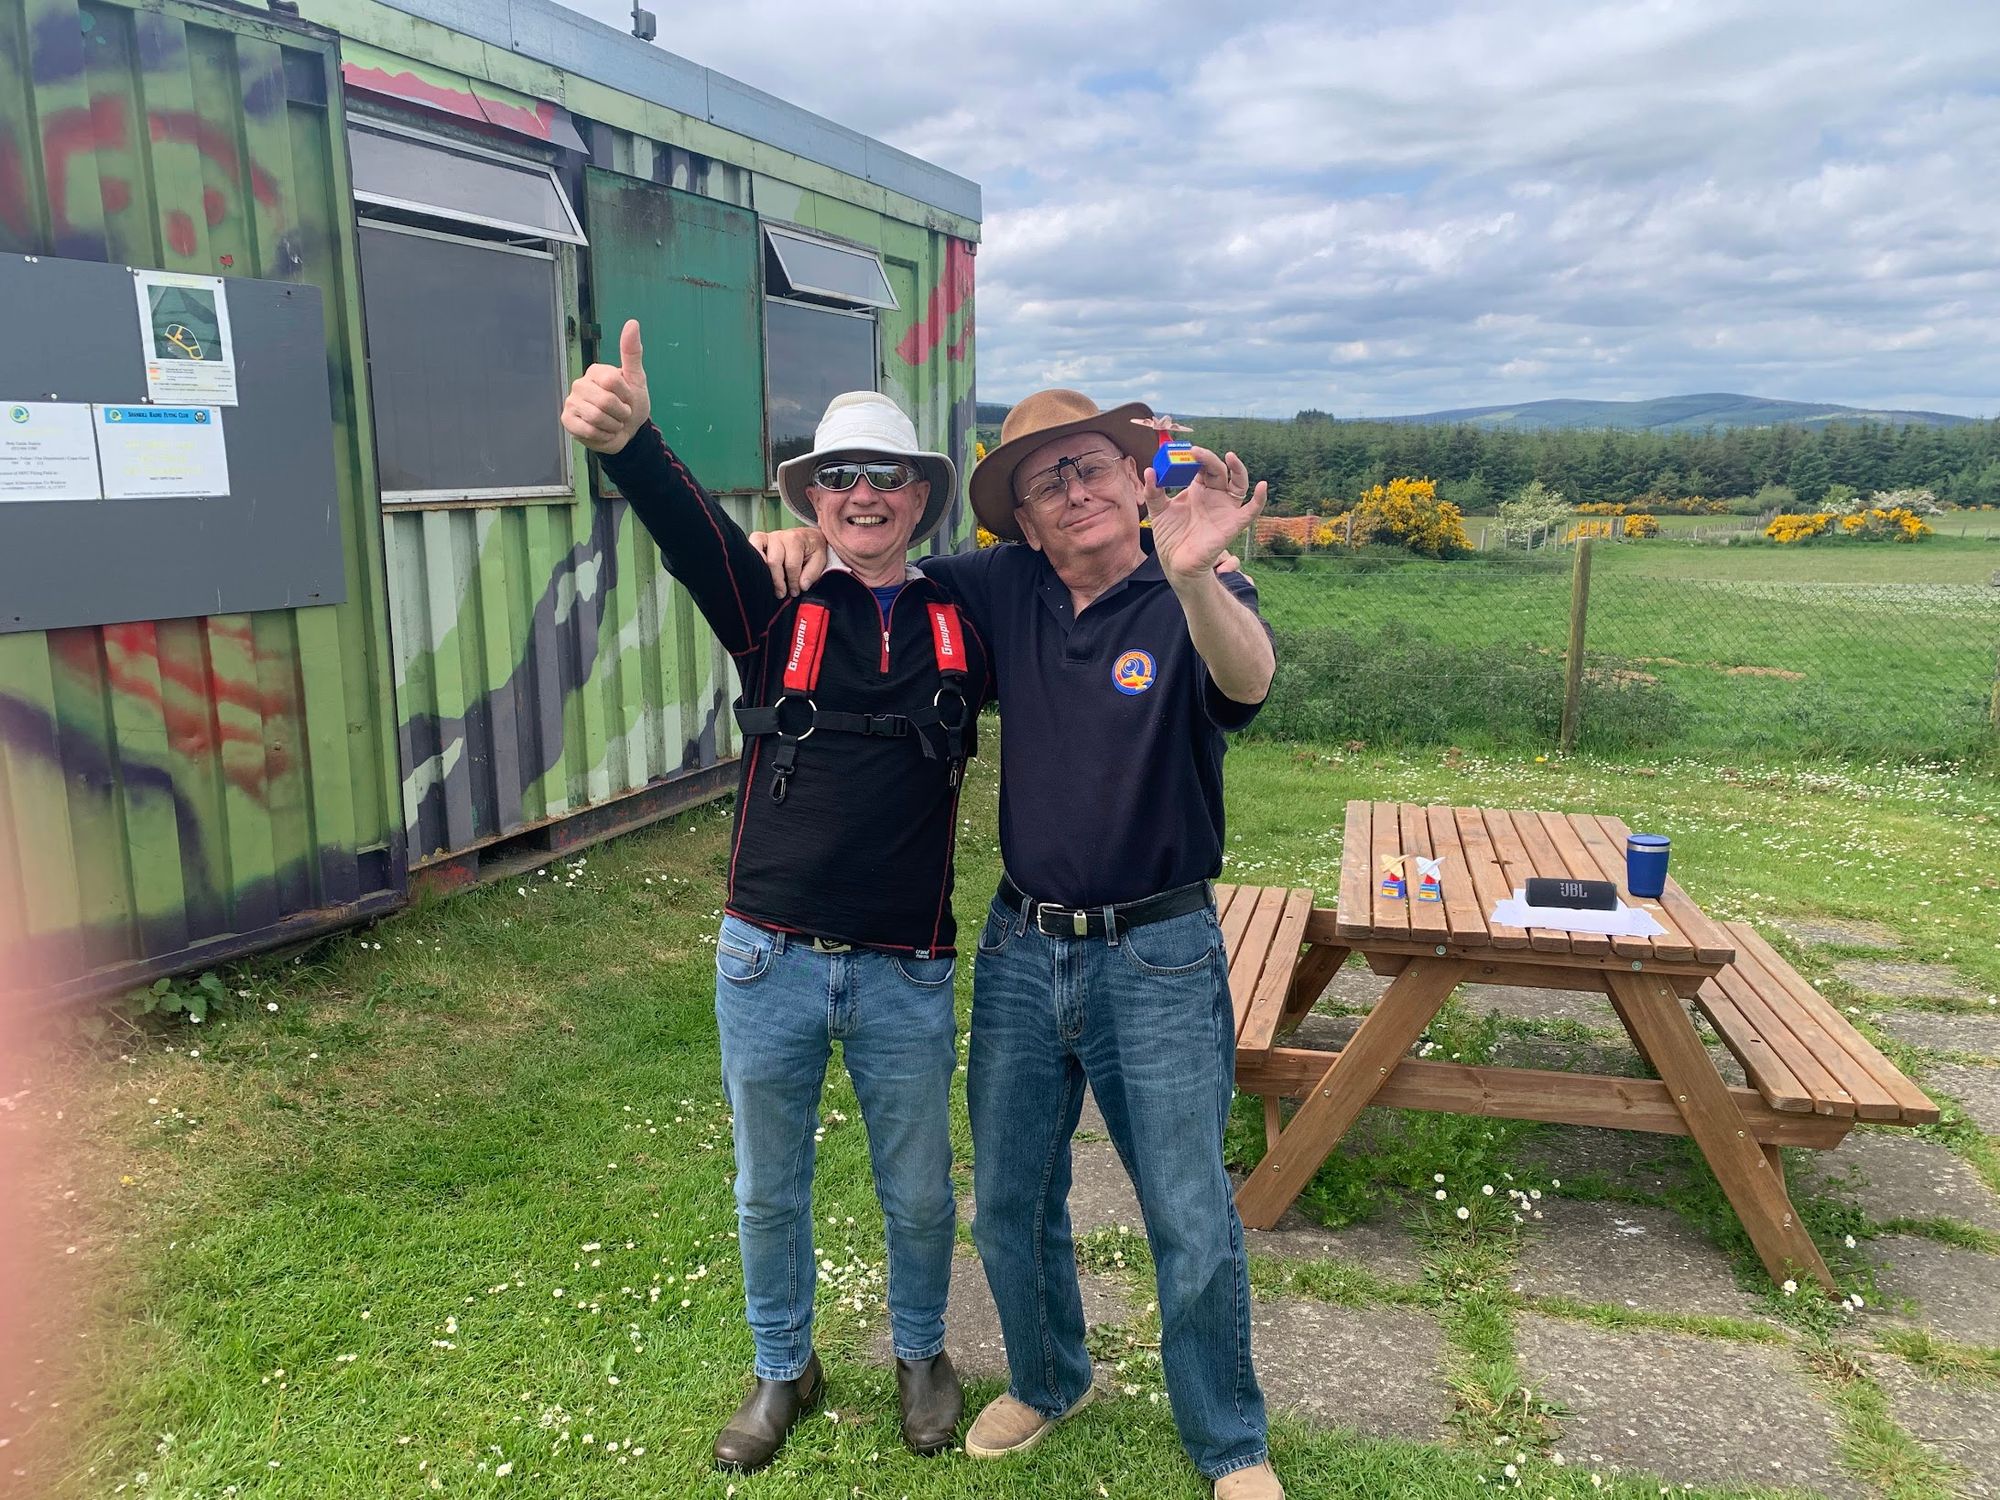
3rd Place - Bob Finley Novice Class
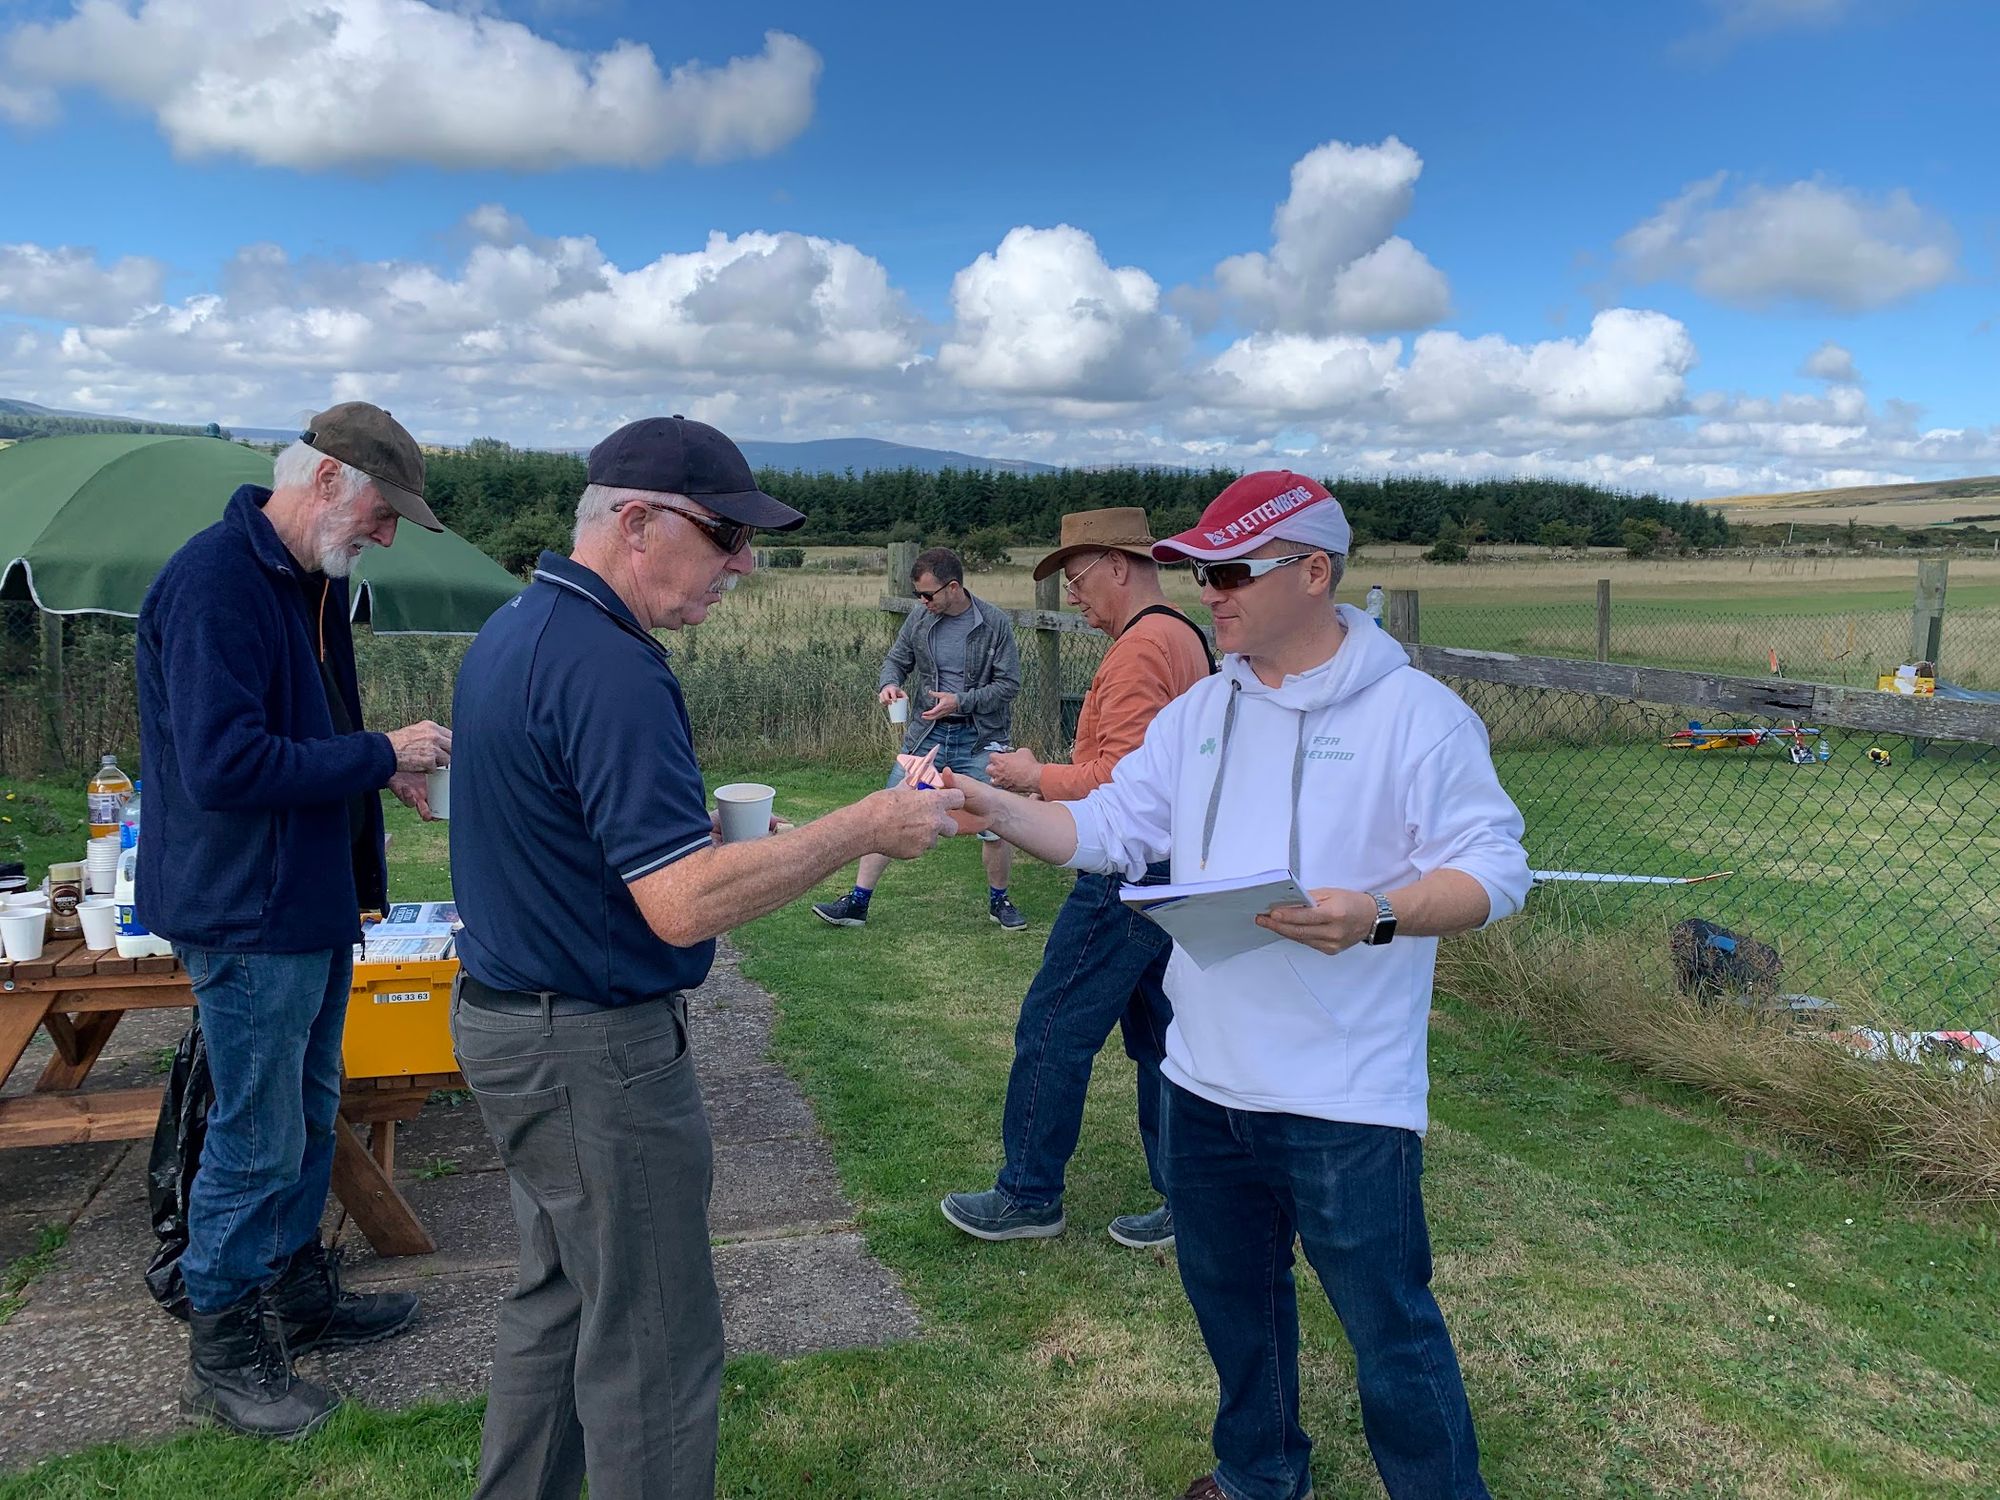
1st Place - Colin Block Fun-fly August 2022
- Updated on Sun, 11 Sep 2022 by John Allen
Competition results
6th Place, Terry Heffernan 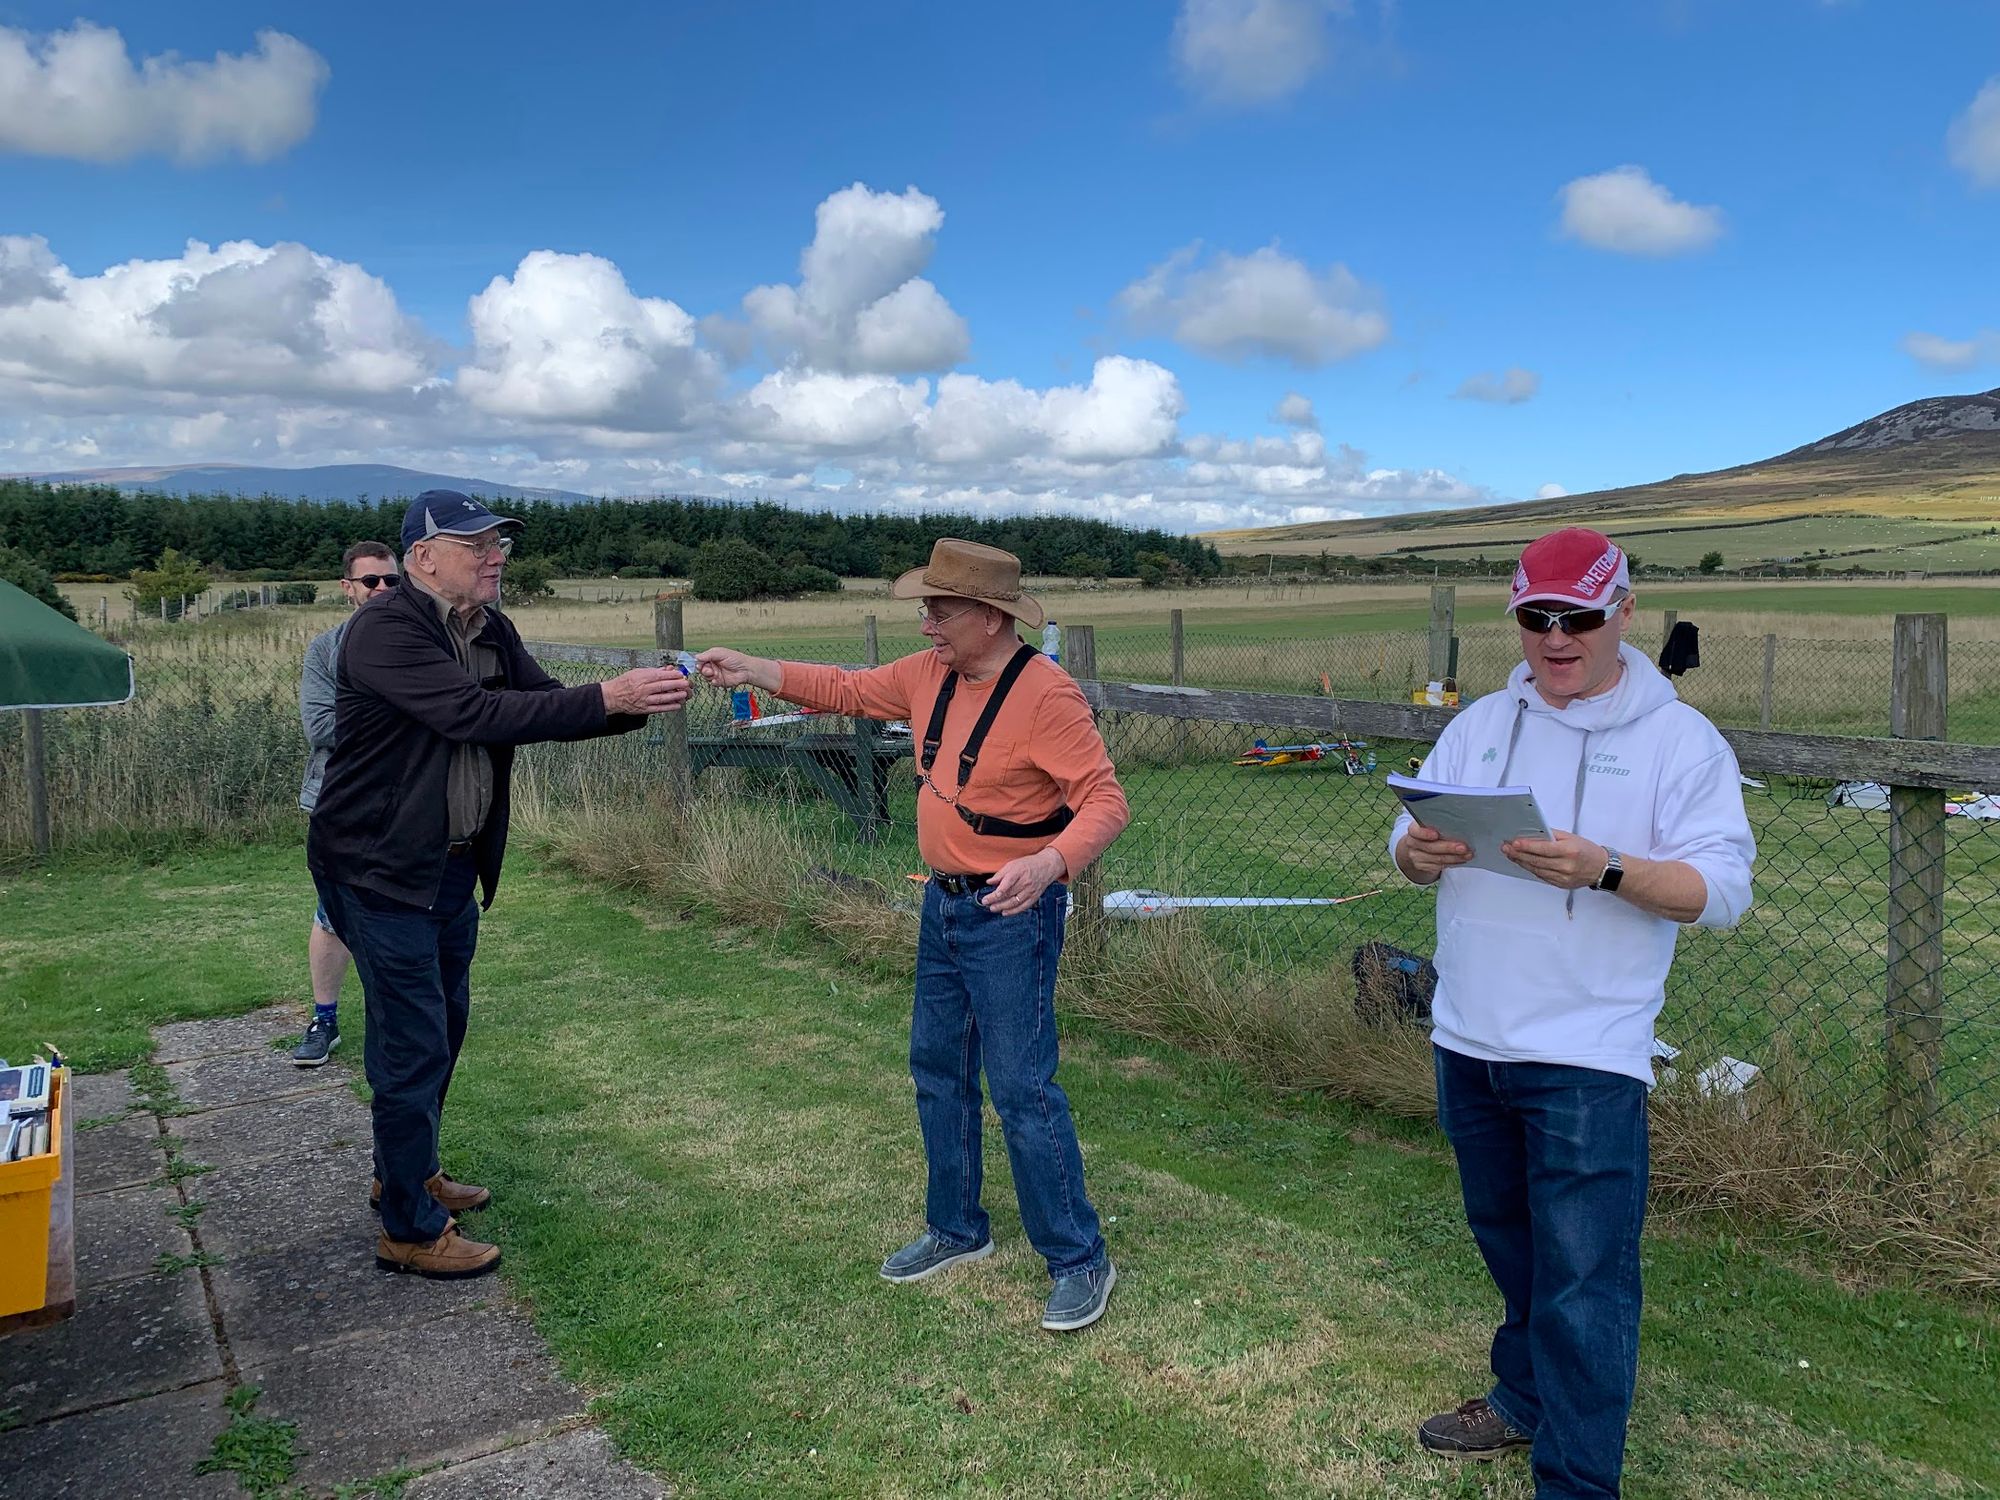
5th Place, Colin Block 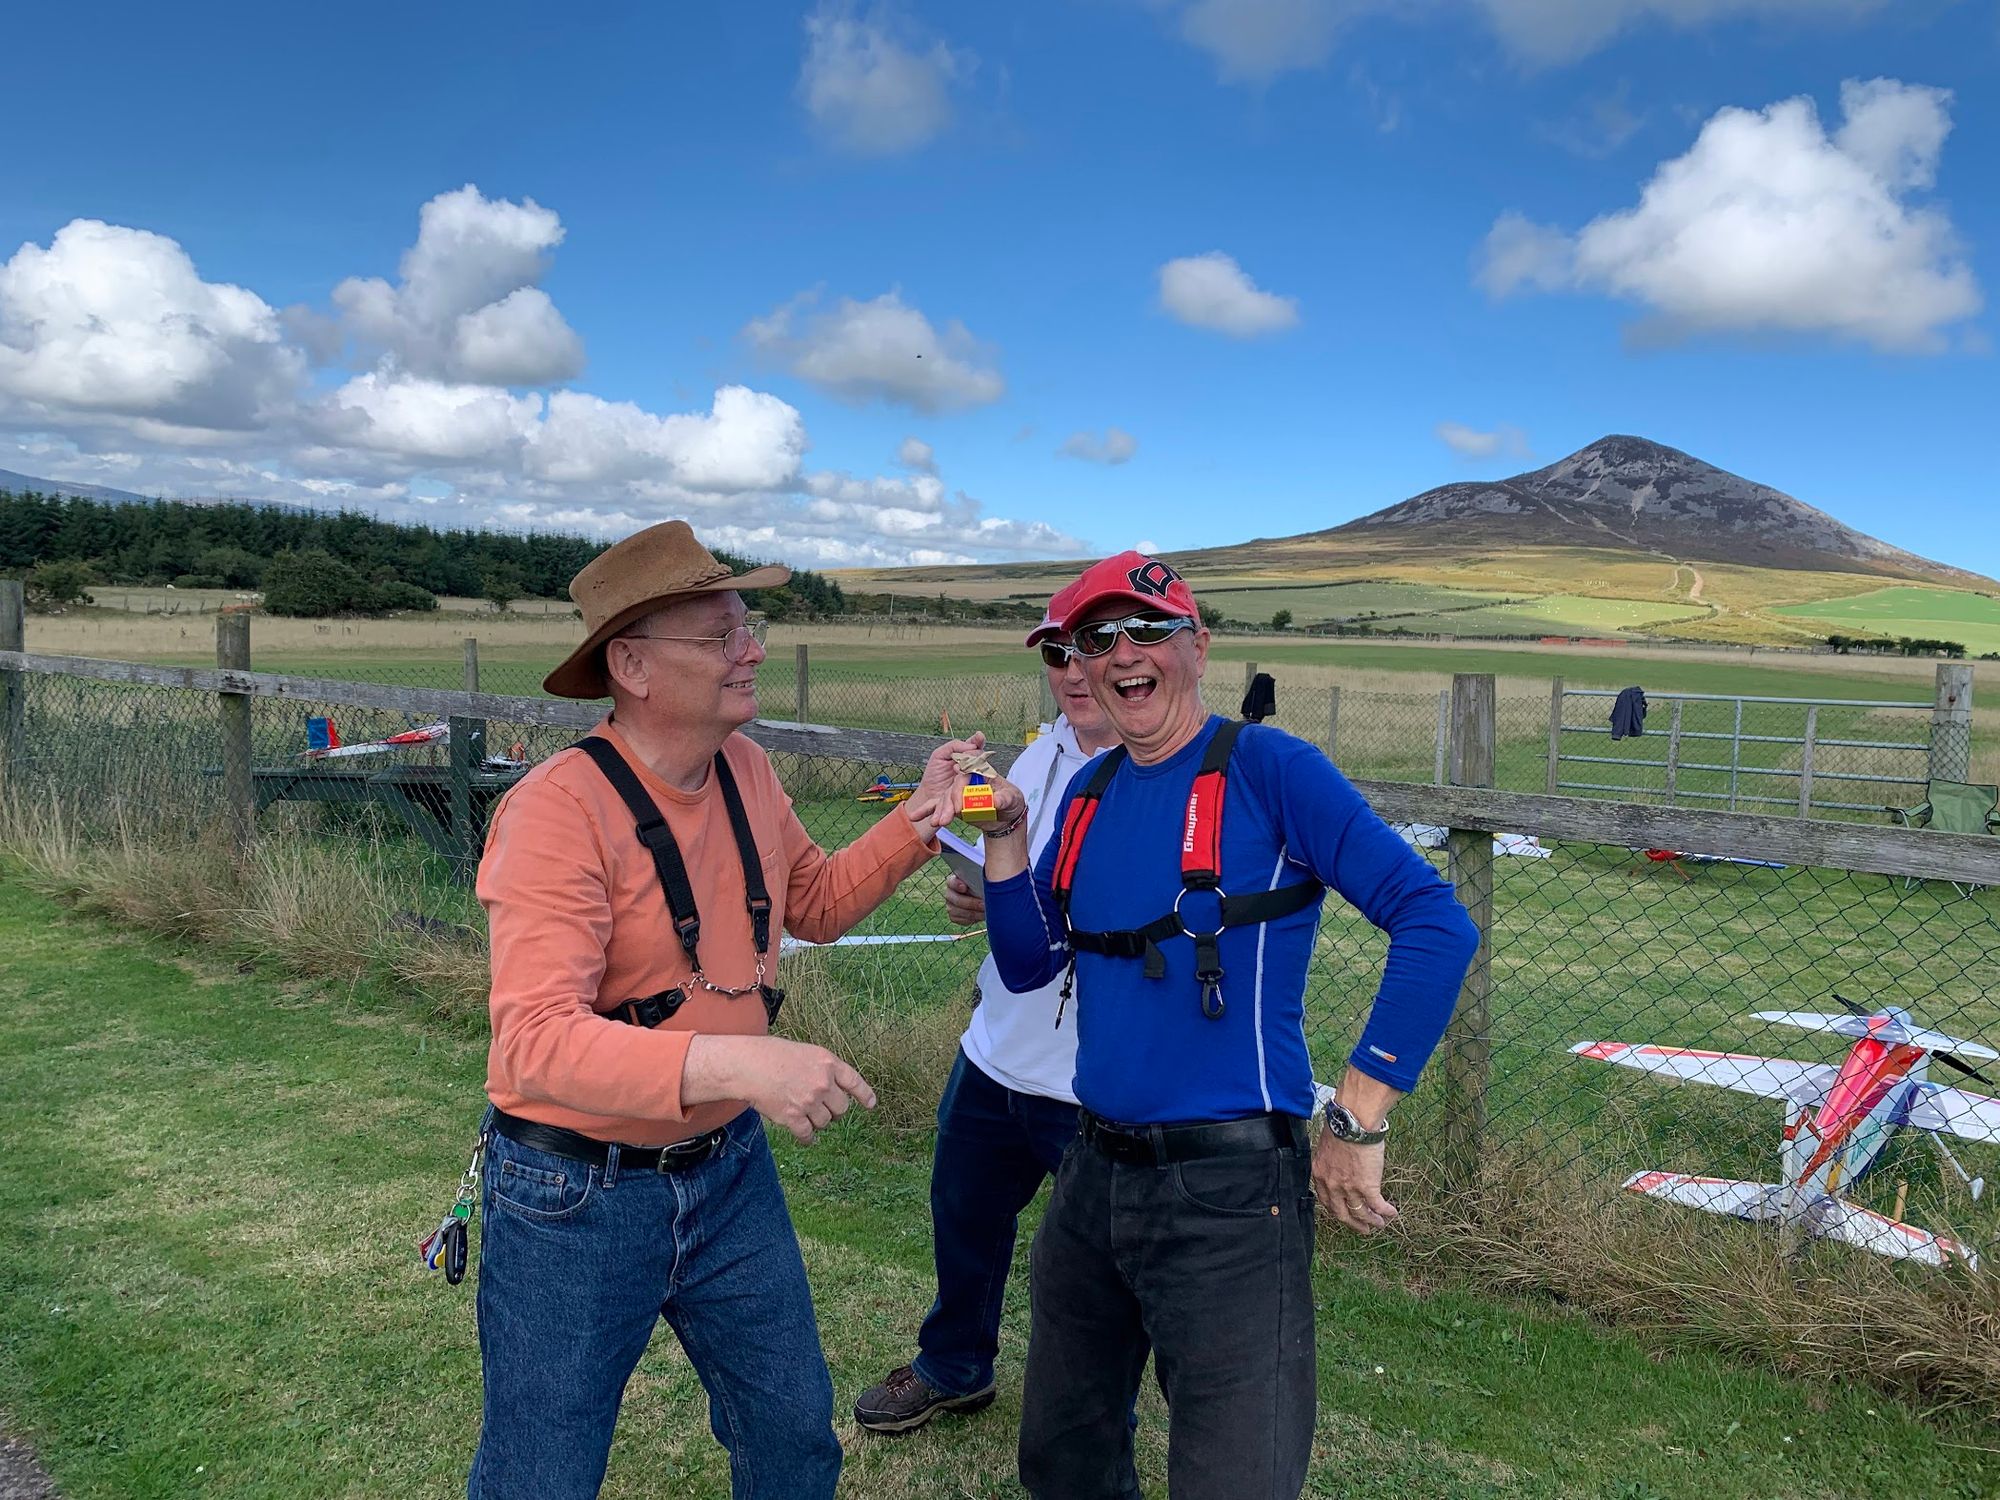
4th Place, Neil Agnew 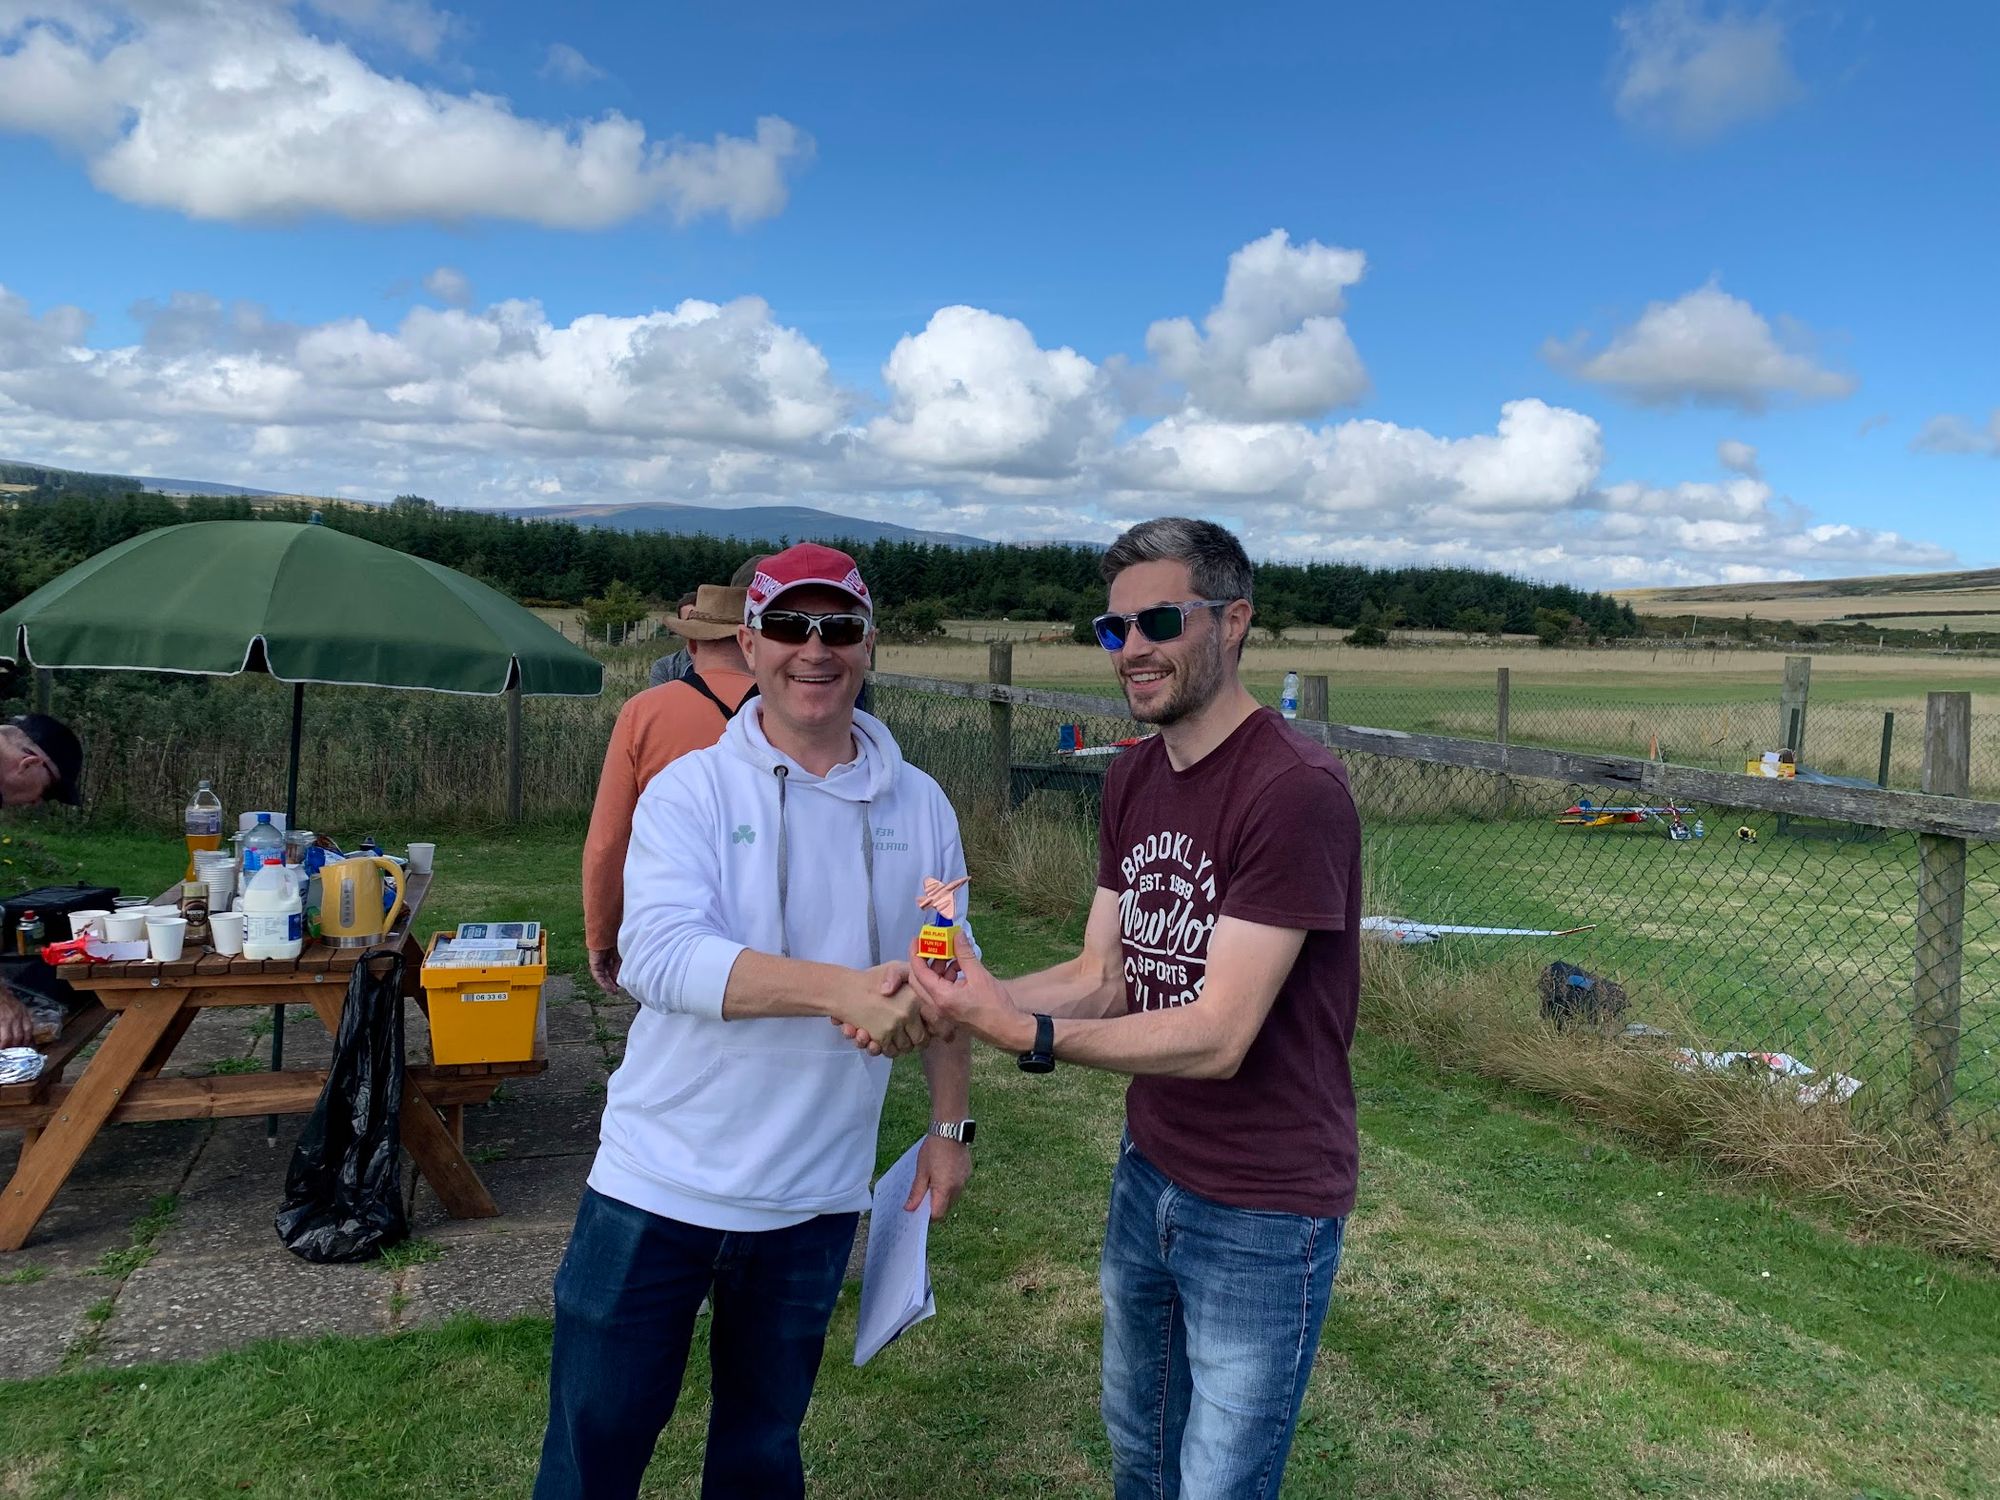
3rd Place, Barry Waugh 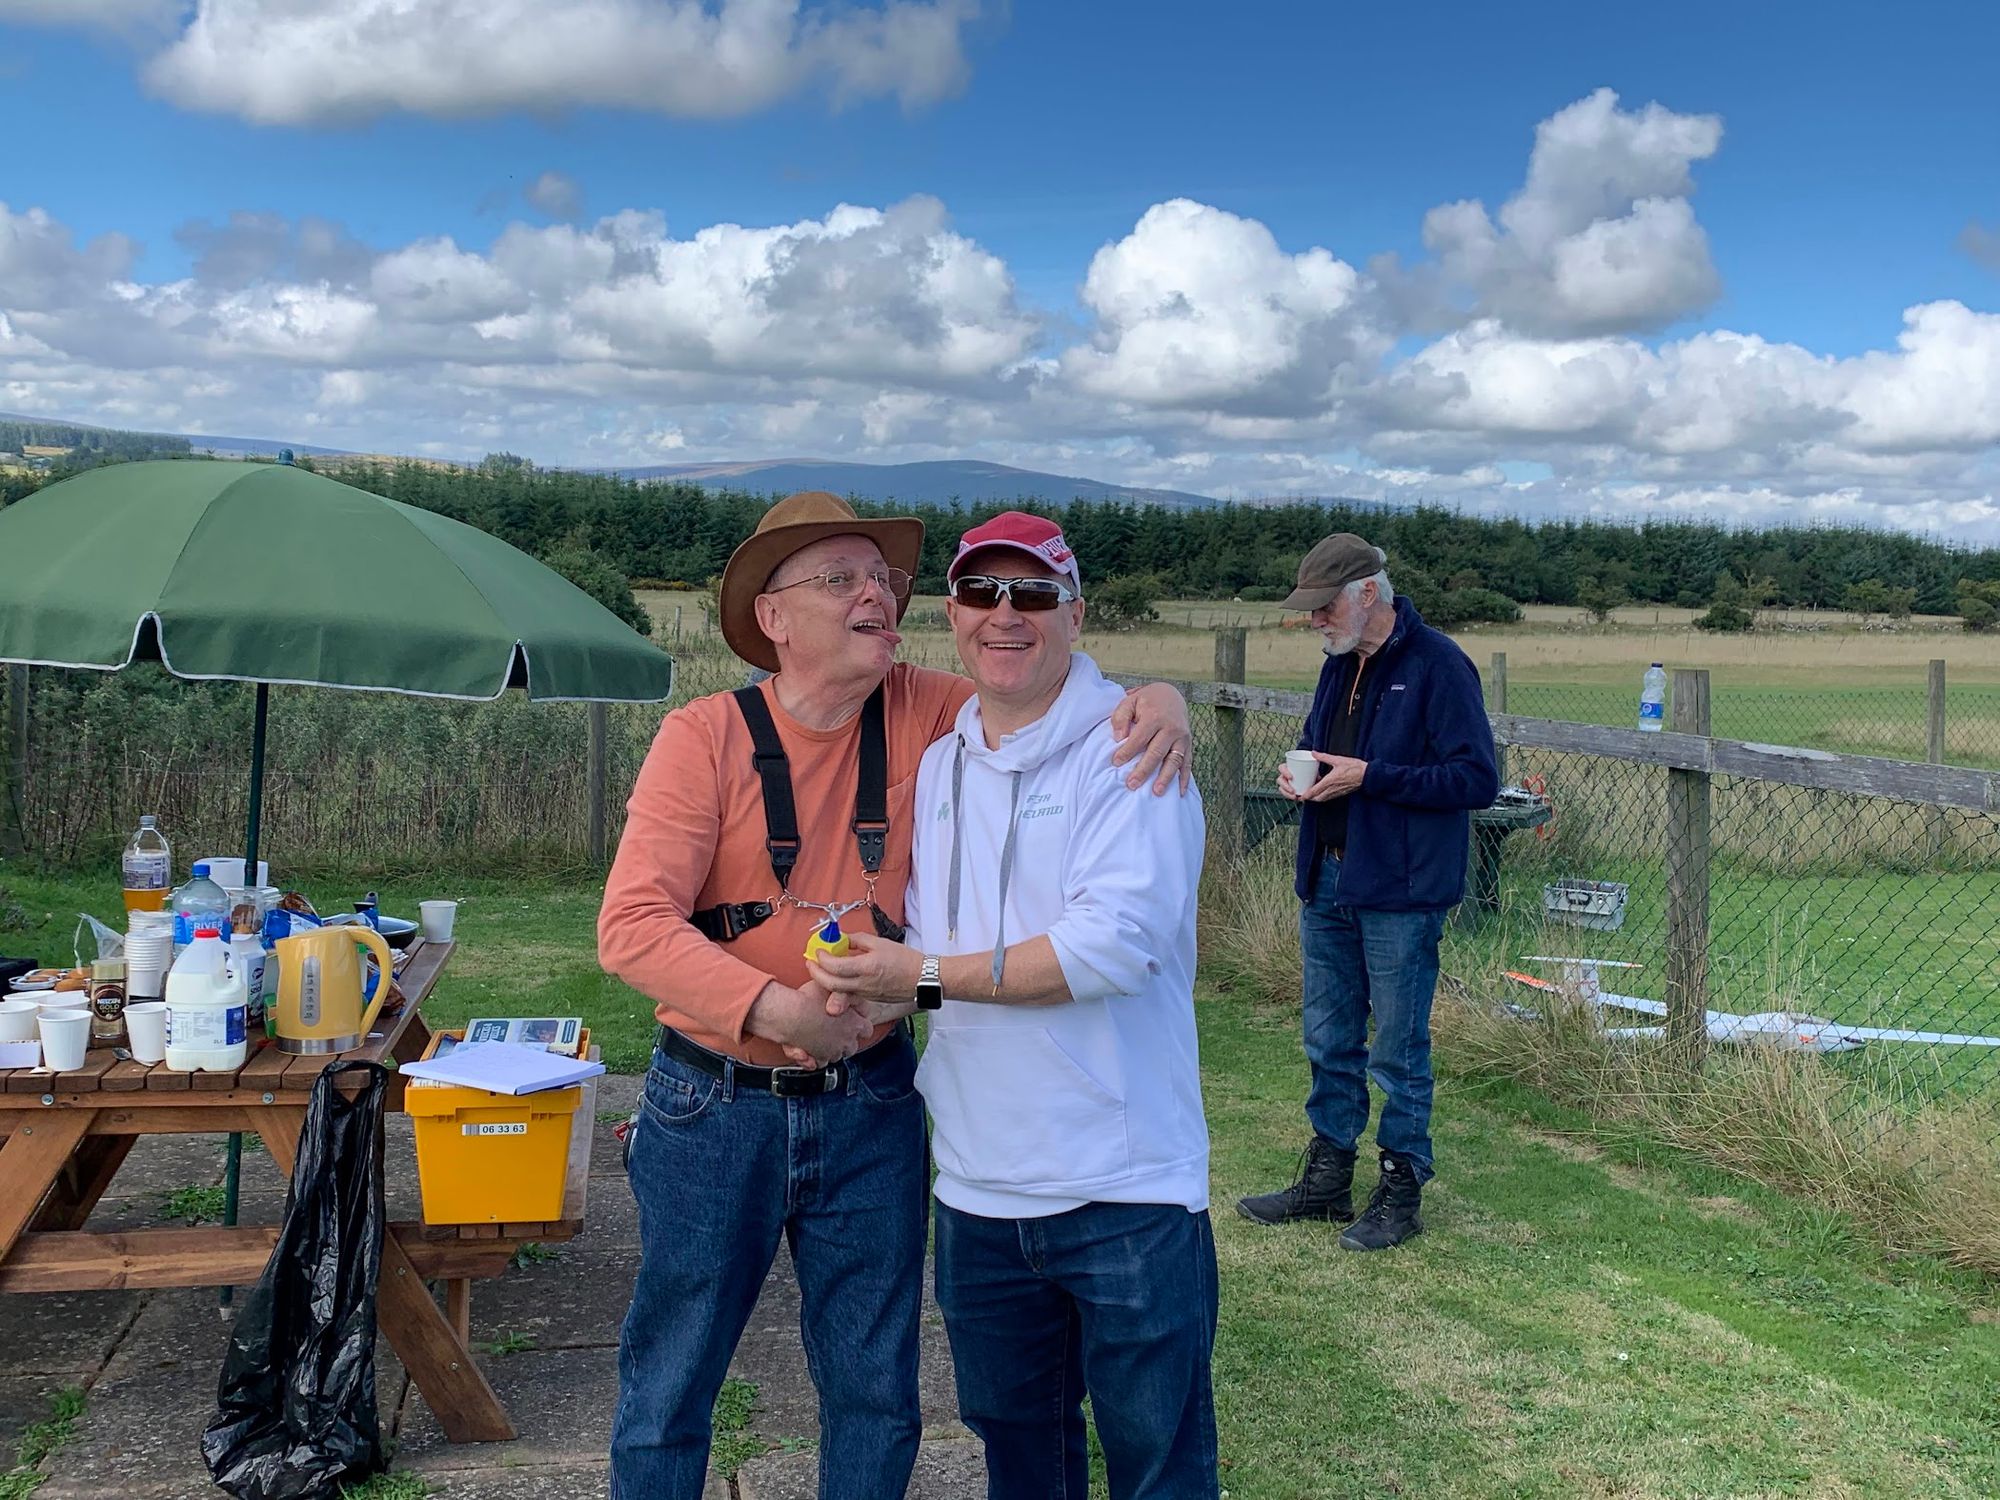
2nd Place, Bob Finley 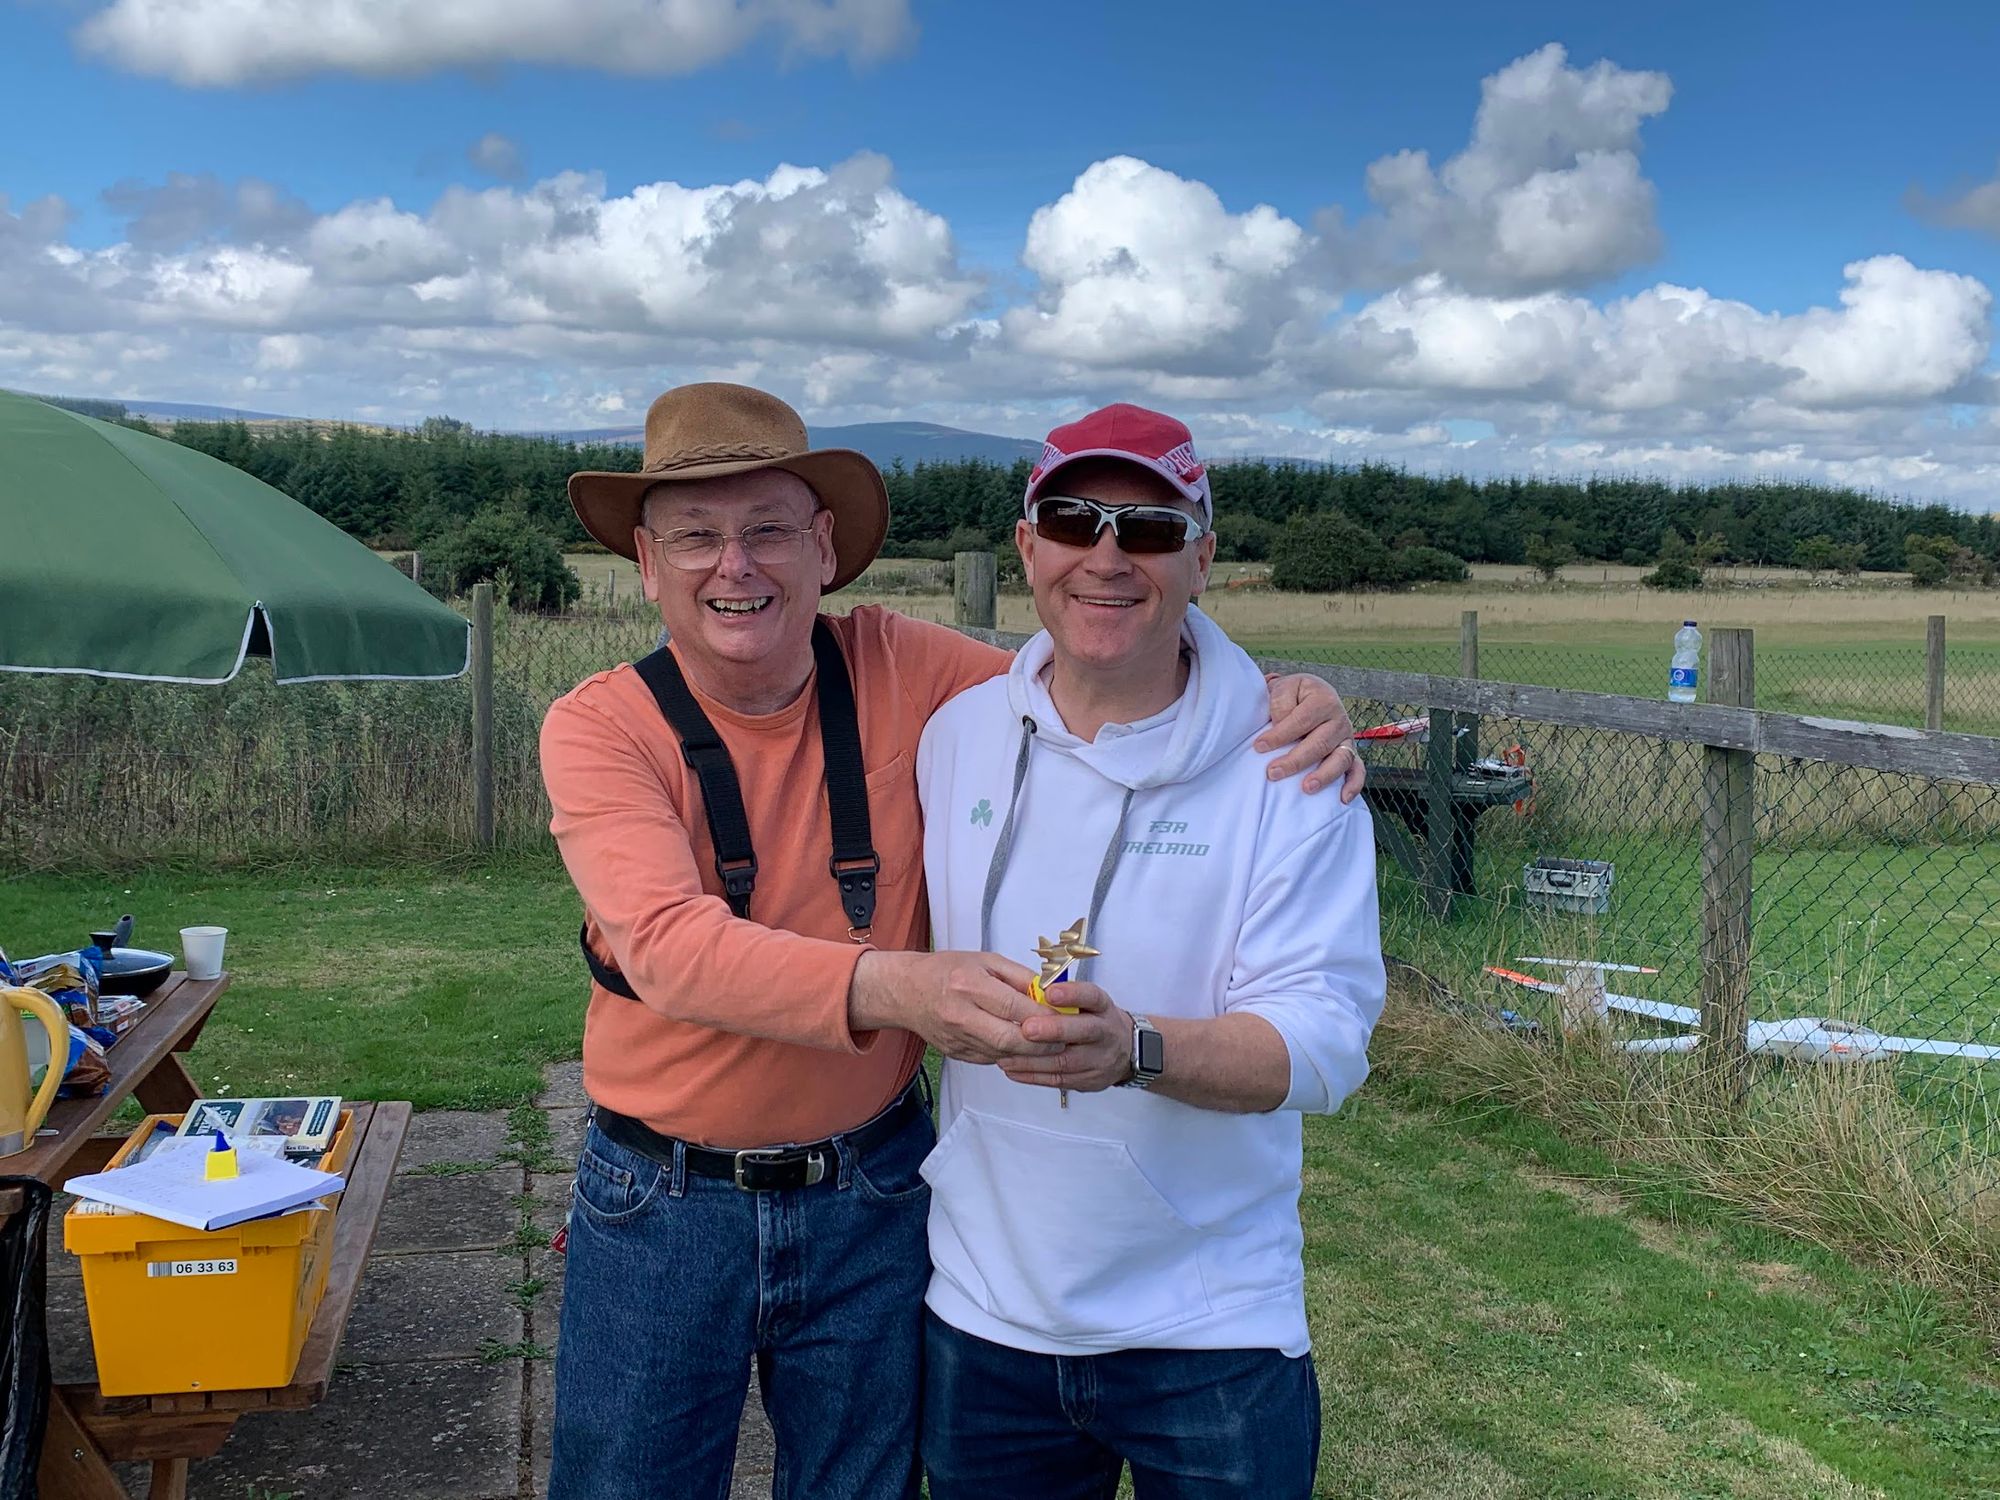
1st Place, Conor Buckley Wireless buddy box
- Updated on Sat, 11 Jun 2022 by John Allen
This is a description of how to setup a wireless buddy box connection to various trainee transmitters using a FrSky transmitter (ACCST D16).The wireless buddy box is connected to the trainees transmitter using a standard mono jack plug (or other supported connectors), and the trainee uses the trainers transmitter as the slave, this has the advatage that all trimming is being done on the trainees own transmitter.
Bear in mind that the buddy lead concept is to connect the aileron, elevator, throttle, rudder signals from the Slave Tx to the Master when the Master slave switch is operated. These four control channels are combined into a single channel using CPPM (continuous pulse position modulation) in a buddy lead.
FrSky R-XSR and standard X4R can output CPPM signals, I used an R-XSR due ot it's small size and ease of switching to CPPM mode.
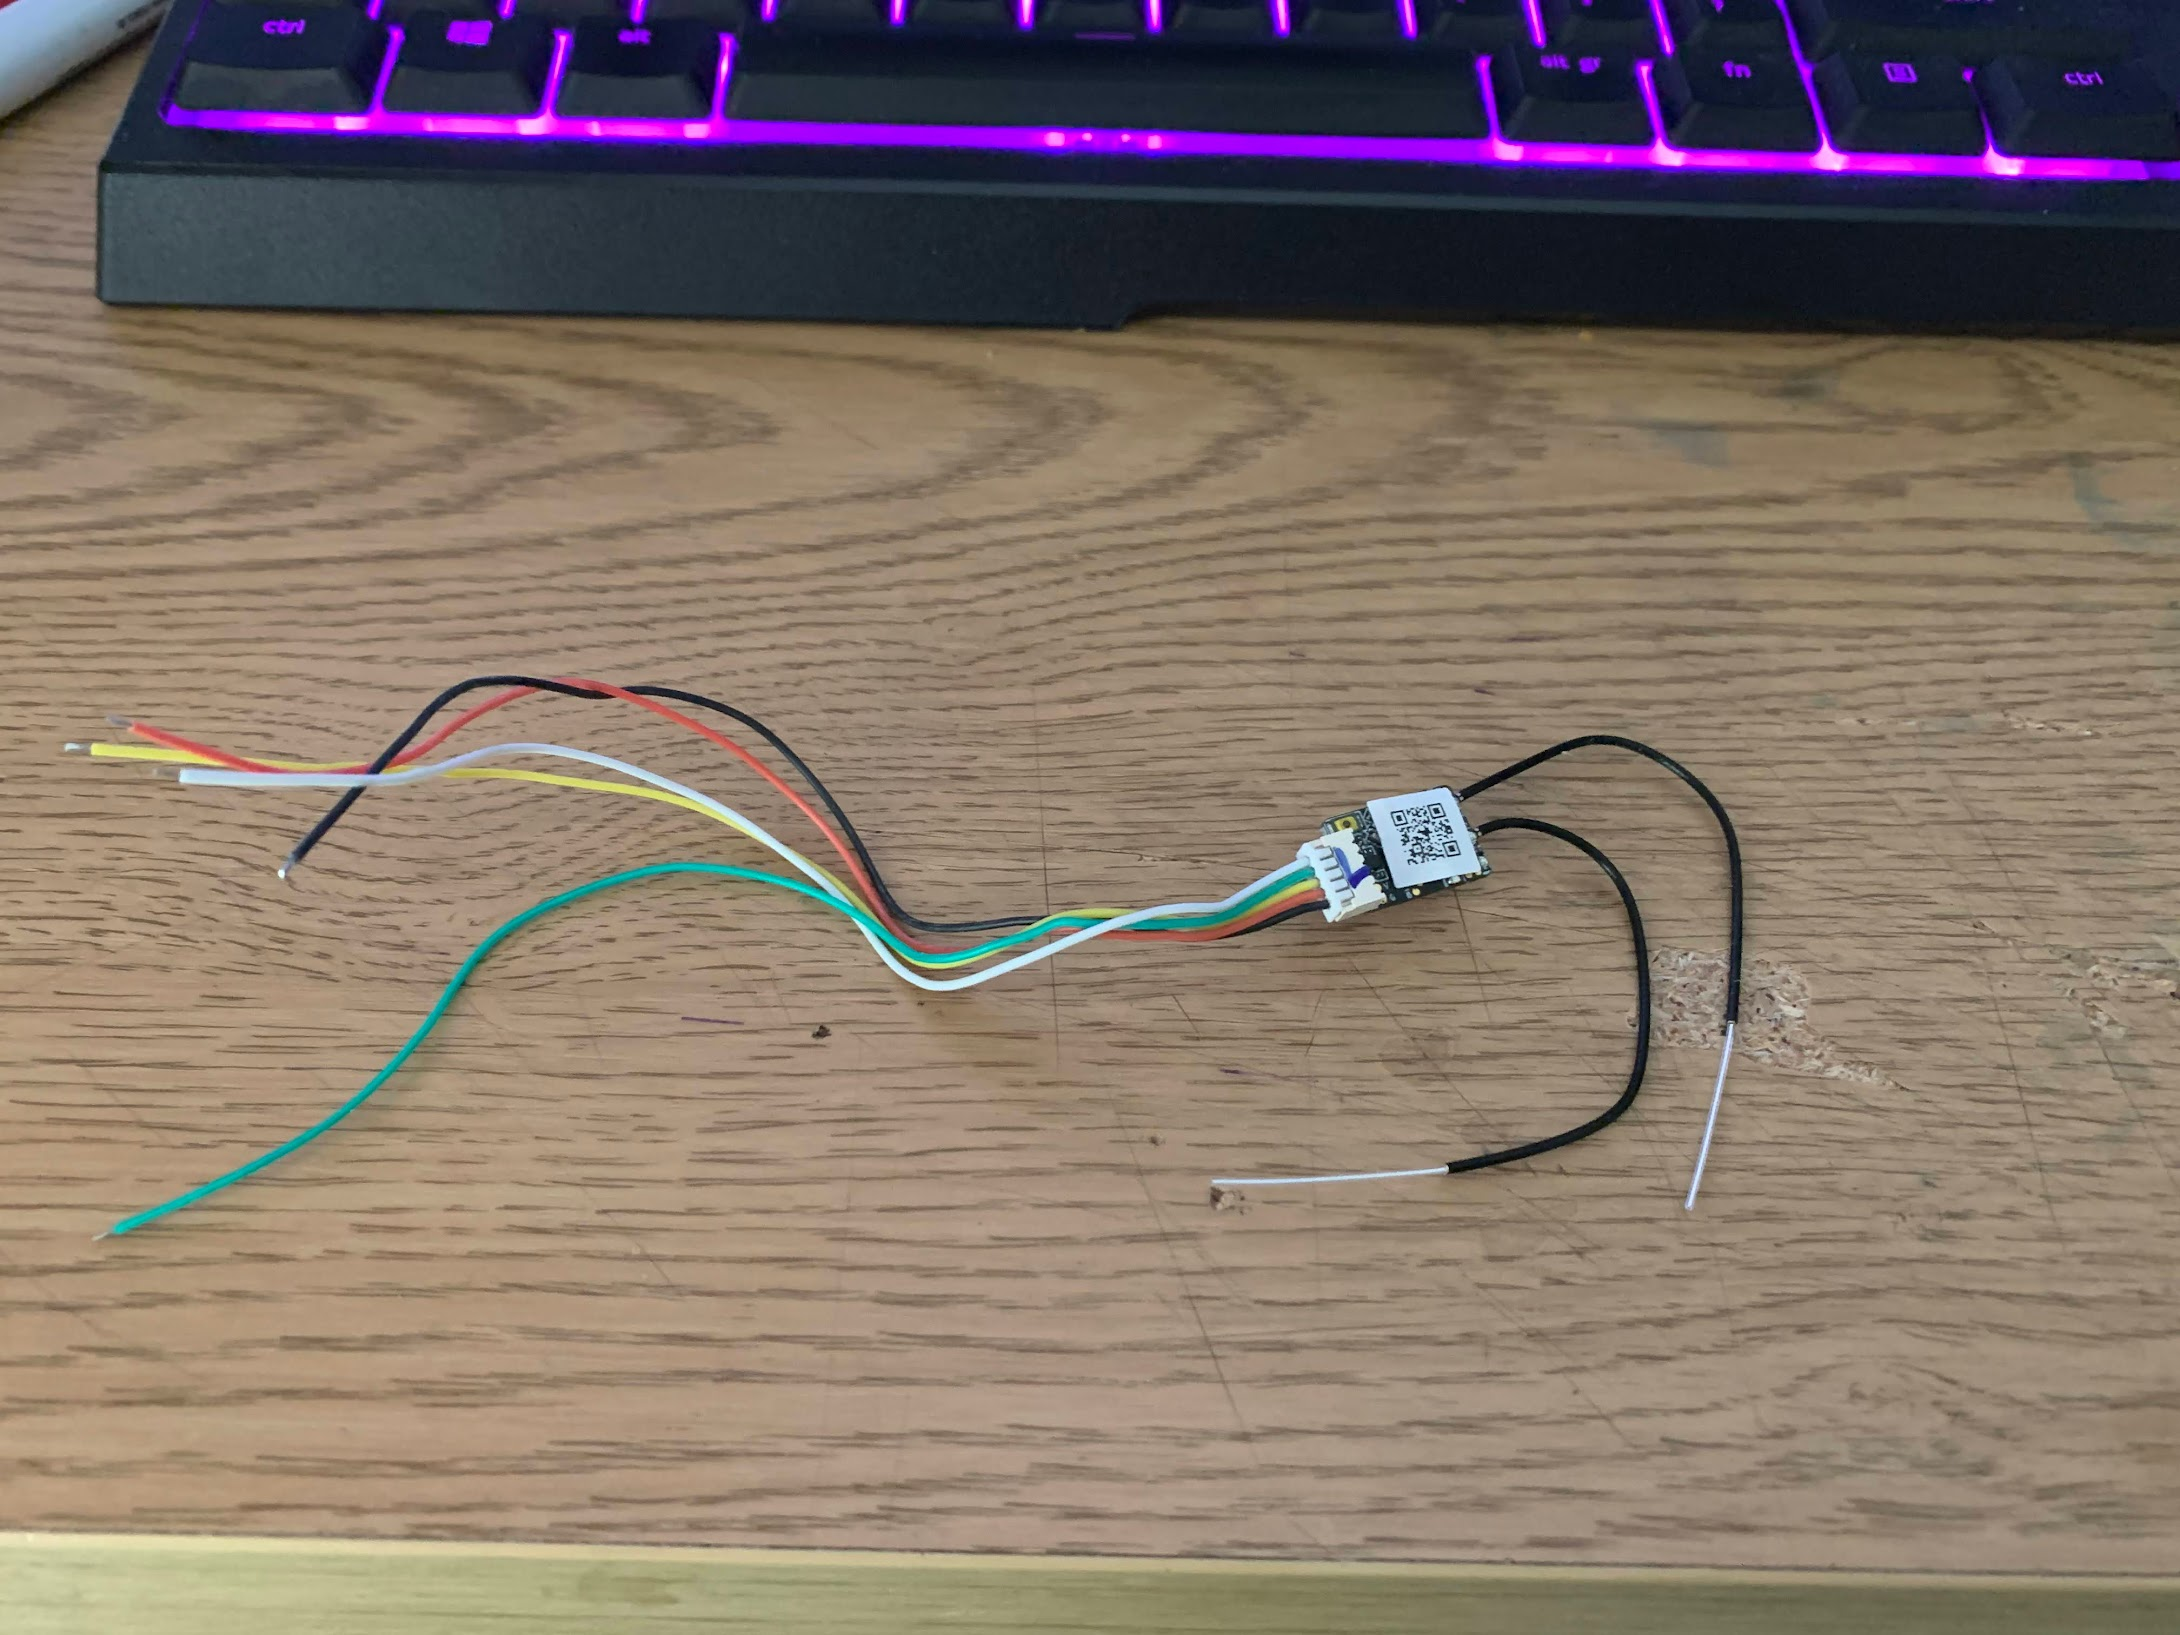
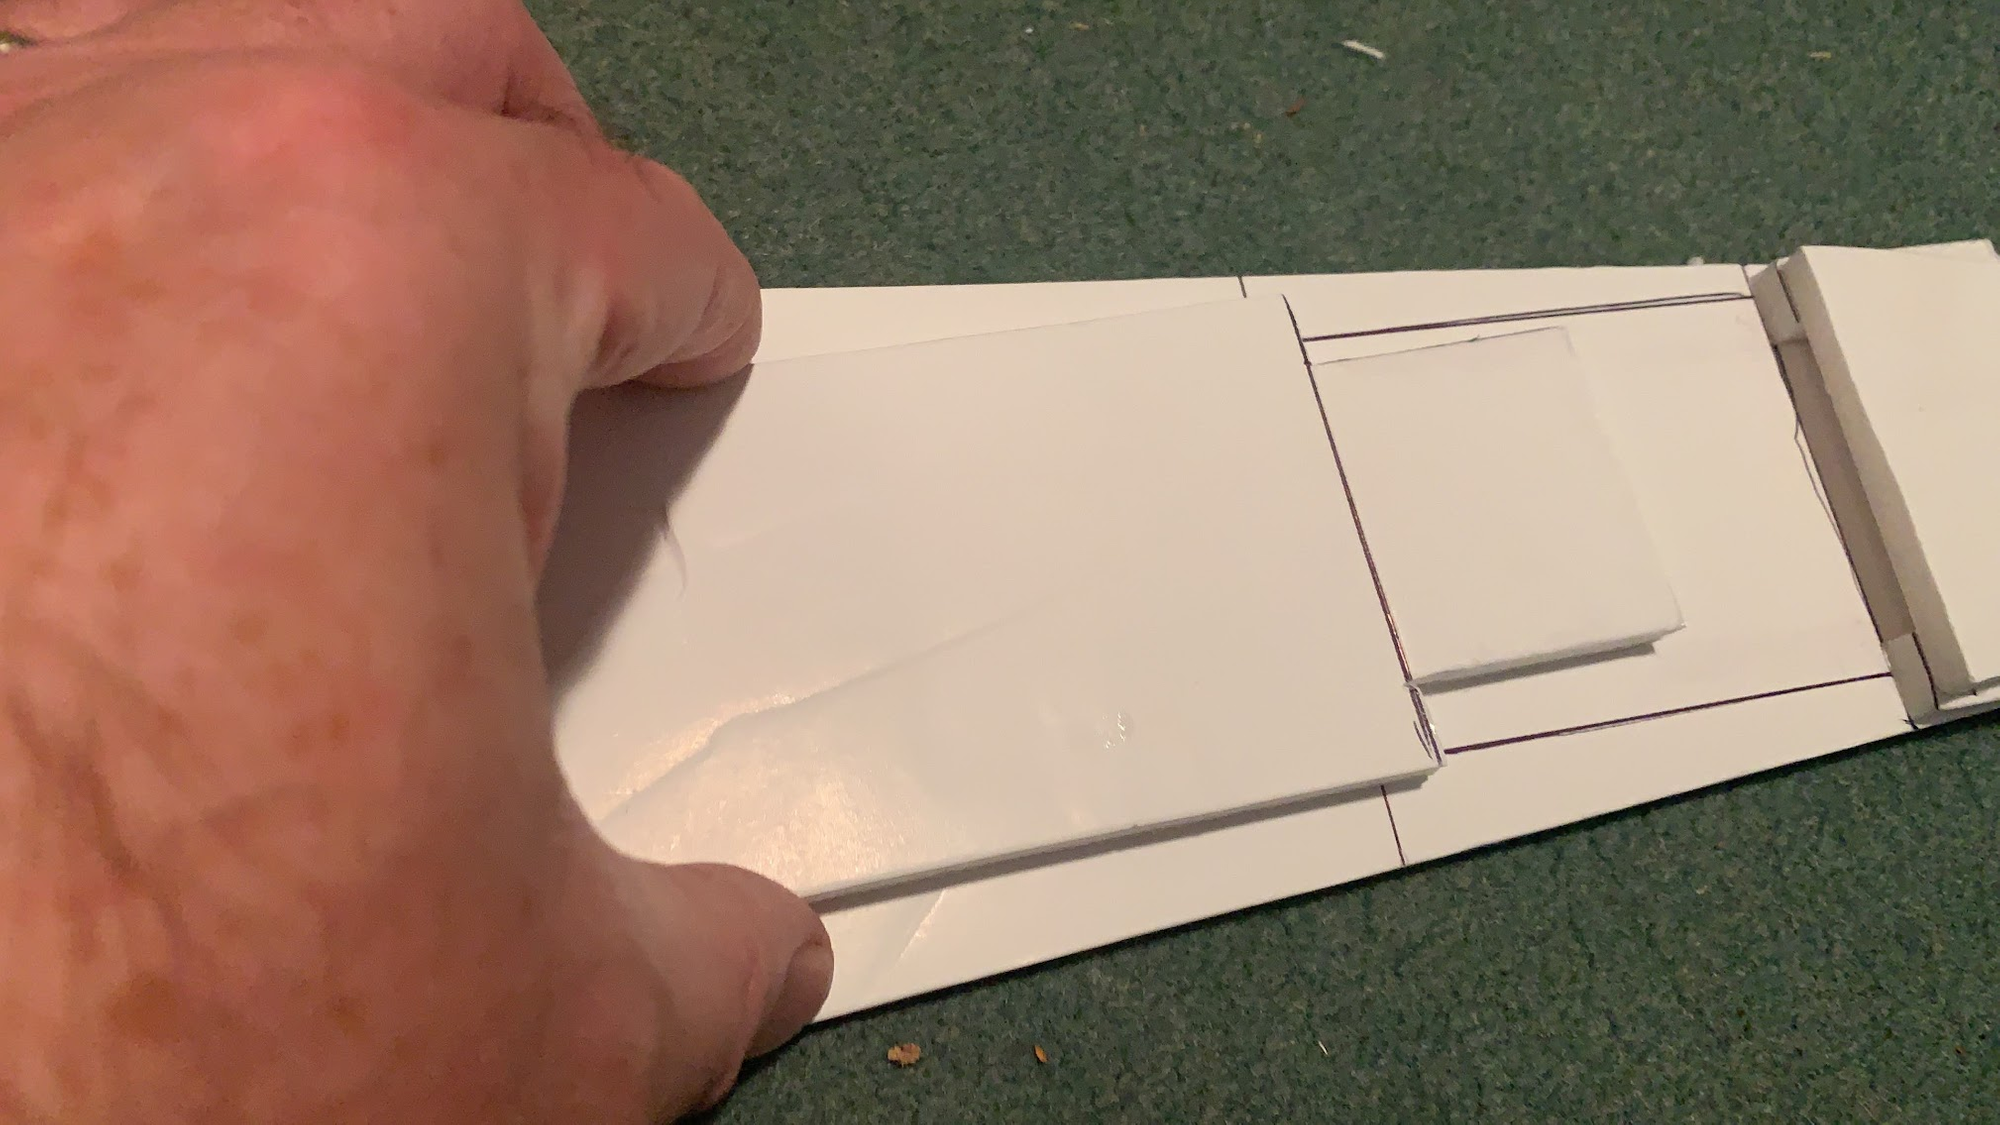
R-XSR with supplied cable
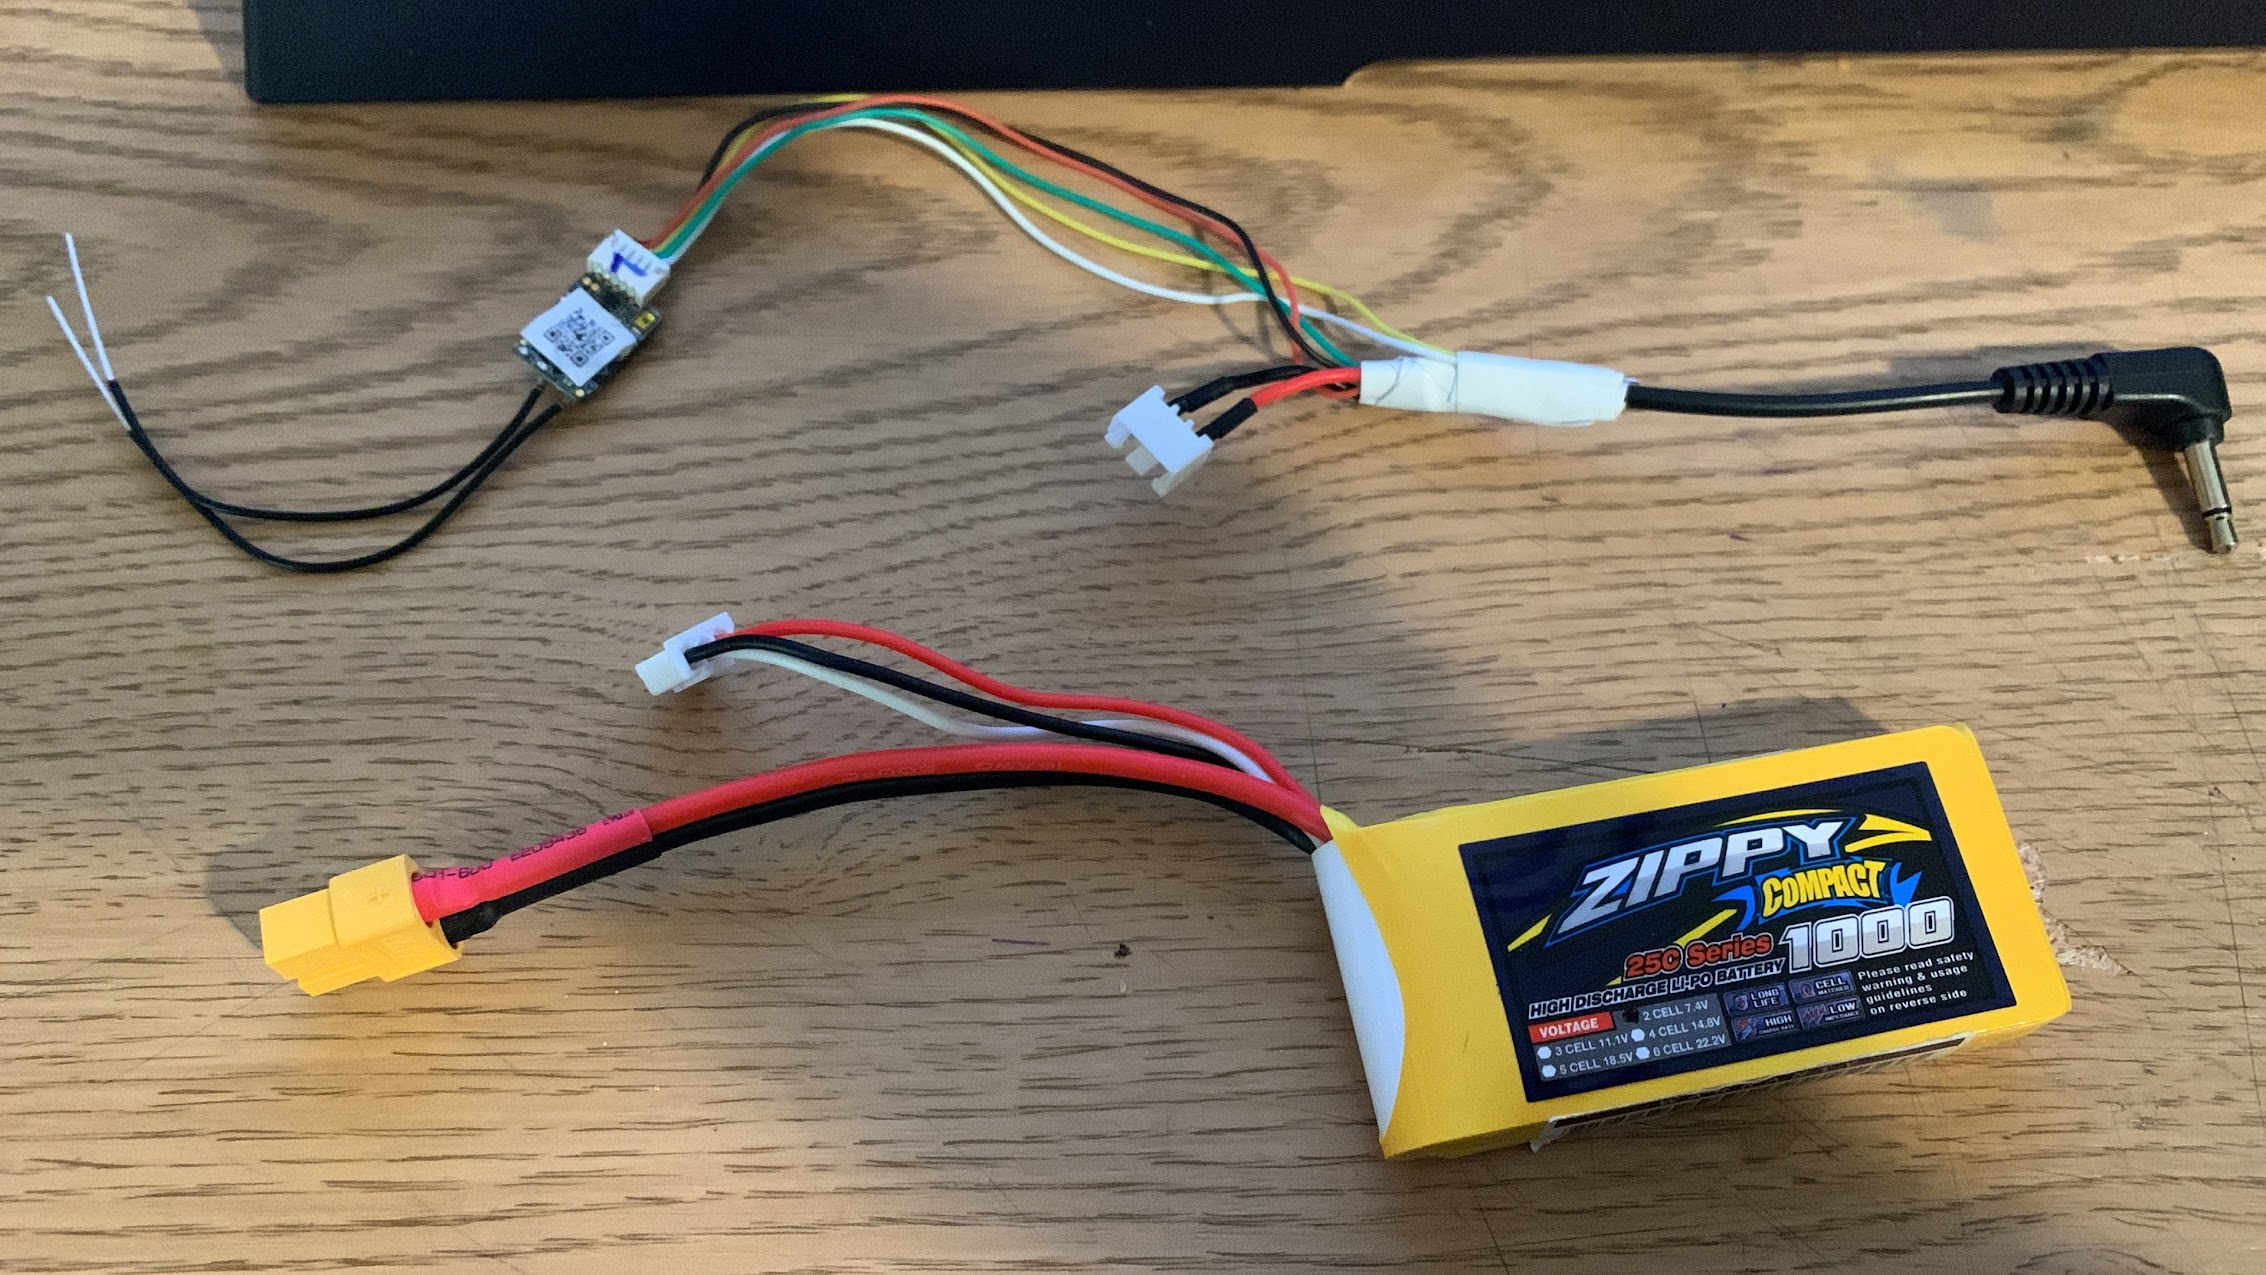
All wired up to the mono lead. I used a balance lead for power and removed the centre wire.
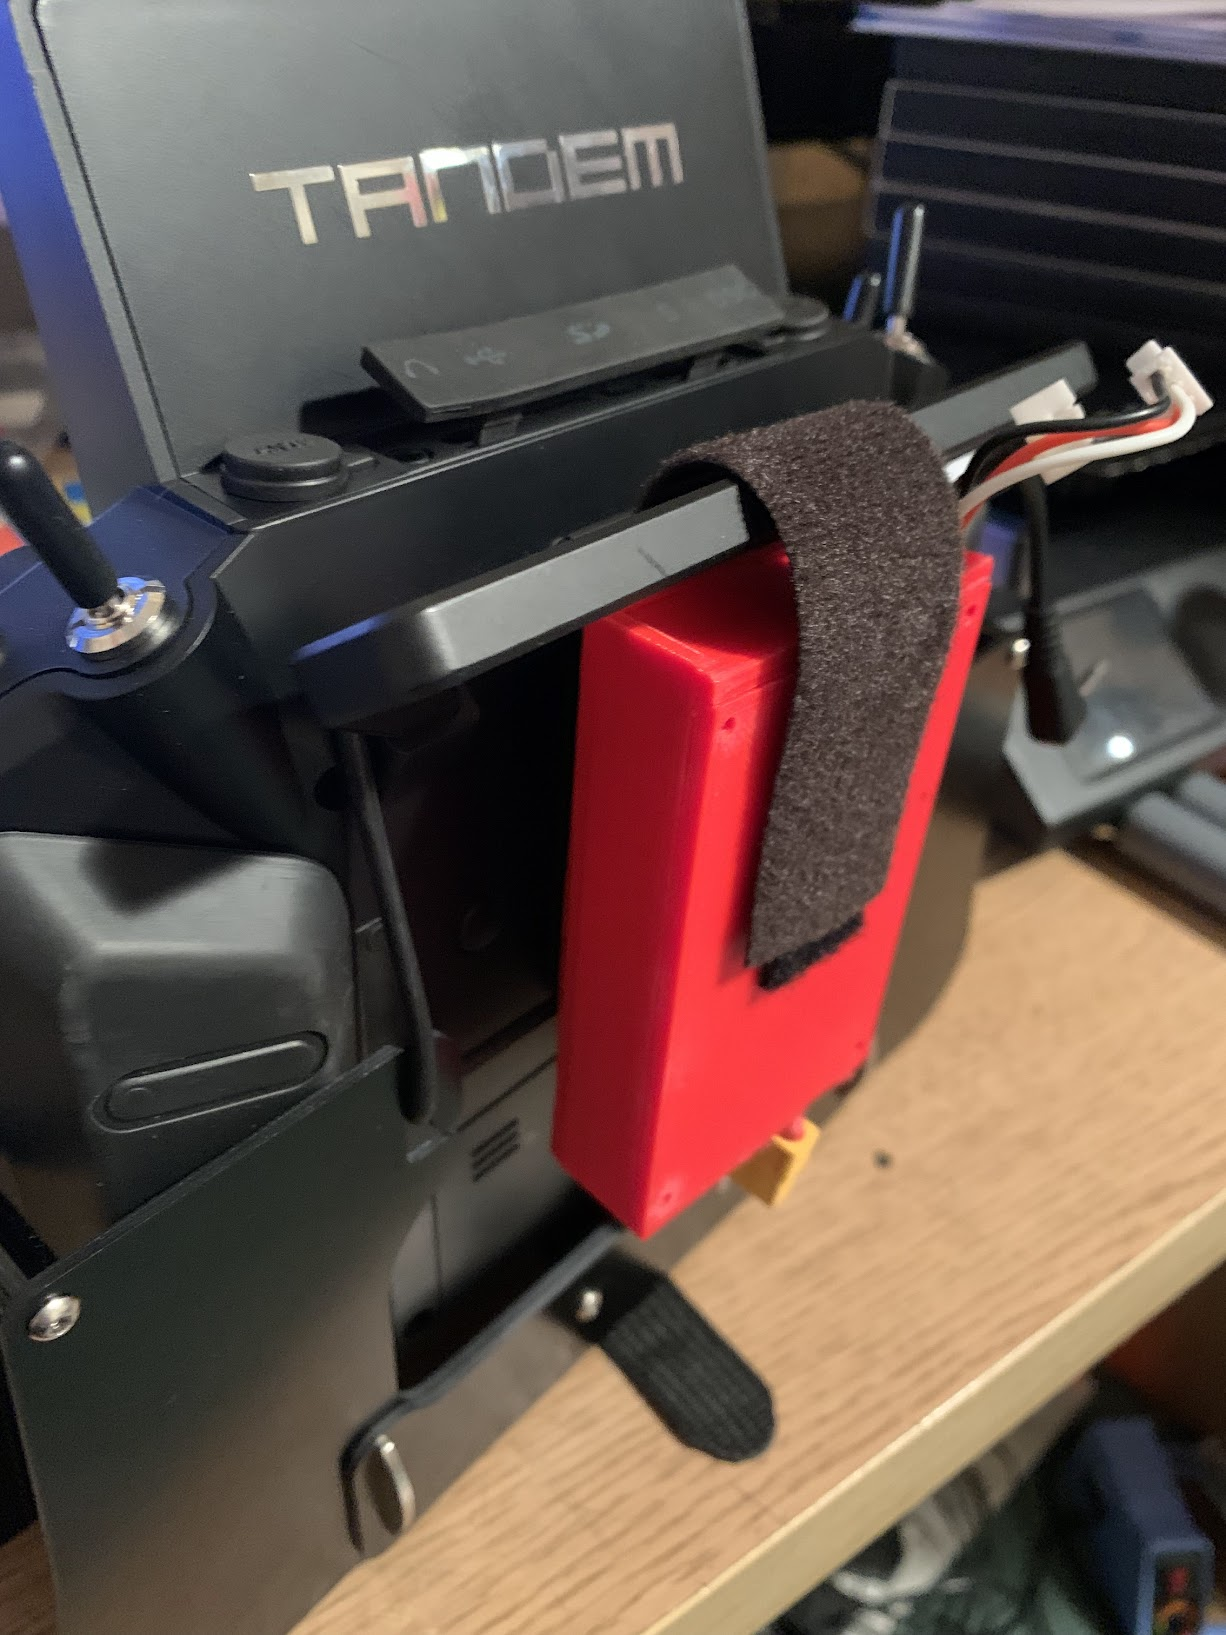
3D printed box
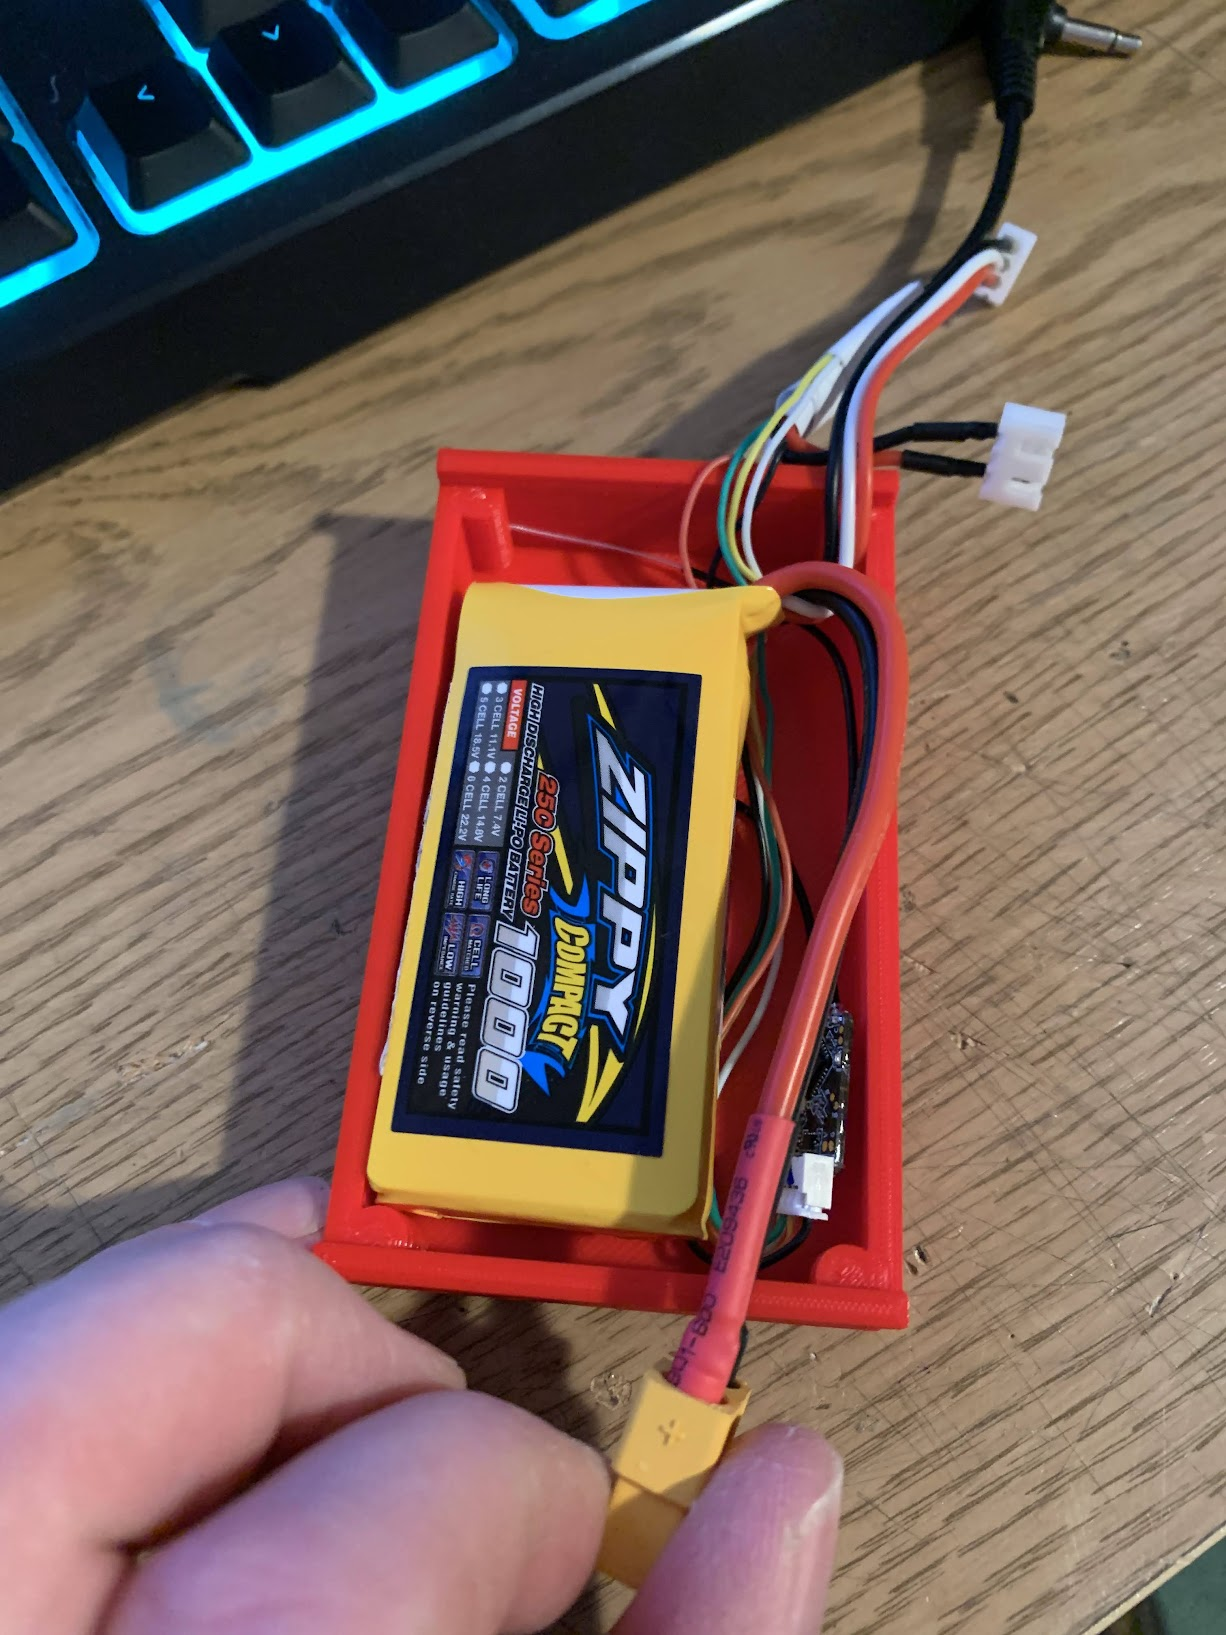

Once the CPPM output is wired to the signal line of the jack plug and the GND is connected to GND on the receiver you get the flexibility of setting up wireless connections for various transmitters.
The buddy cable sends signals from the Slave Tx to the Master Tx when the Trainer
switch on the Master is operated. To use a transmitter Slave Tx, create a simple four channel model and bind it to the receiver in the buddy box.On the Master set the input to Master/Jack
To use:- Plug in the wireless buddy to the Master Tx trainer input. If the Master trainer socket is not a 3.5mm socket, use the appropriate adaptor cable between the buddy box and the Master Tx Trainer input.
- Switch on the Master and Slave transmitters.
- Switch on the wireless buddy.
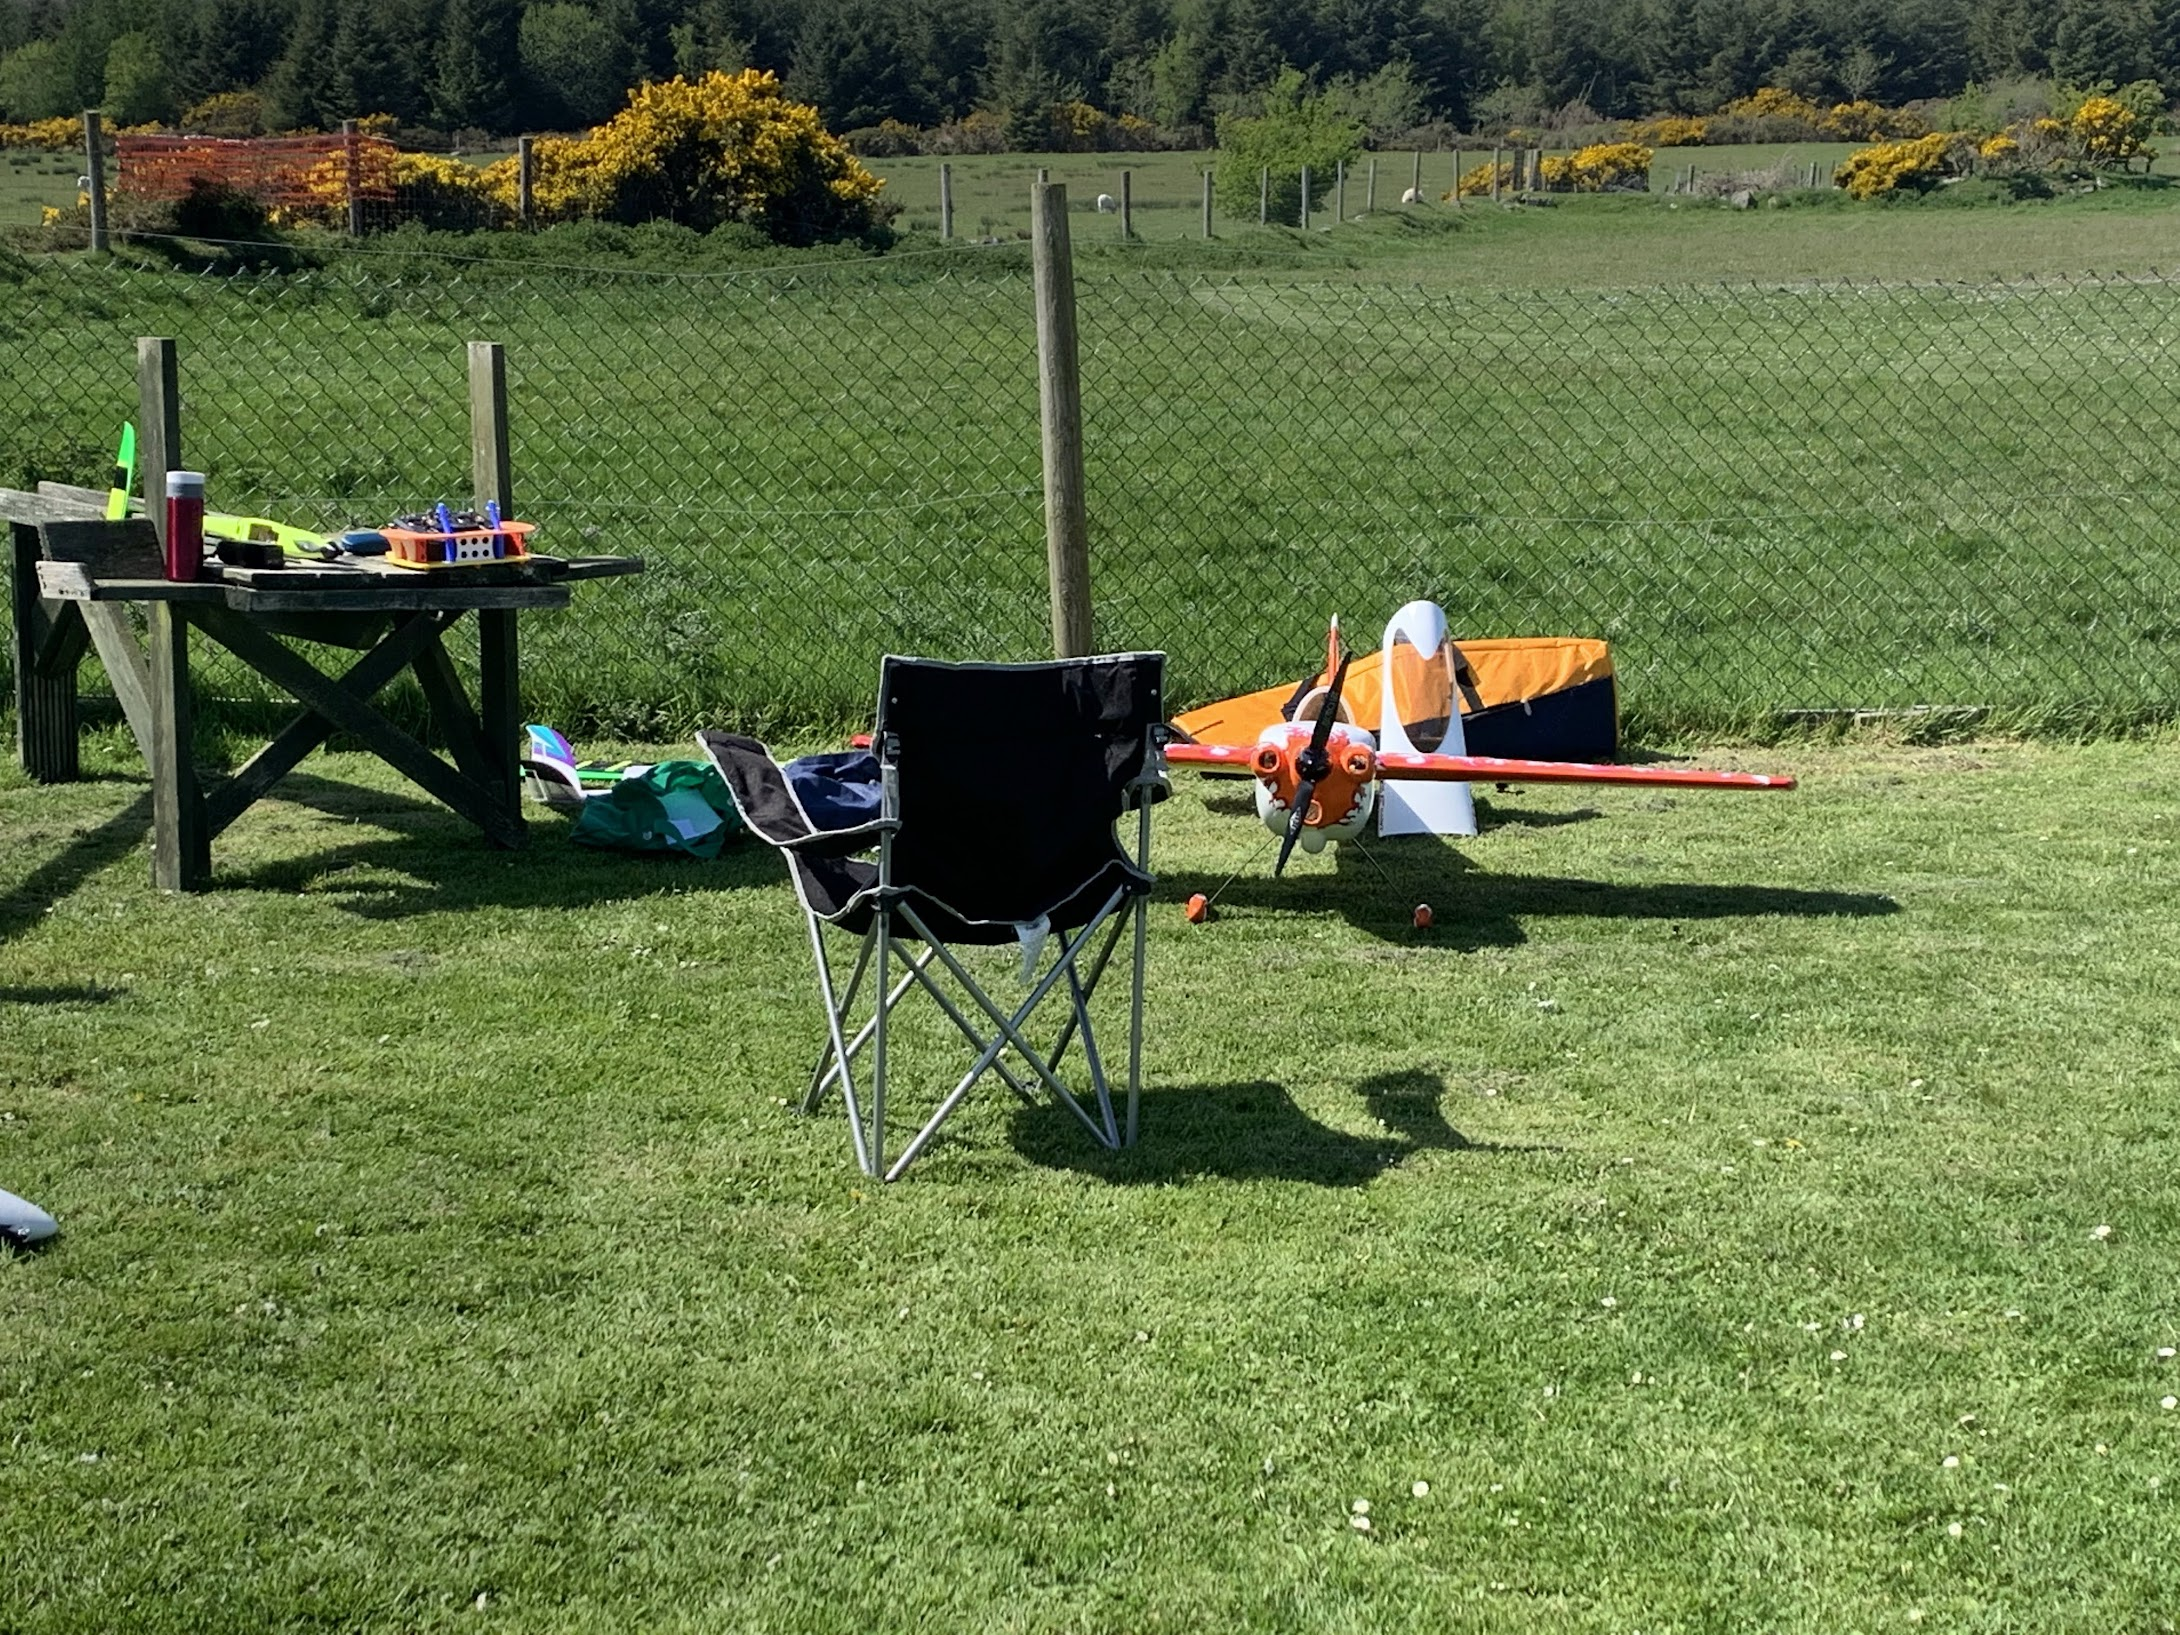
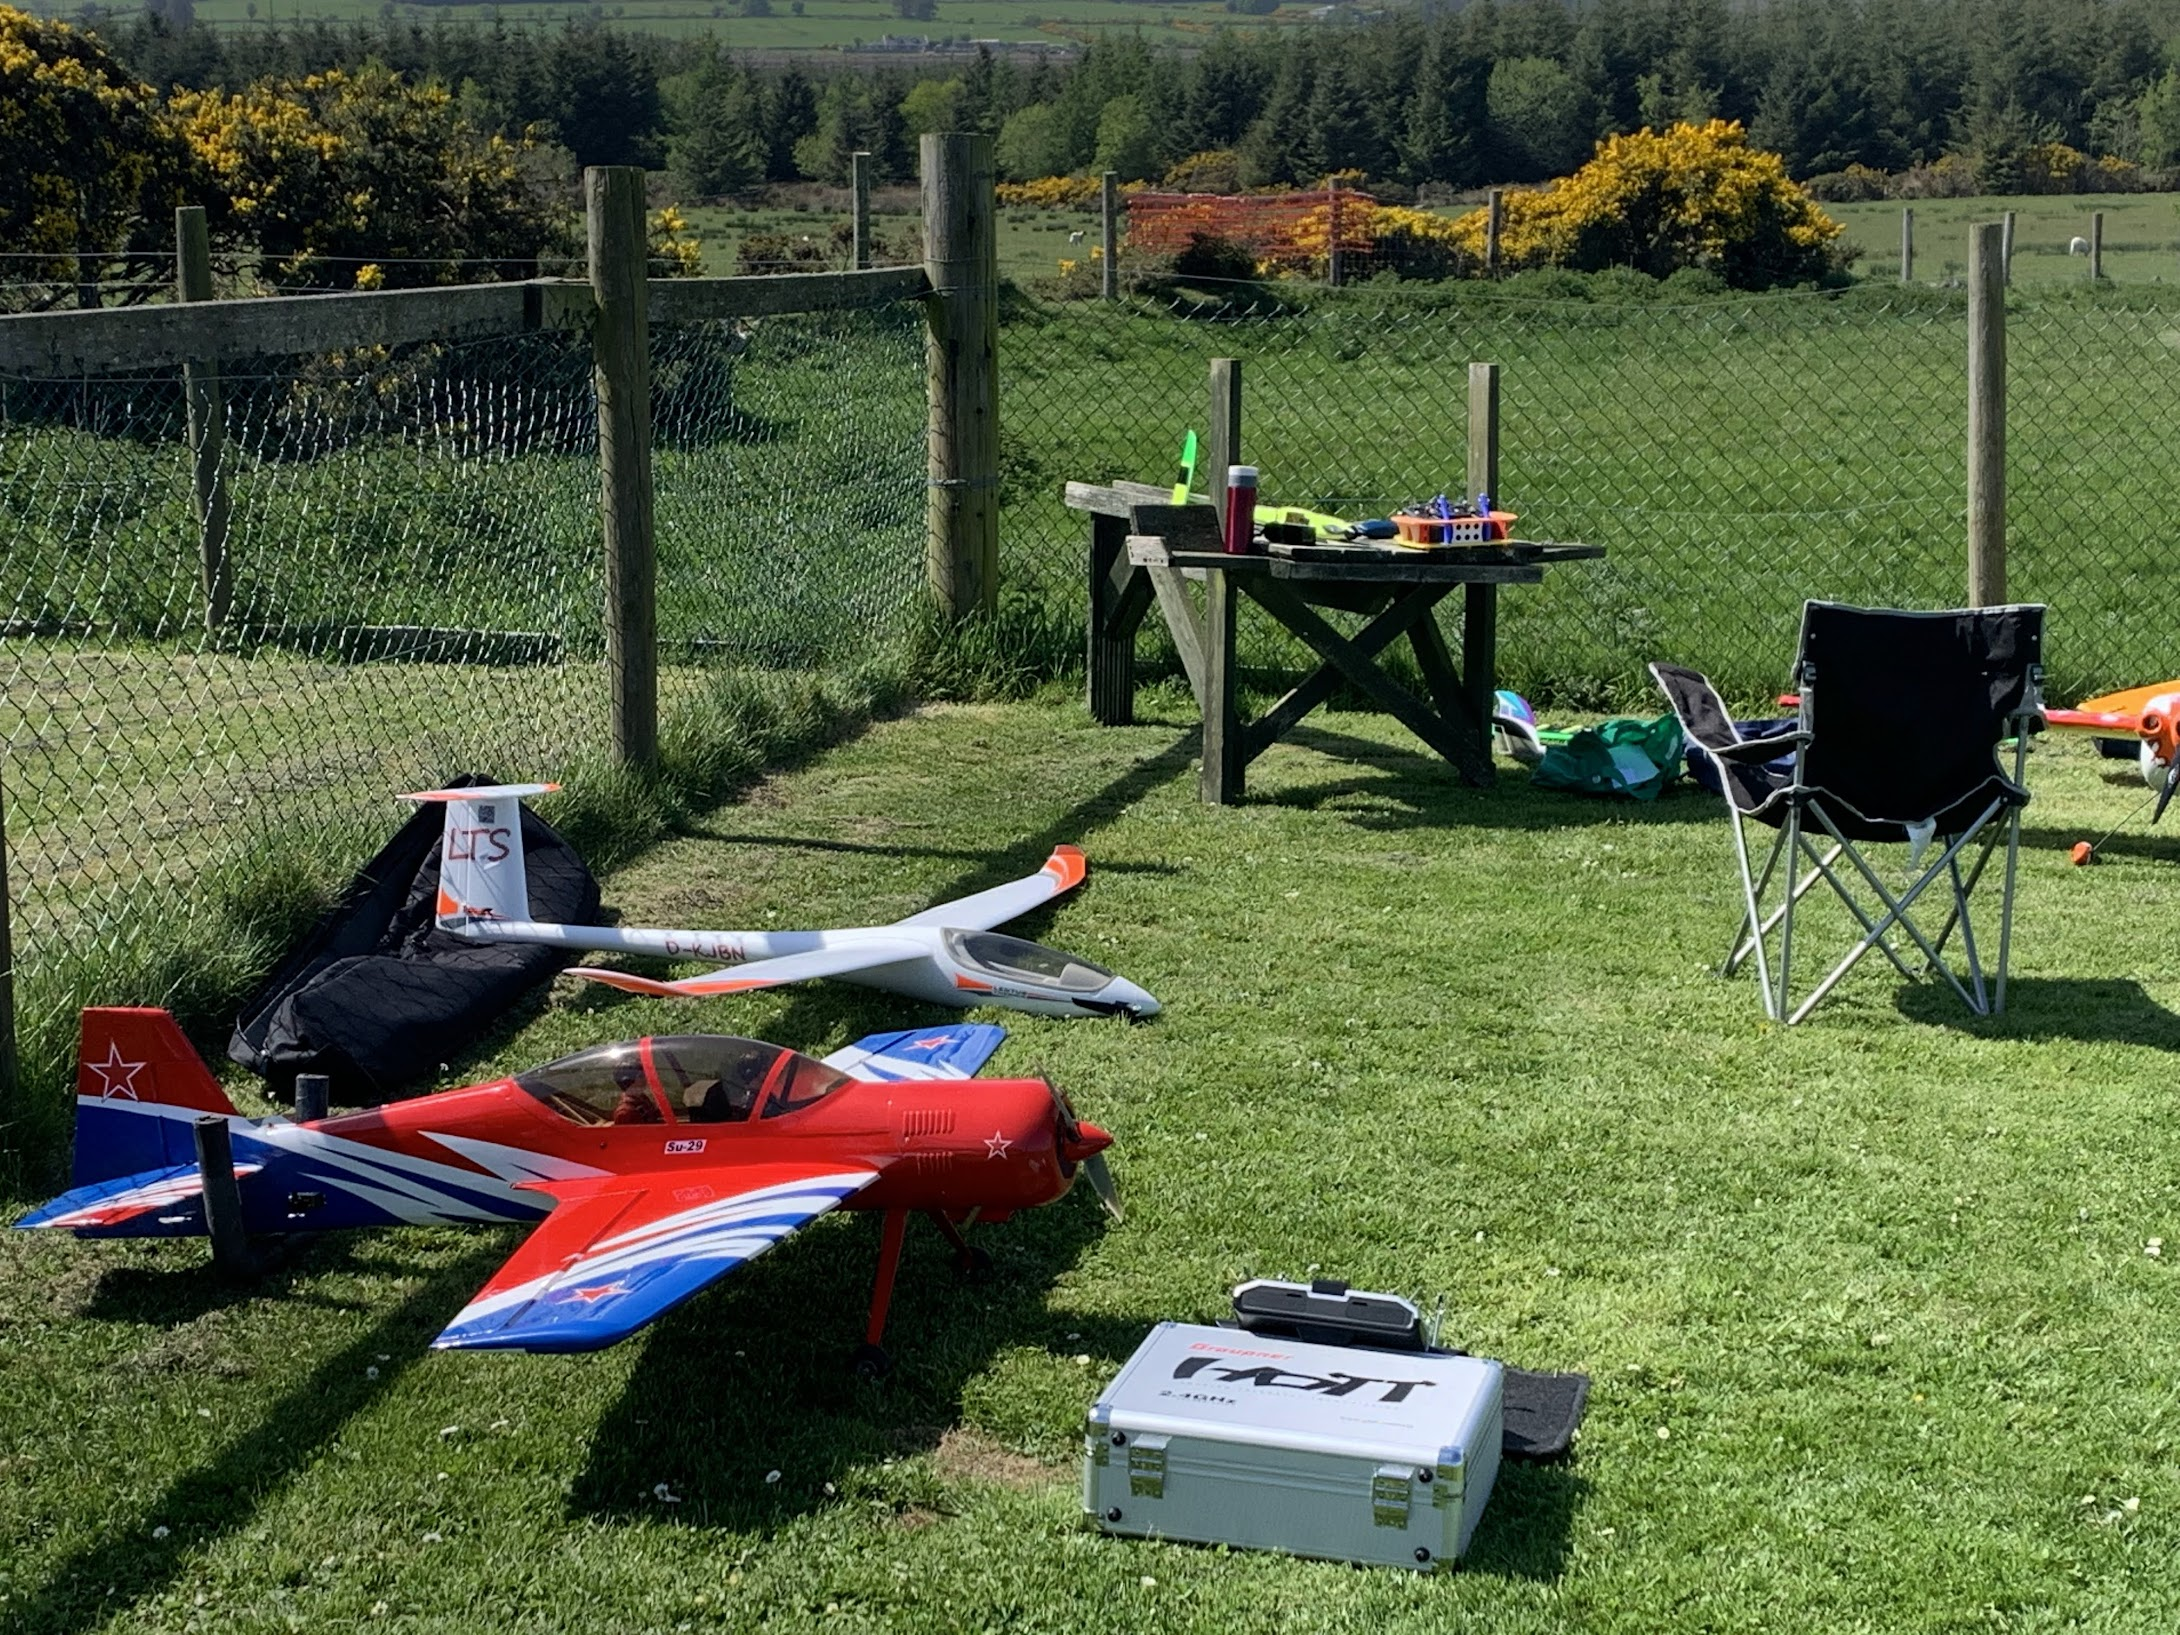
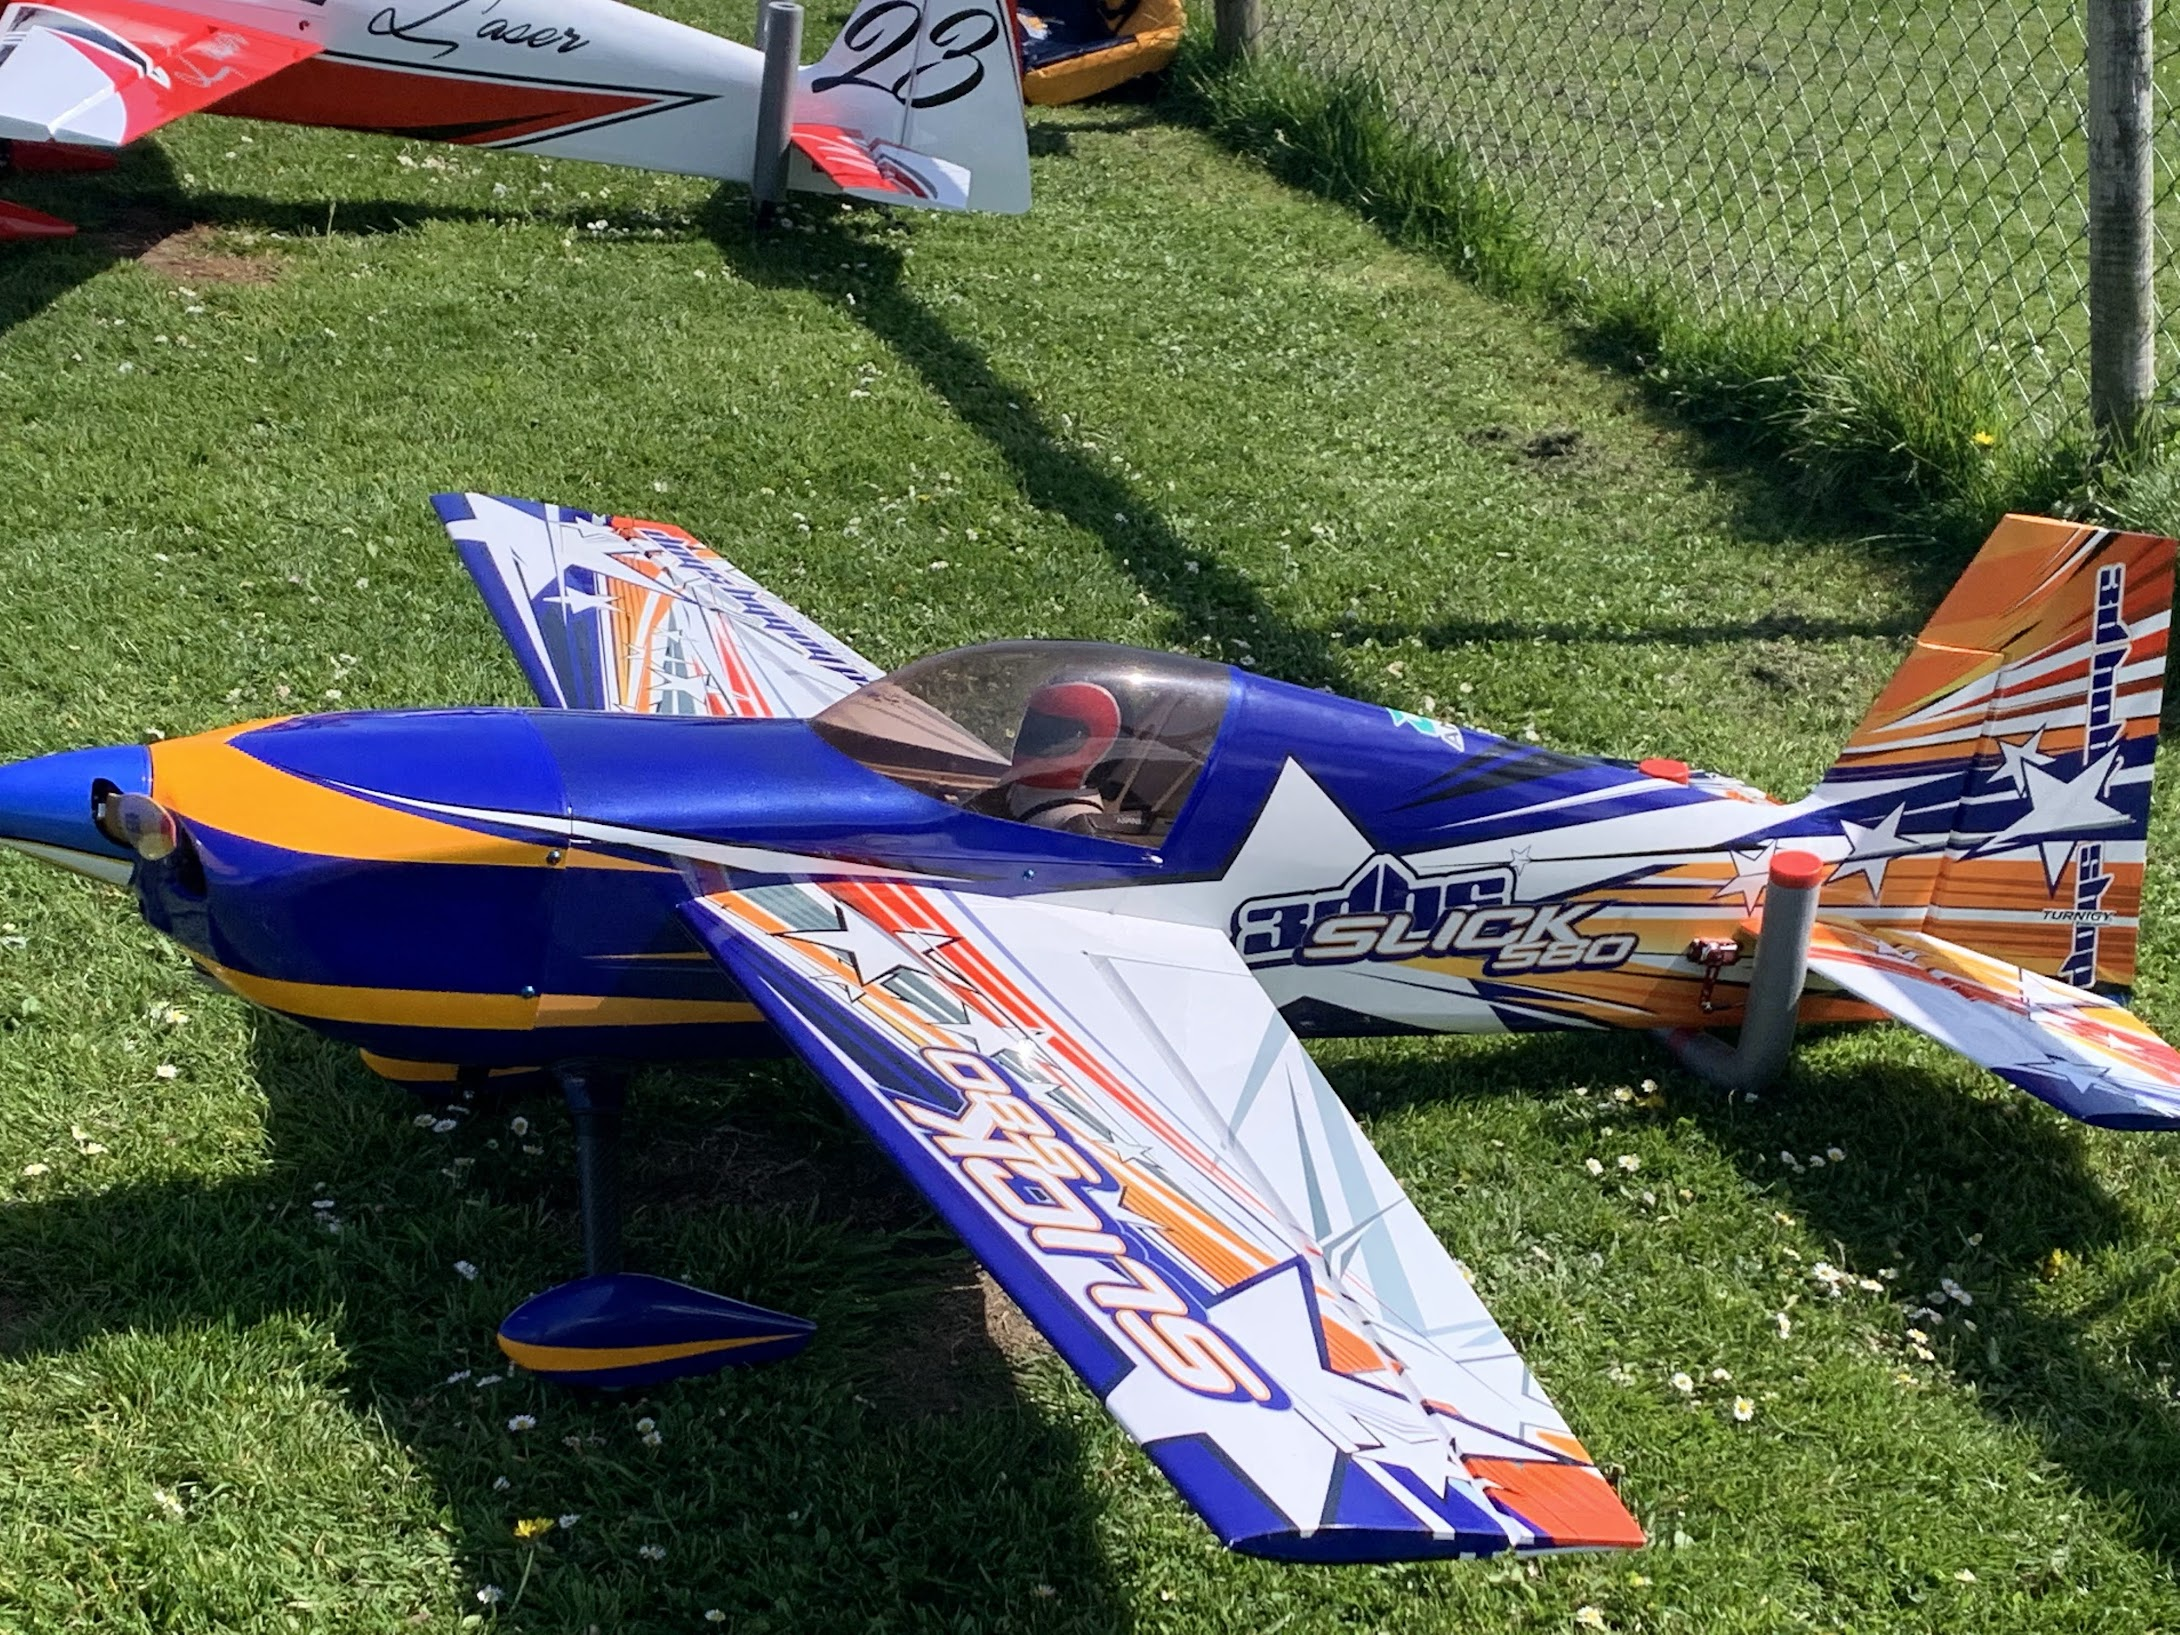
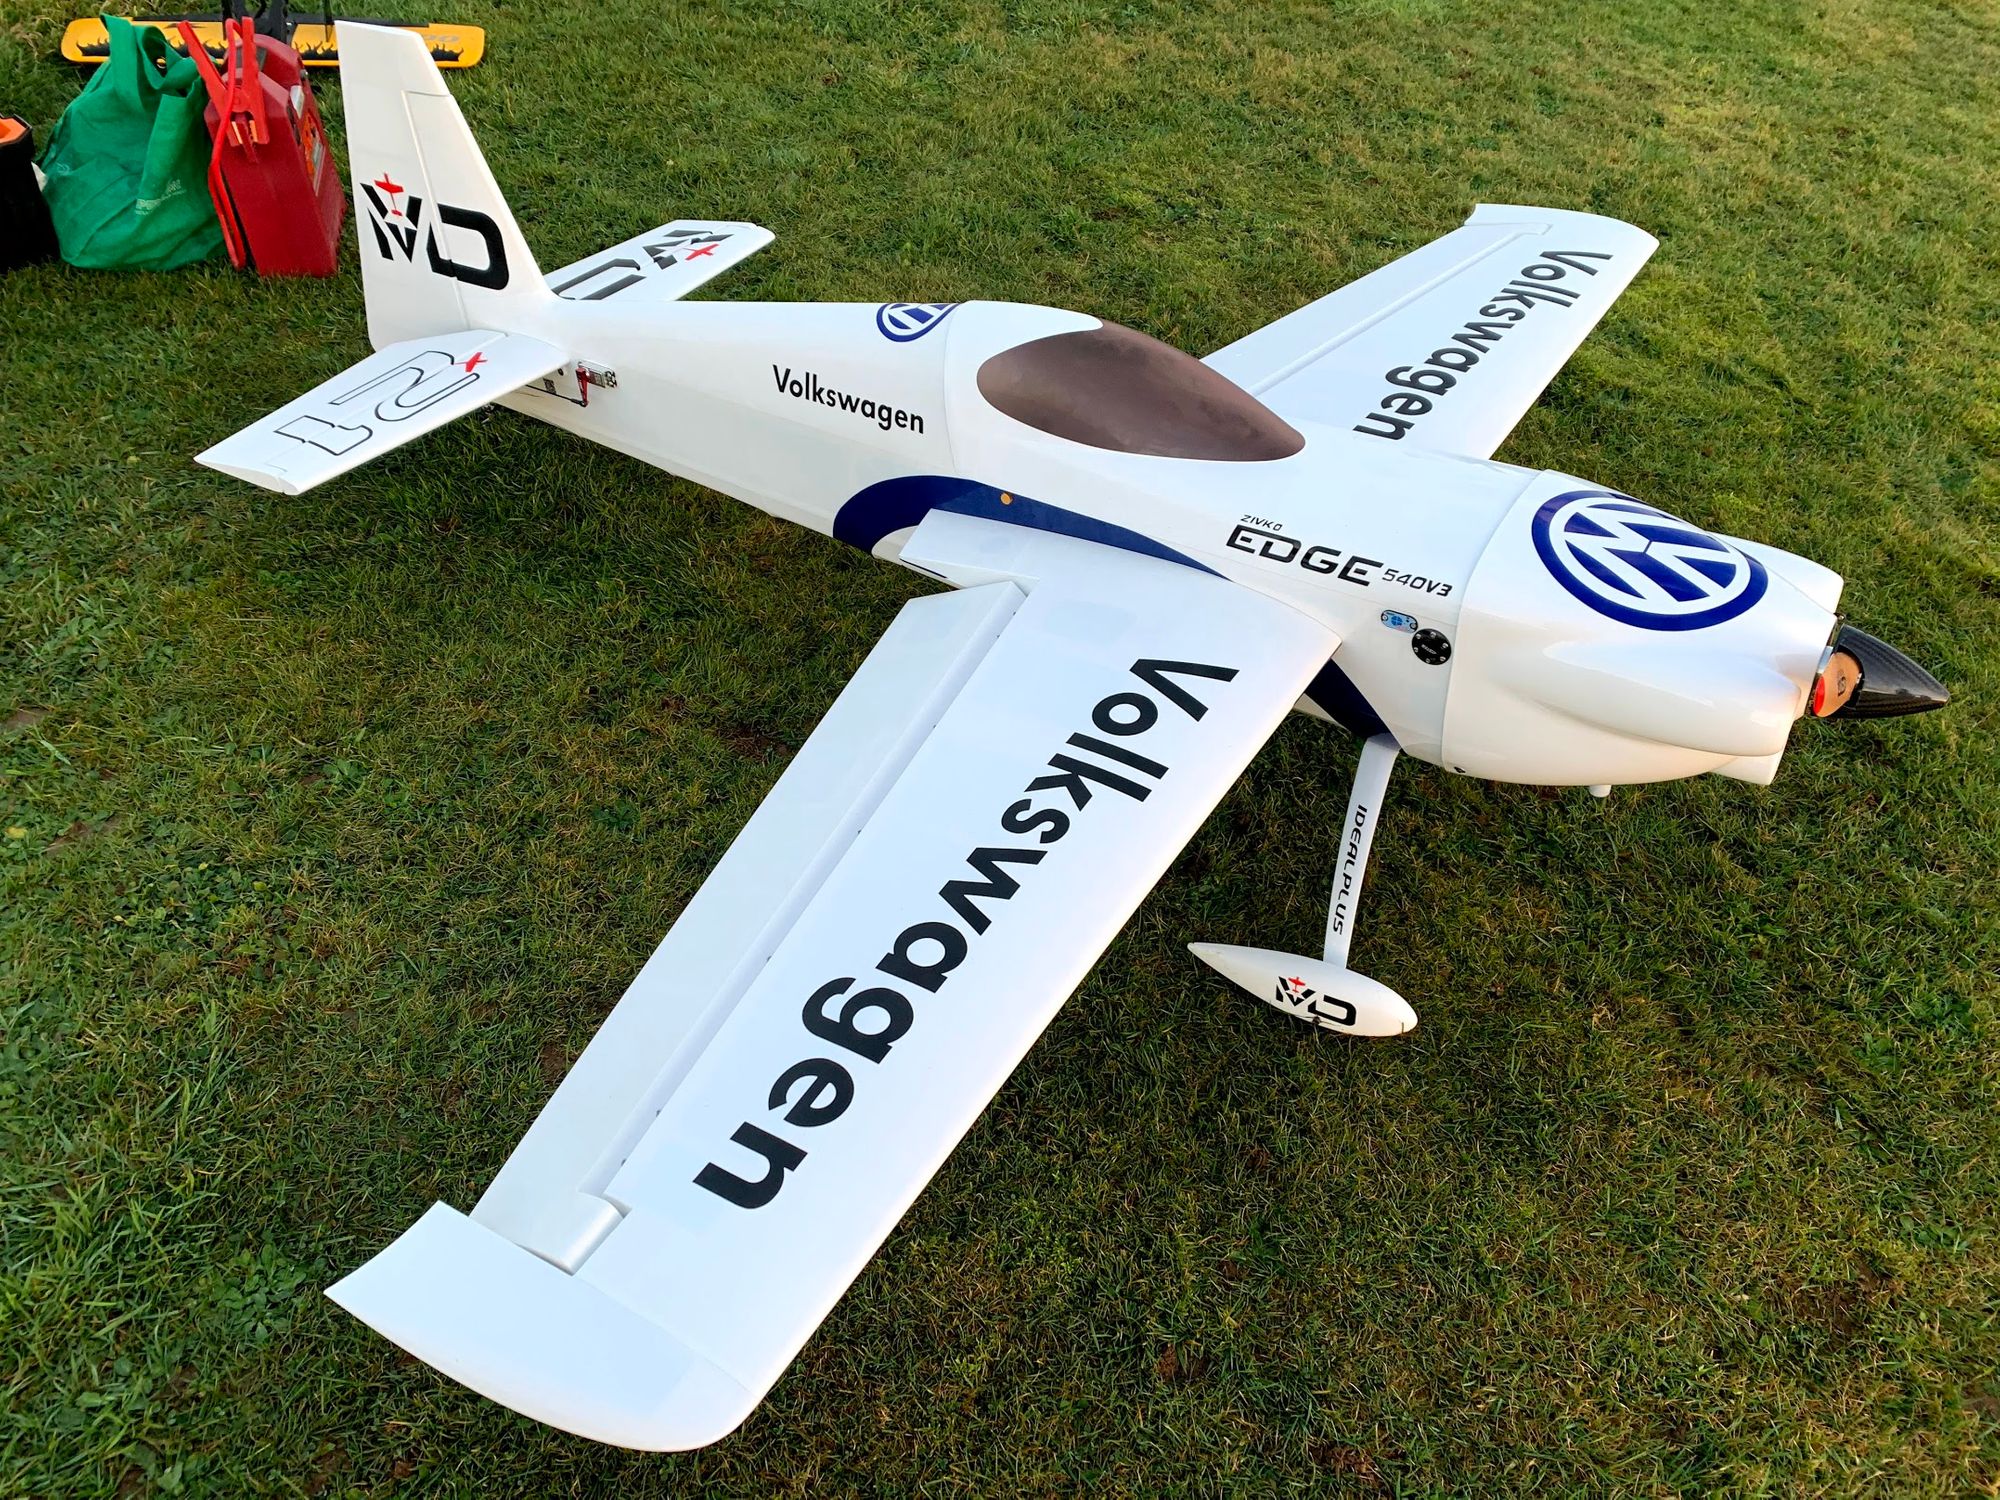
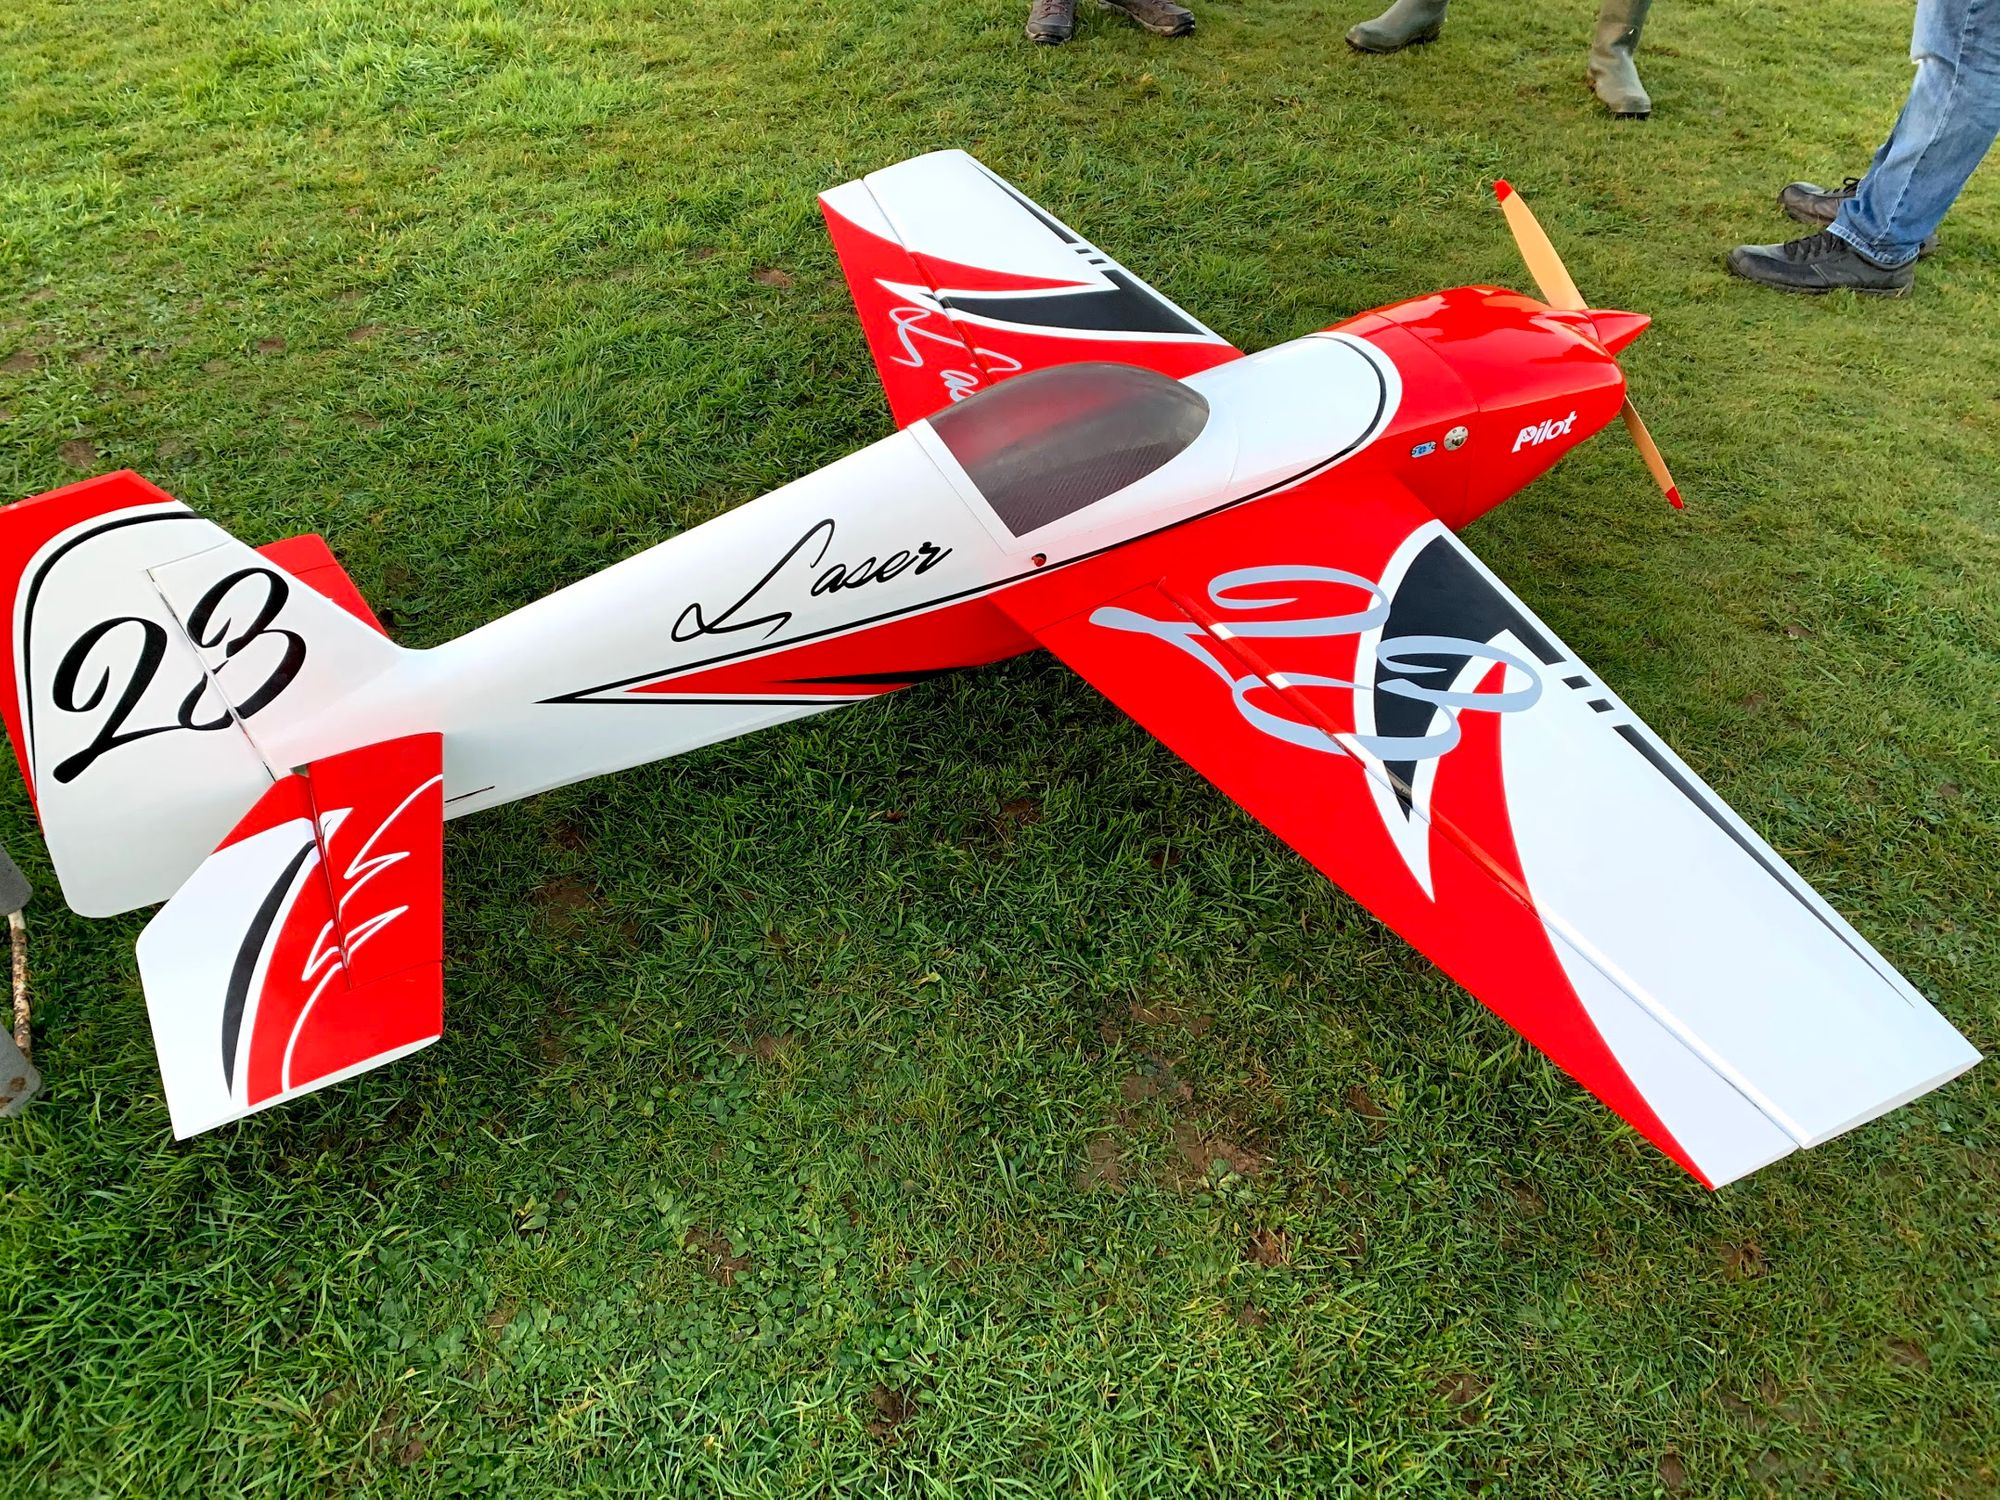
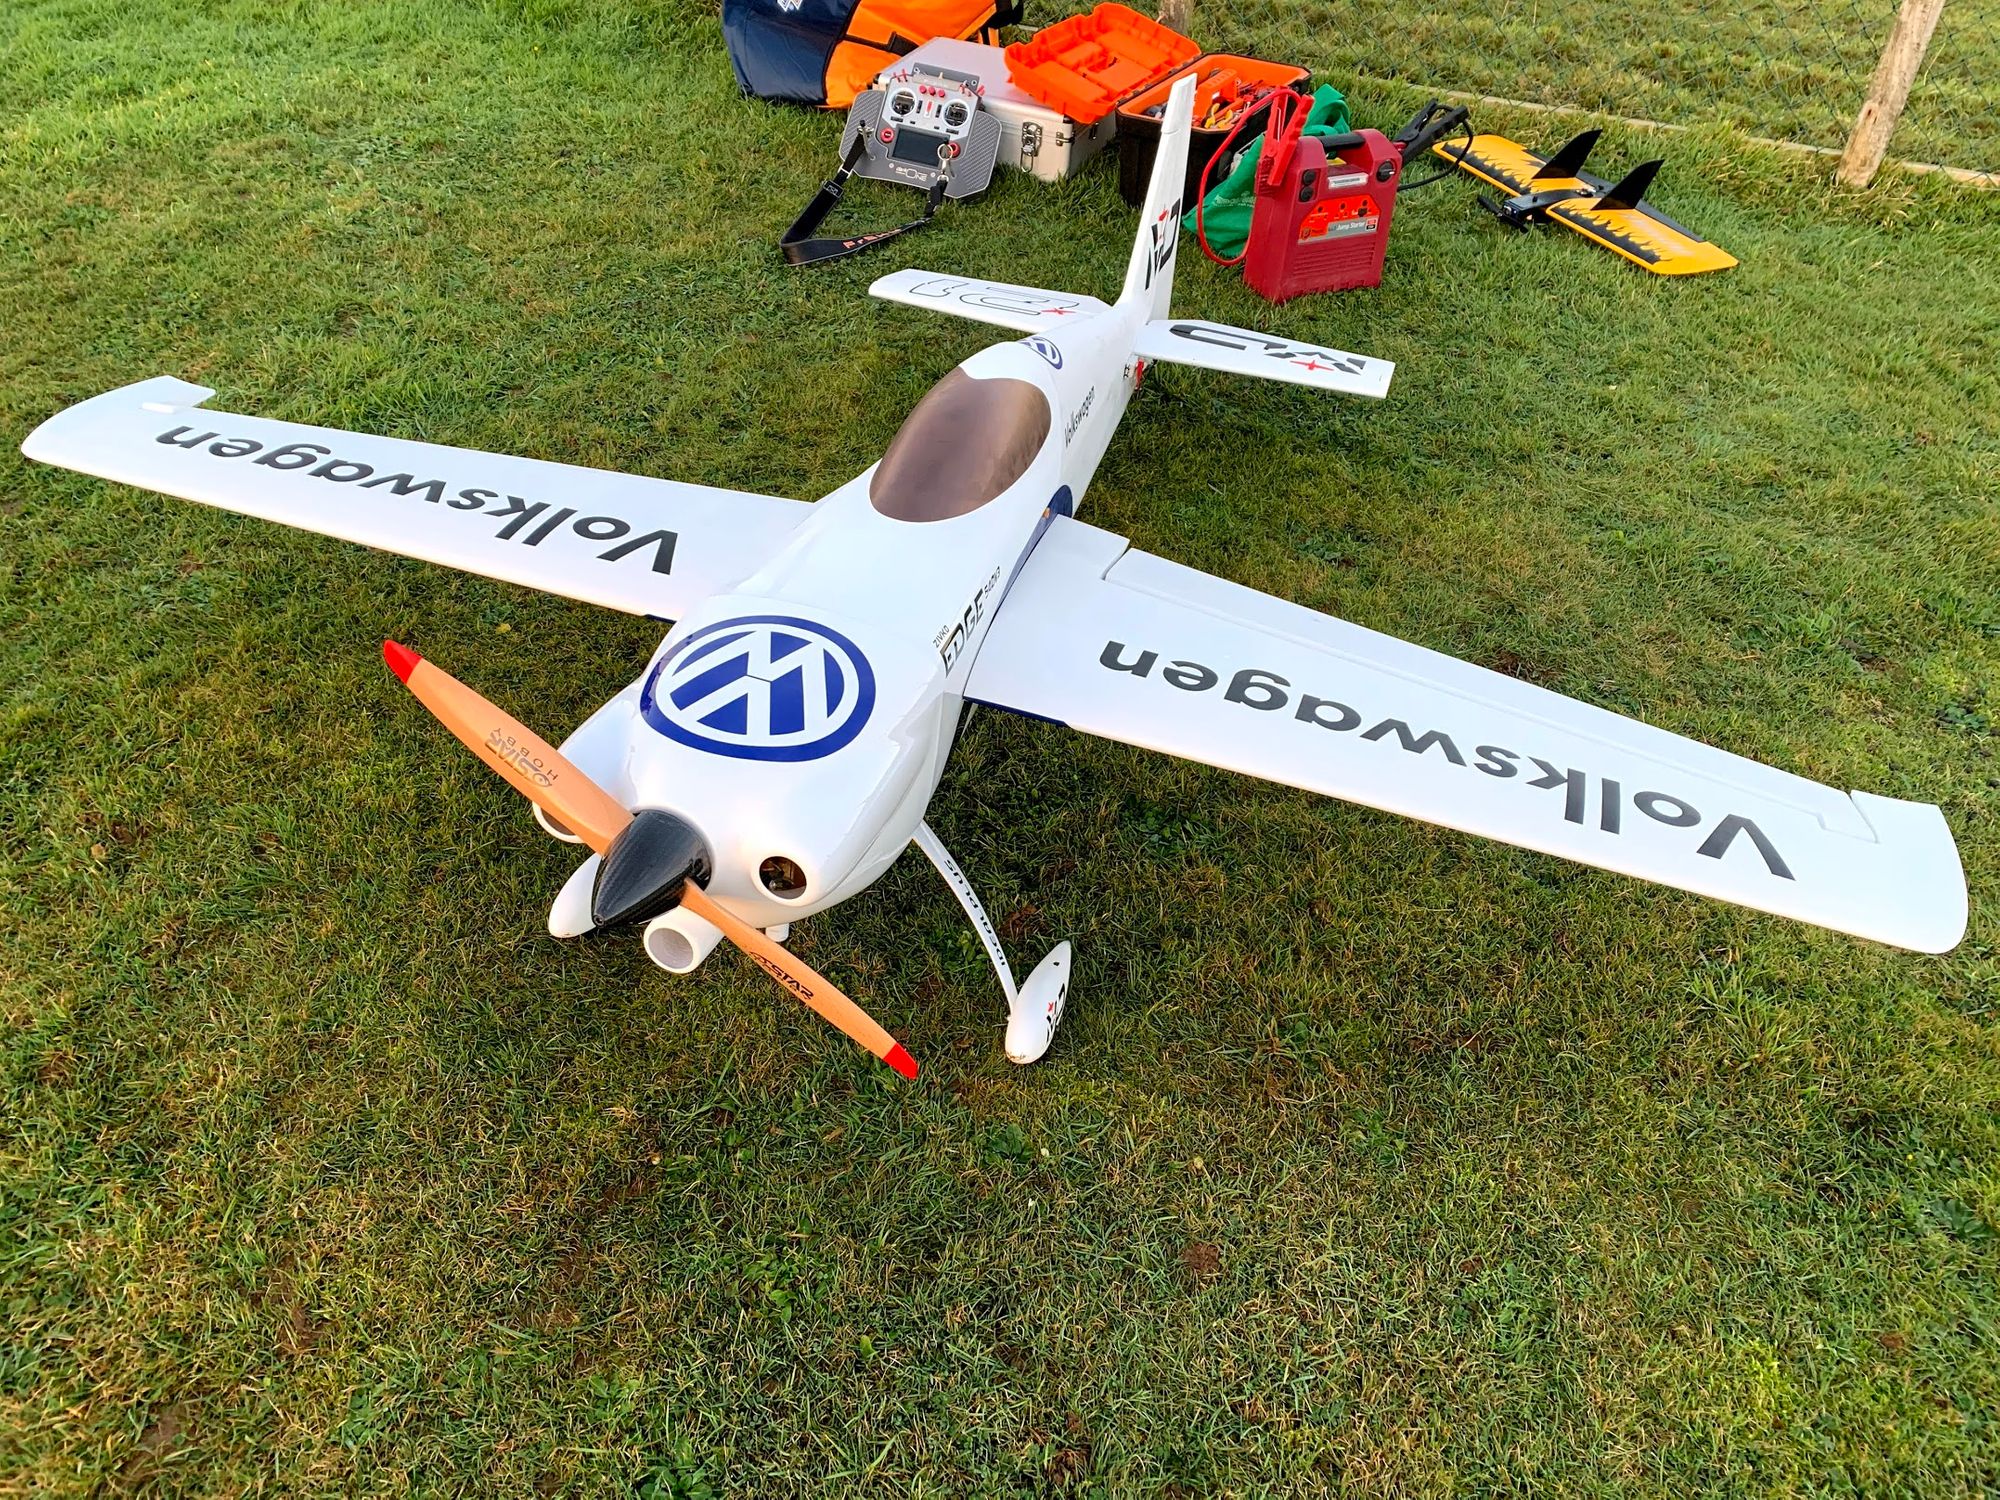
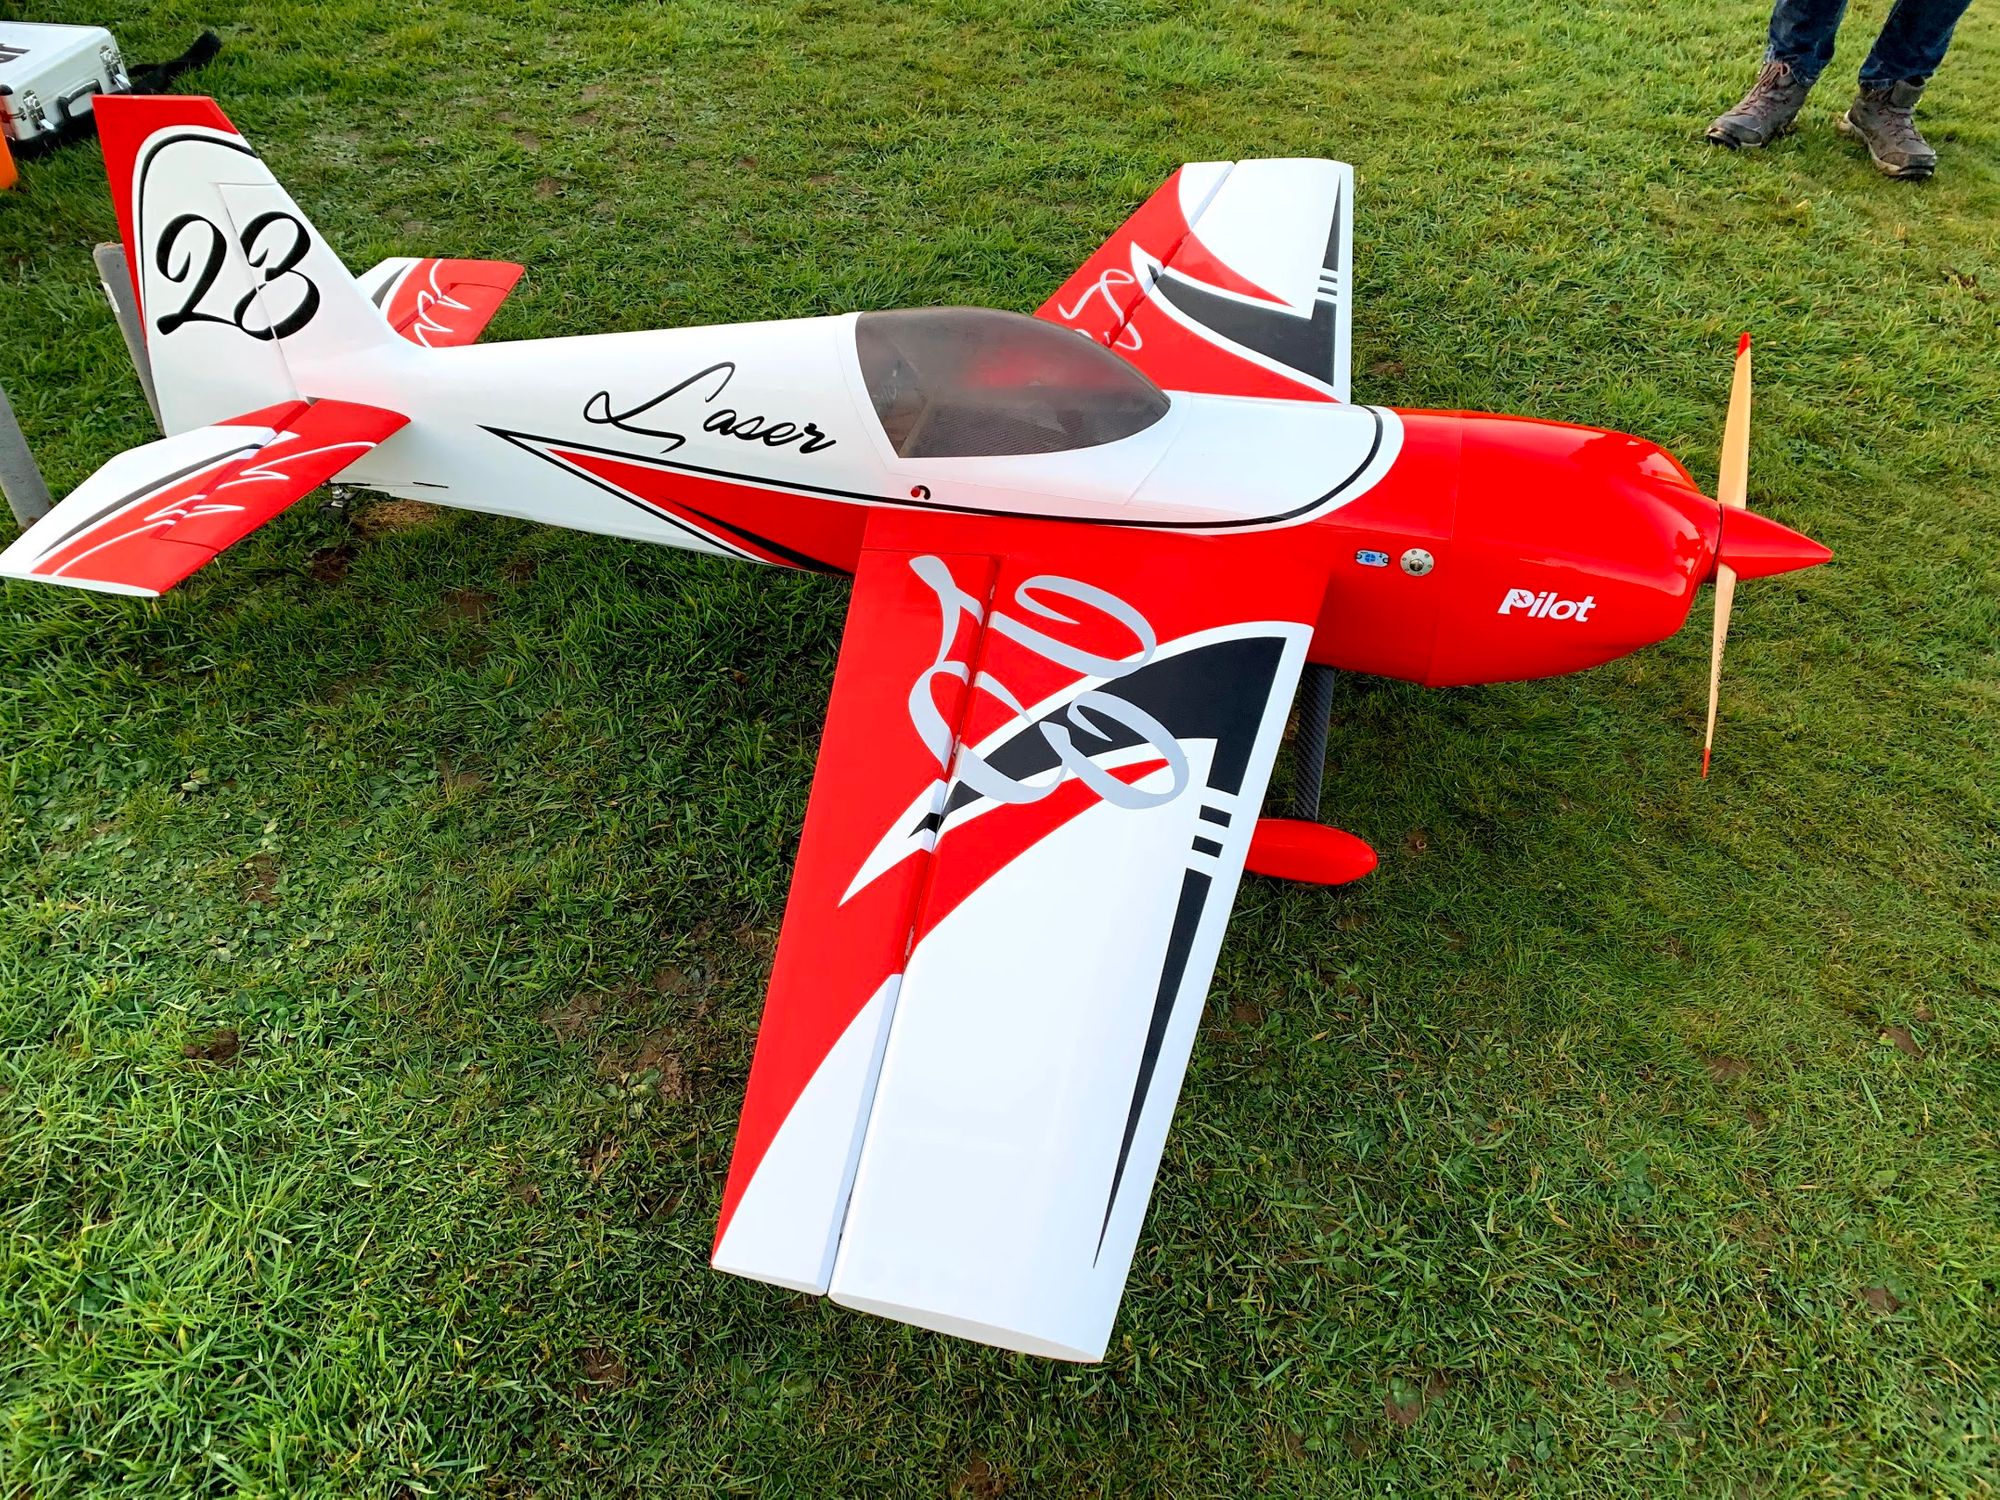
Aerobatic competition results
- Updated on Sat, 14 May 2022 by John Allen
Advanced
1st Bob Finley
2nd Conor Buckley
3rd Barry Waugh
Bob Finley, 1st 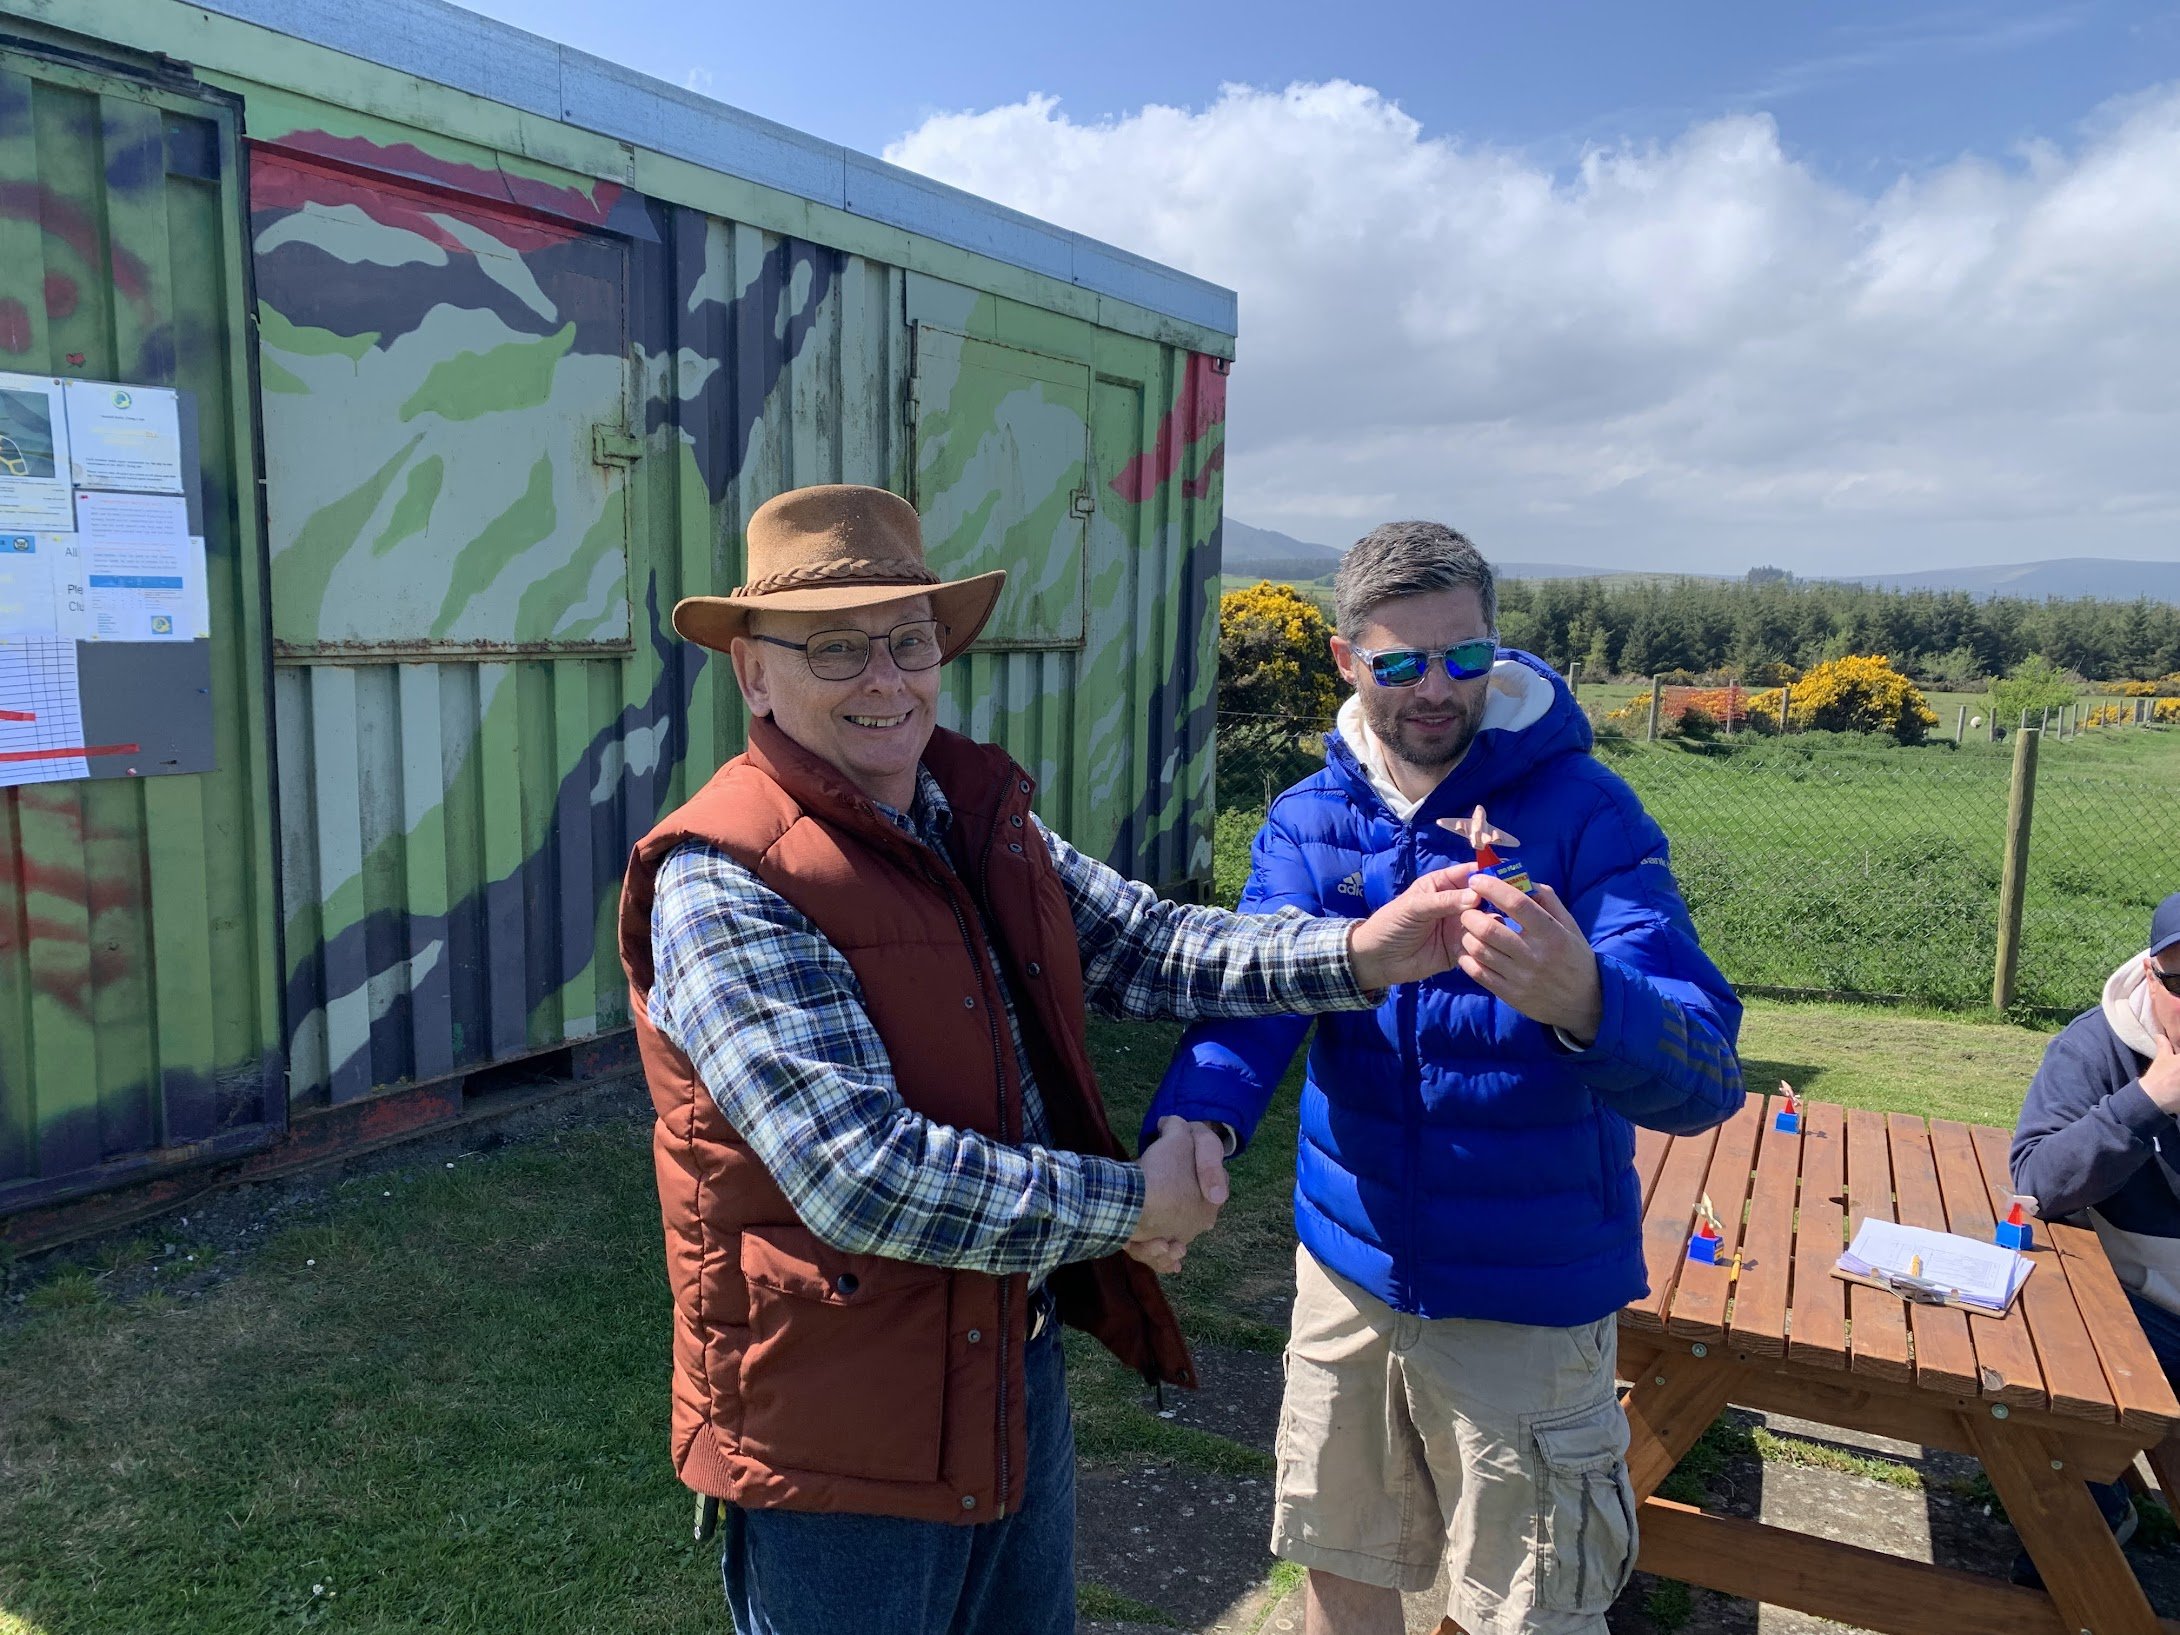
Barry Waugh 3rd Novice
1st Jimmy Murphy
2nd Colin Block
3rd Carl Hayden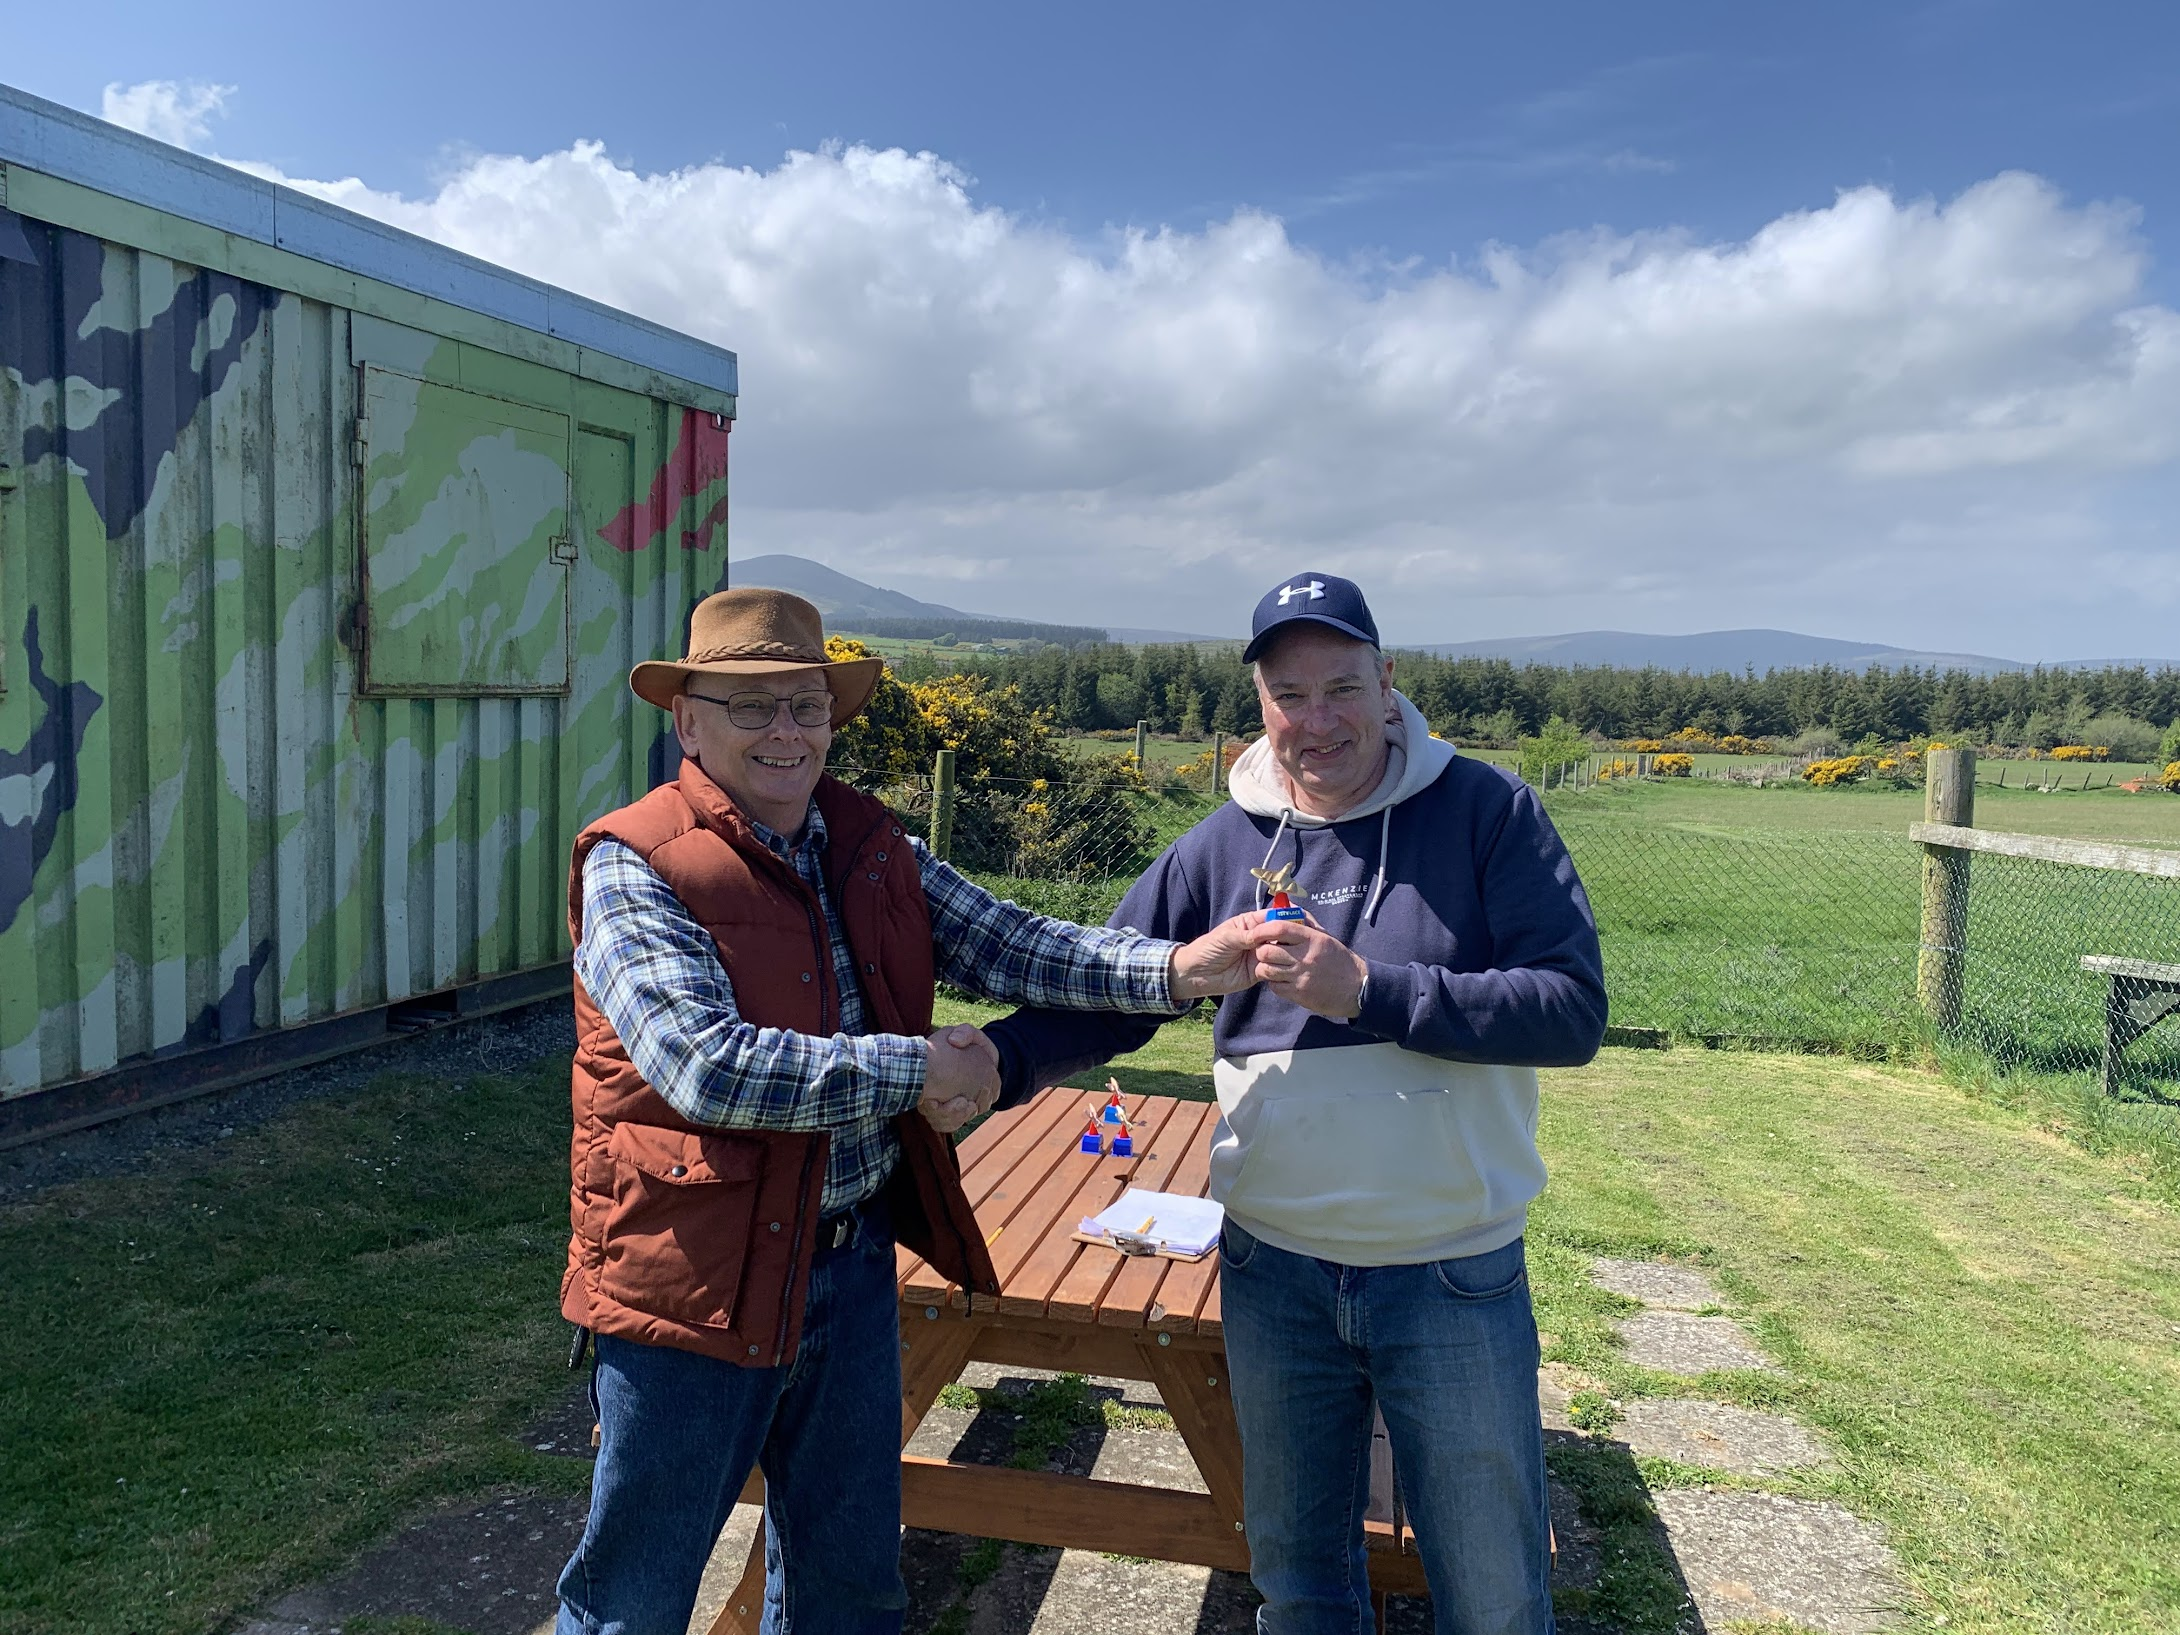
Jimmy Murphy 1st 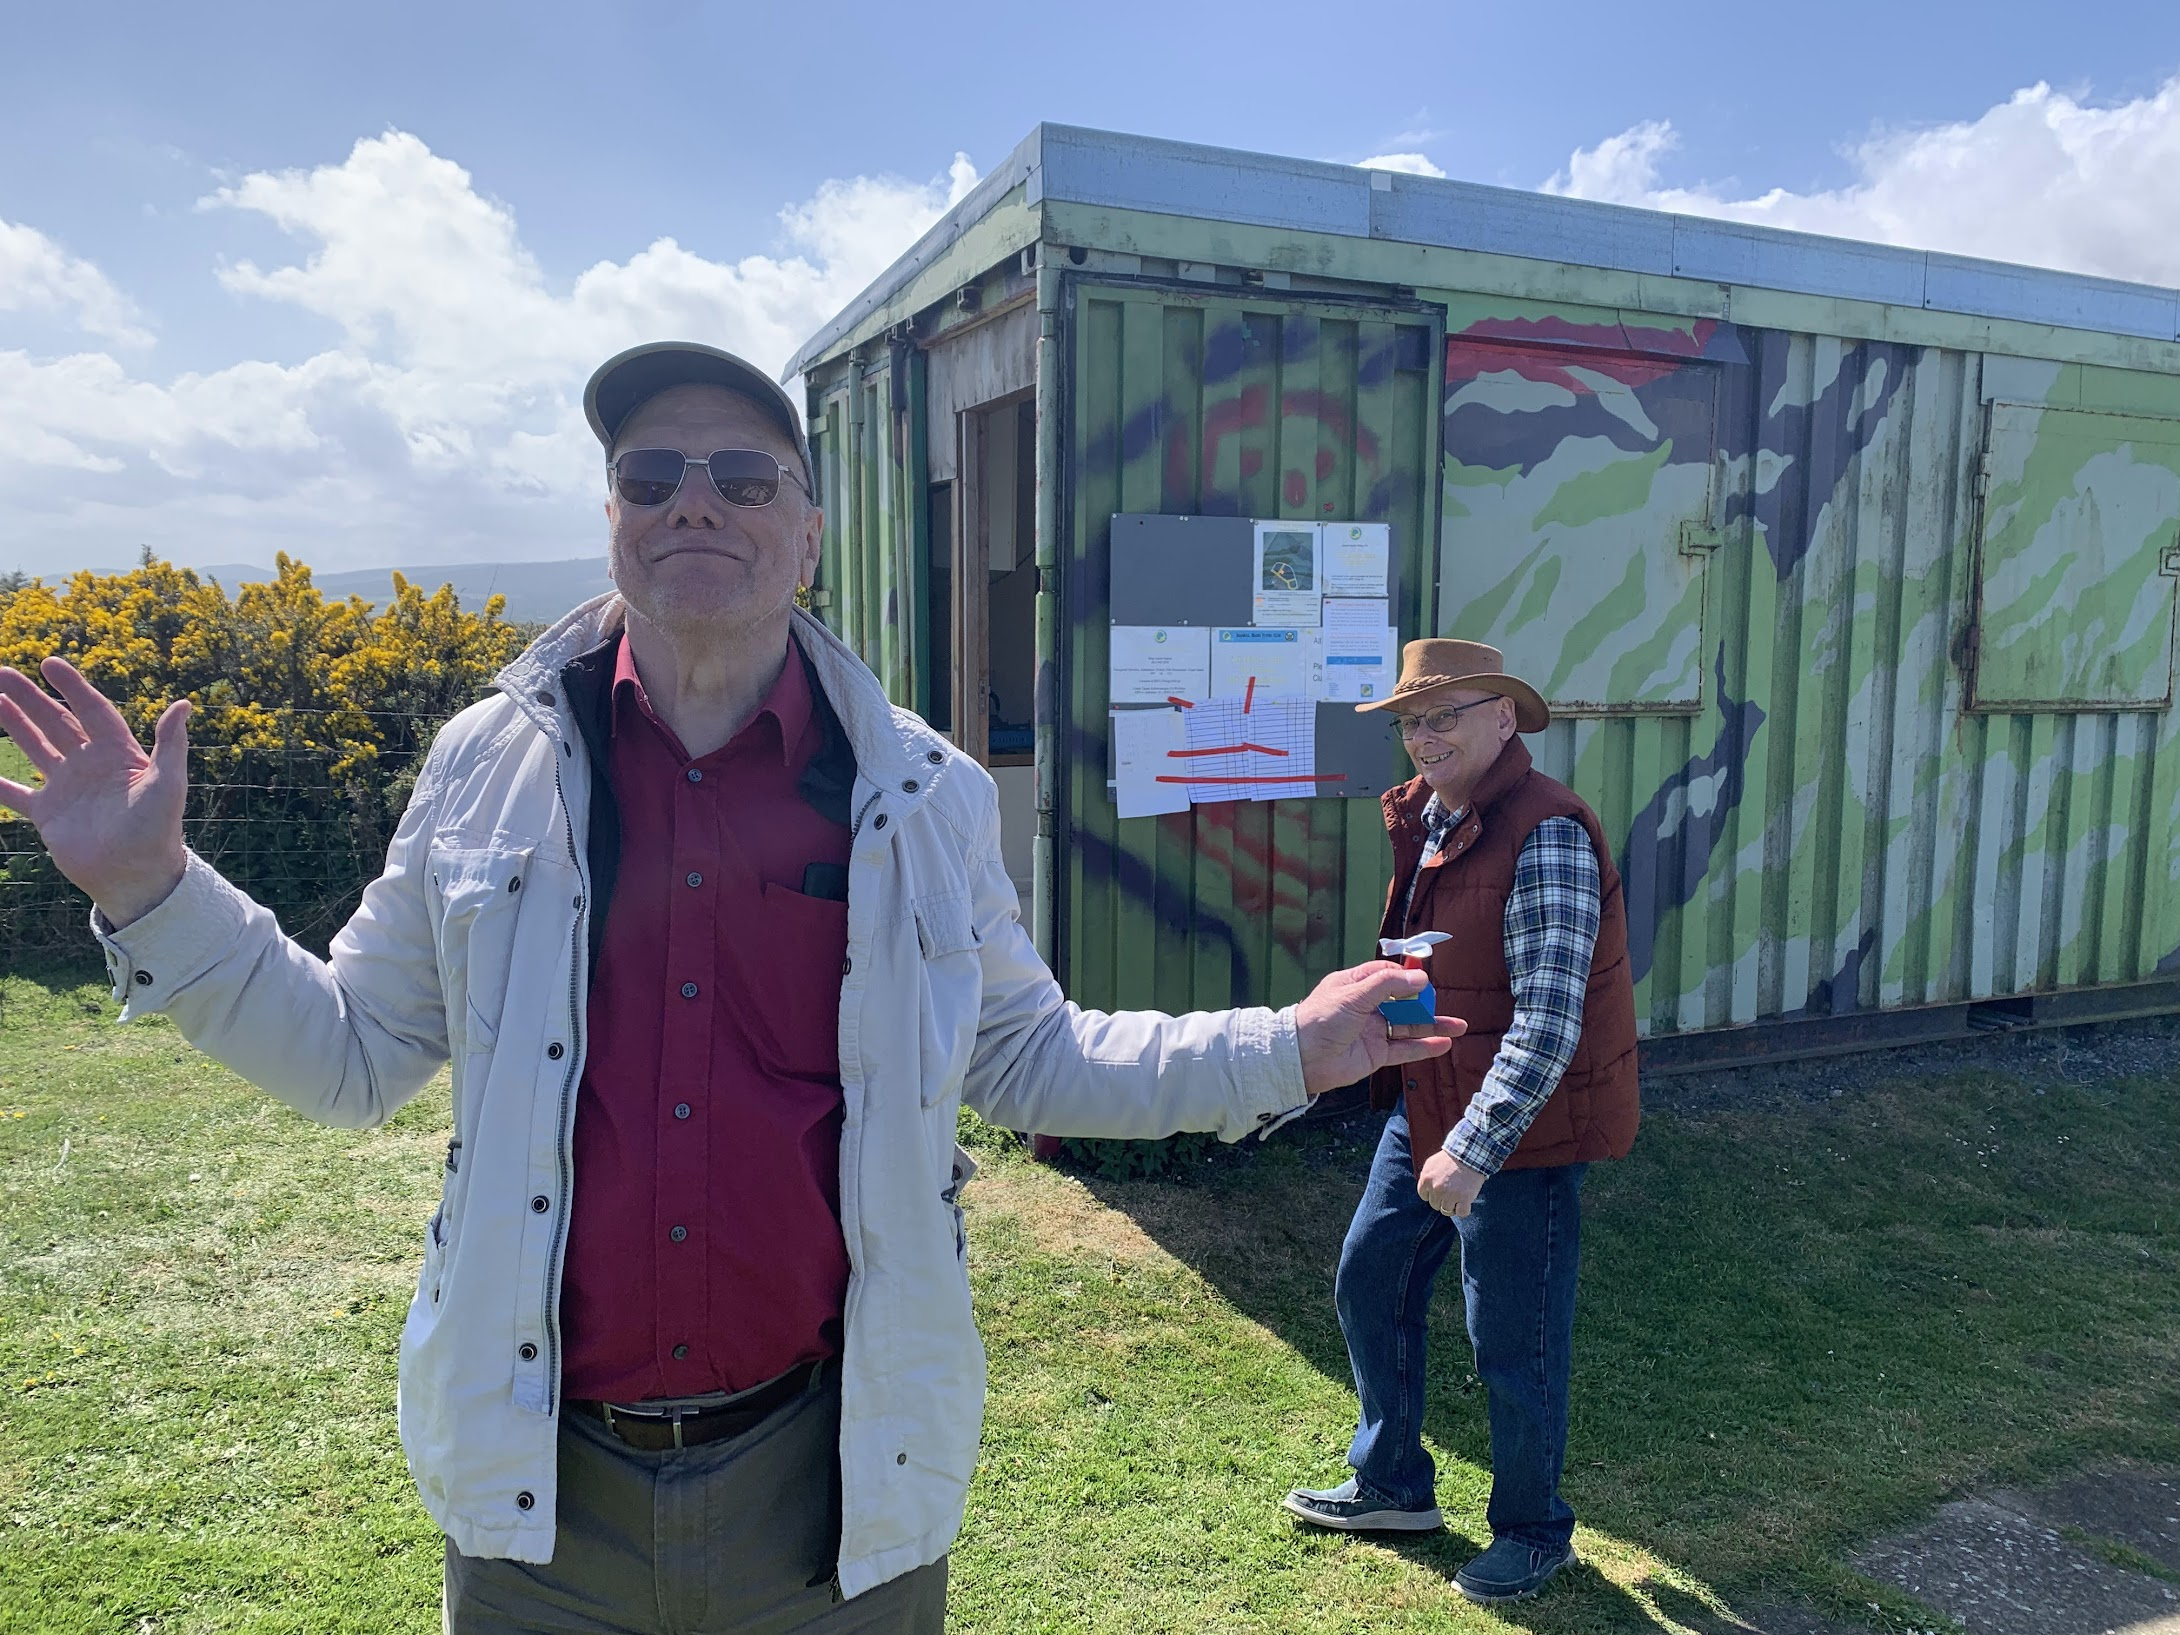
Colin Block 2nd Other photos from the day
Aerobatic competition
- Updated on Fri, 13 May 2022 by John Allen
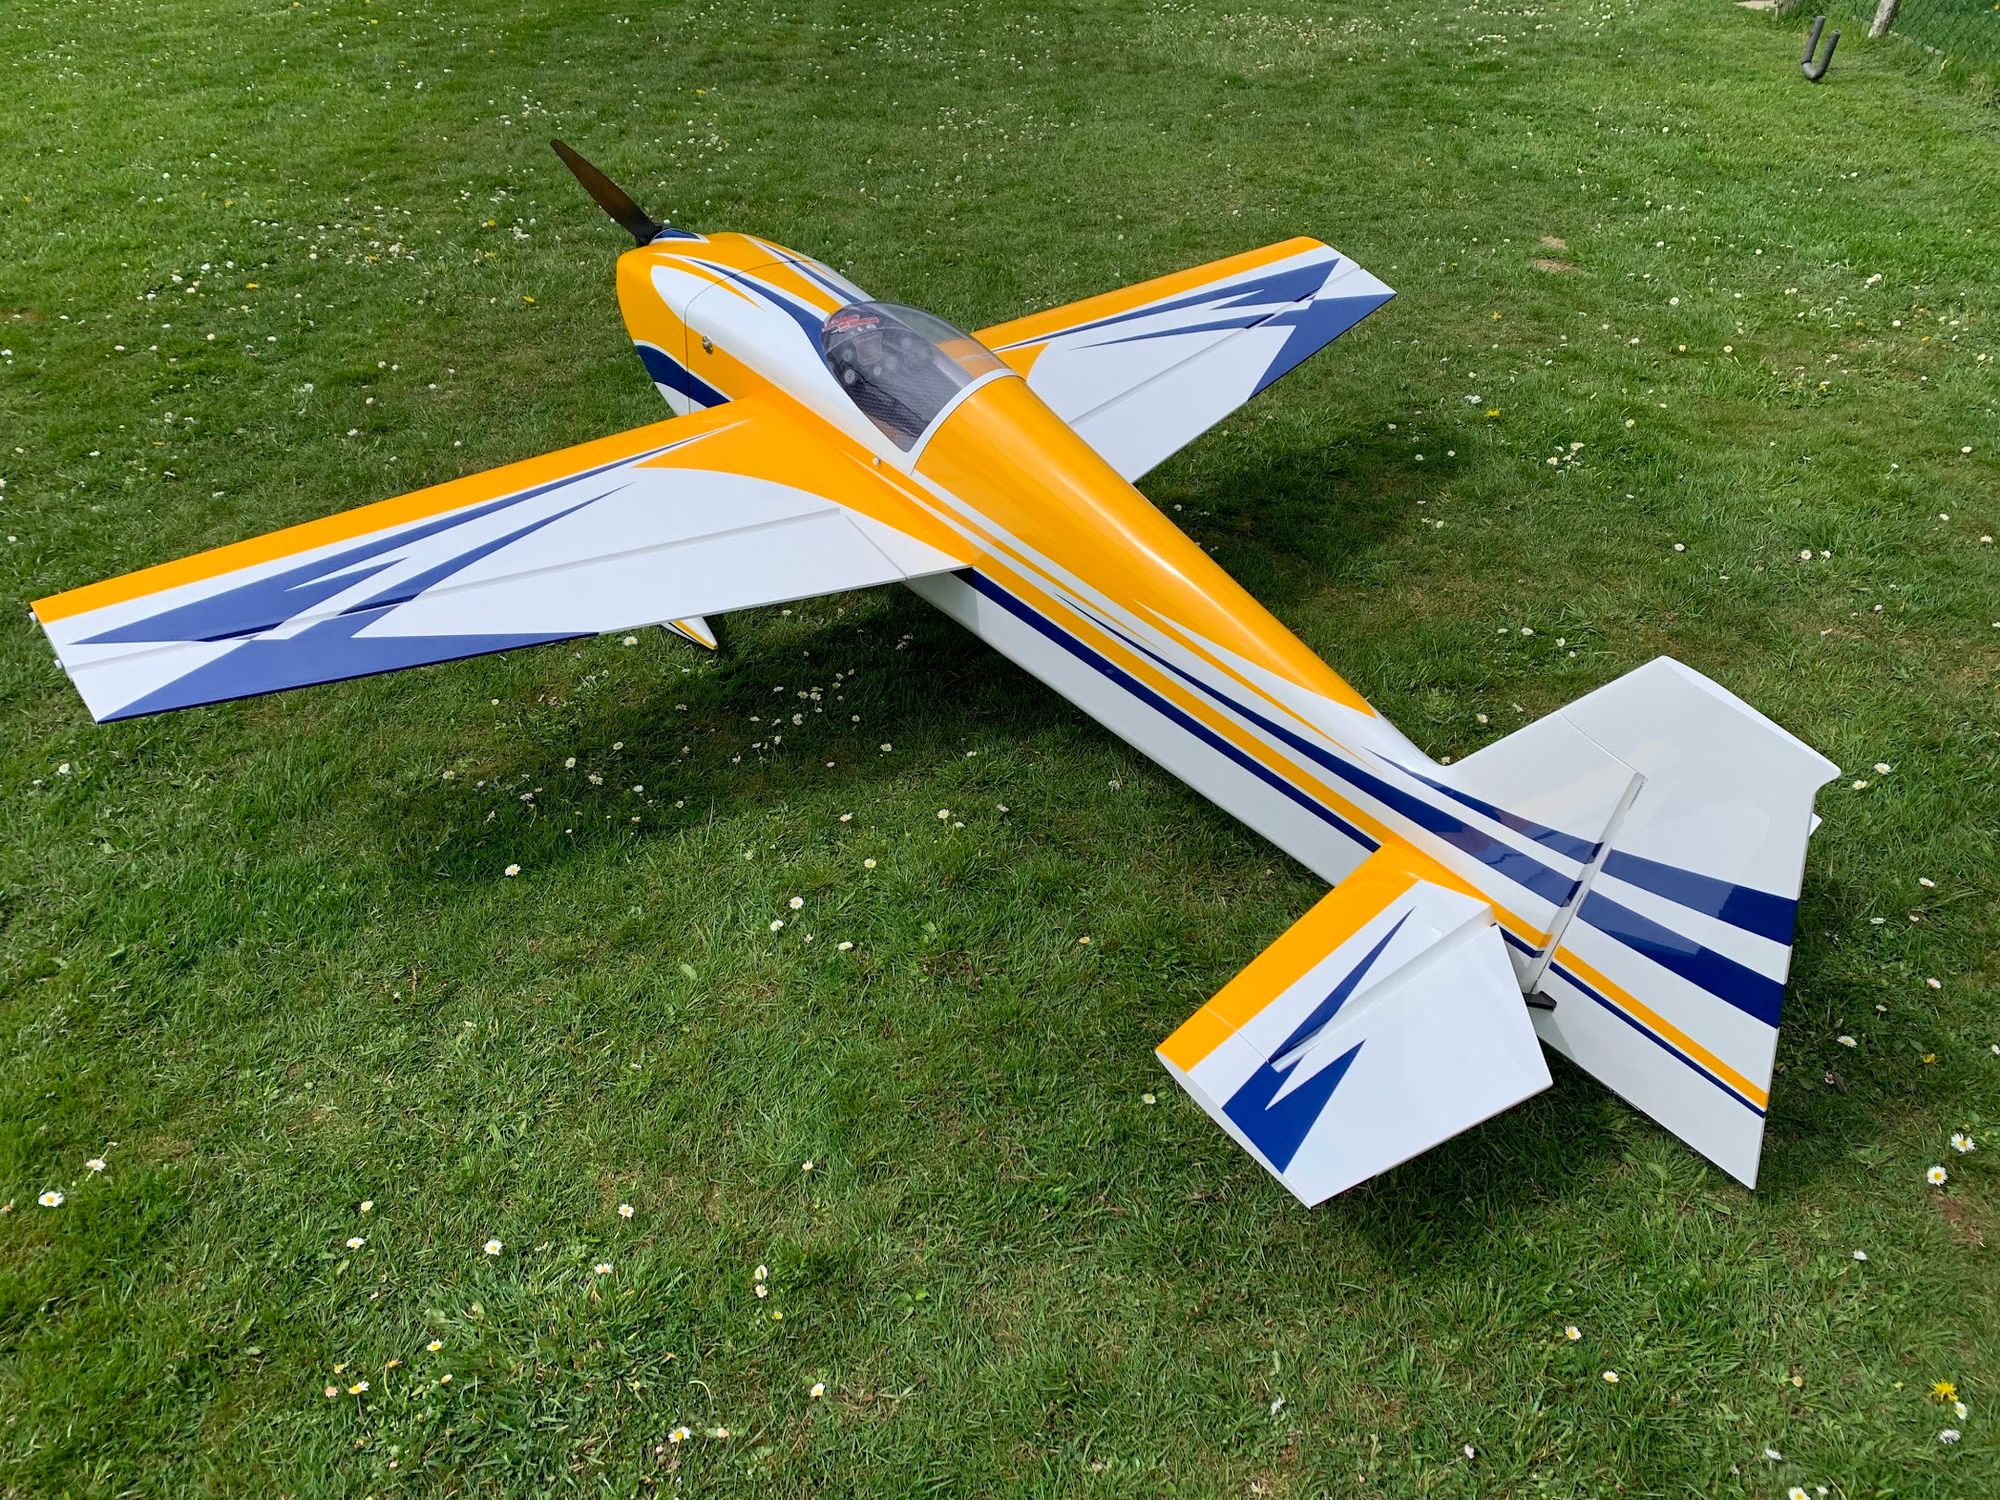
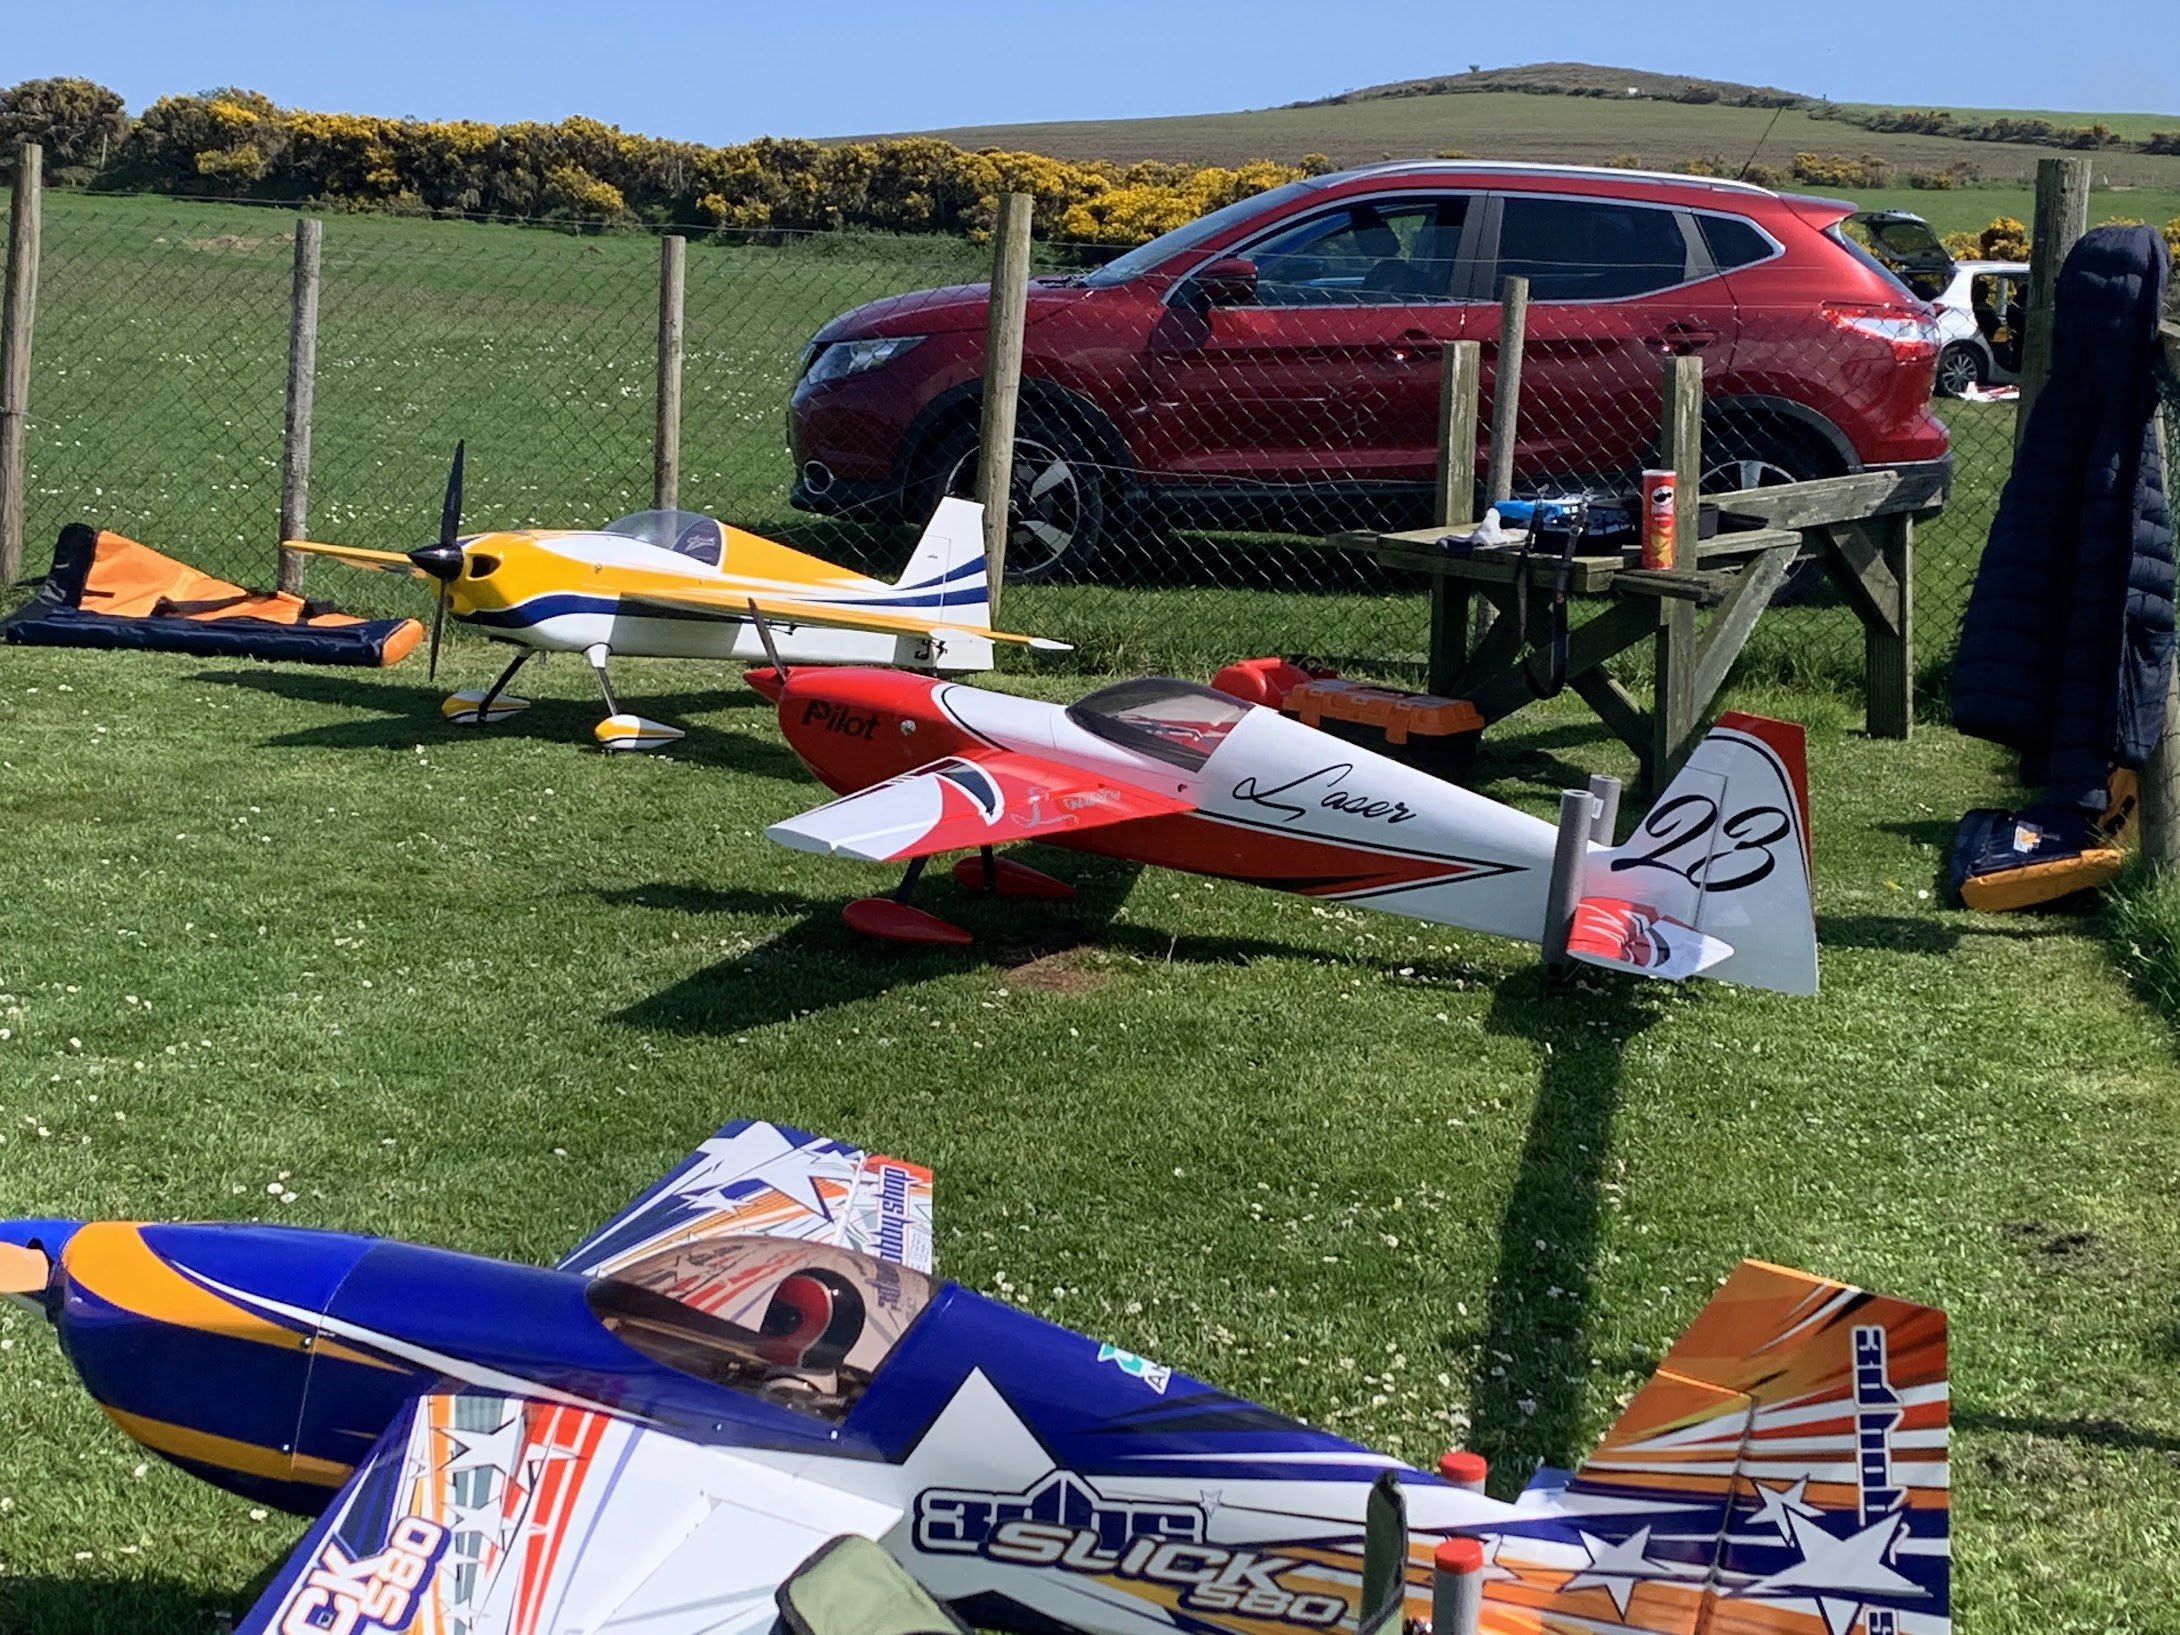
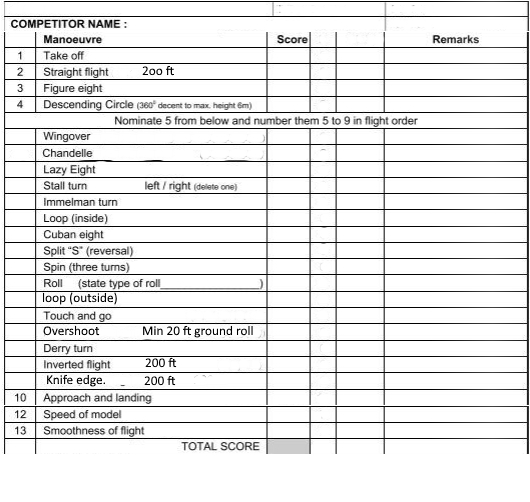
Skywing Edge 540T 91" OK, here we go. These are going to be the descriptions of the manoeuvres for the competition. They may not be exactly the same as the BMFA or MACI or any other organization but that does not matter. This is just a competition for our club and meant to just be a bit of fun.
All manoeuvres should be flown as if it was a full size aircraft with a full size pilot in it. In other words, you will lose points if you do a loop that would generate 15 G’s !
Any aircraft can be flown, including but not limited to helicopters and hand launched planes.
Manoeuvres will start out with ten points and will have ½ point marked off for each error.
All manoeuvres will be valued the same so it is up to you if you want to show off or just do the easy ones.
The first four on the list are set and everyone must do them in the order shown.
The next 5 are your choice. Number them 5-9 in the order you want to fly them.
You must call out the name of the manoeuvre before starting it. You can have a caller to tell you which is next so you don’t have to remember. Make sure you print 2 score sheets so your caller can read from one and I can have the other to judge.
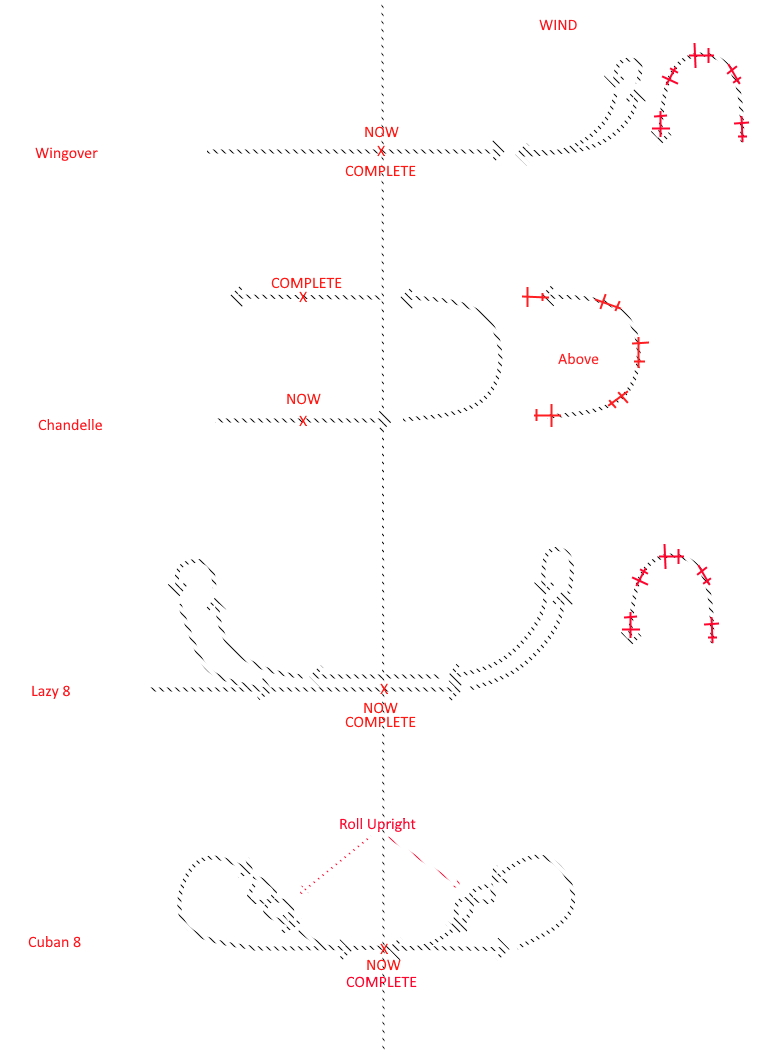
You must shout “Now” just before beginning the manoeuvre and “Complete” when you finish it. See diagrams.
To keep it simple, we will stick to the manoeuvres on the list.
No punching biting or kicking in the nuts!
And that’s it for the rules.
Manoeuvres
Can be done upwind or downwind at your choice.
A centre line will be decided on the day and manoeuvres will be judged on being symmetrical to it where appropriate.- Normal takeoff and climb in a curved or rectangular pattern to crosswind. Complete when at 90 degrees from runway.
- Straight flight. Fly a straight and level line for 100 feet on both sides of the centre line.
- Figure 8. Fly two circles of equal size with the crossover point on the centre line. At crossover, plane should be 90 degrees to the runway. (Tail facing towards you)
- Descending 360. Start from a height of one hundred to two hundred feet. Cut the throttle to idle at the centreline and perform a 360 degree turn while descending to arrive back at the centre line at or below about twenty feet.
- Wingover. Fly a short distance past the centre line. Begin a vertical climb and when established, add rudder to bring the nose around until it is pointing straight down. Reduce throttle and transition to level flight at the same altitude and position you entered the climb but in the opposite direction.
- Chandelle. This is a climbing 180 degree turn. Start your climb and turn at the centre line. Roll straight and level at the centre line again after 180 degrees with at least a 100 foot climb. At this point I should note, anyone giving me shit about not using metric loses 1 point!
- Lazy 8. Fly a short distance from the centre line and begin a climbing turn. At 90 degrees this should turn to a descending turn to finish straight and level at the same height as entered but in the opposite direction. Continue passed the centre line for the same distance and repeat the turn in the opposite direction.
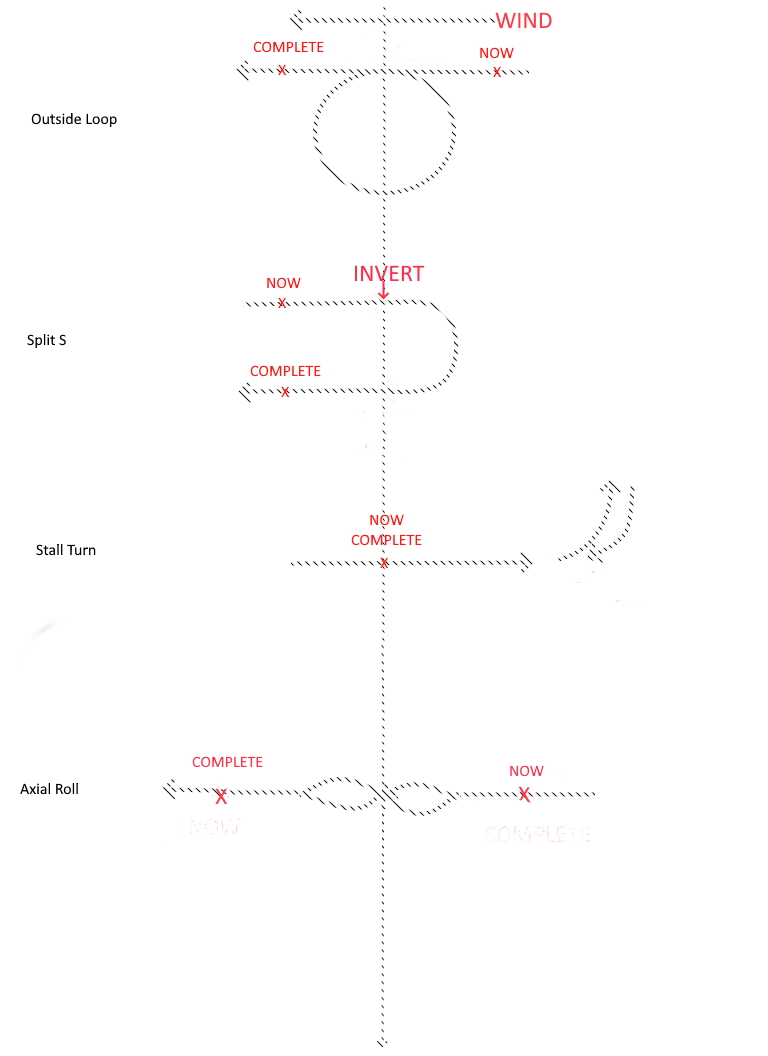
- Stall turn. Fly a short distance past the centre line. Start a vertical climb. Bring throttle to idle. When vertical speed reaches 0, add rudder to cause nose to fall to one side (Away from pits) Recover in opposite direction and at the same height as entered.
- Immelman. At the centre line start a half loop. When back at the centre line, roll upright.
- Loop (Inside) You know what a fecking loop is!!! But most don’t know what it should look like. The circle should start and finish at the centre line. It should start and finish at the same height. It should be round. It should not be soooooo small that the pilot (and anybody watching ) passes out. Centred on the centre line. Big, round and centred makes a good loop.
- Cuban 8. Fly a short distance past the centre lin., Perform ¾ of a loop then roll upright. Continue to level flight at the altitude you started at. Continue past the centre line and repeat the manoeuvre.
- Split S. At the centre line, roll inverted. Hold level for about a second then throttle back and allow the nose to fall into a half loop to be level at the centre line. Increase throttle as needed.
- Spin. GAIN SUFFICIANT HEIGHT. At centre line throttle to idle. Hold nose up until stall. Both sticks to bottom corner (same side). Spin 3 times and recover in the same direction you entered. DON’T CRASH!
- Roll (Axial or barrel) Axial roll should keep level flight while rolling. Barrel roll should look like you are flying a loop around the inside of a barrel while moving forward. If you don’t understand this, either get me or someone to show you or just don’t try this as it is too hard to explain and it will cause me to malfunction.
- Loop (Outside) Same as the inside loop but started from the top. Throttle back, nose down, increase throttle just before level to full and finish on top at the centre line. GET ENOUGH HEIGHT! DON’T CRASH! Tell everyone if you are going to crash so they don’t miss it.
- Overshoot/Touch&go. The only difference between the two is with the t&g, you land and roll a minimum of 20 feet before taking off again. With the OS you fly down the runway at about 20 feet for 30 to 40 feet centred on the centre line.
- Derry turn. Neil, what the hell is a Derry turn? OK, I will look it up. OK, this is a weird one and if you even do this you will get an extra half point. ok so it is 1/4 roll pull to new direction 1/2 more roll, pull to old direction, 1/4 roll to level. All as a continuous roll
- Inverted flight is the same as straight and level only upside down.
- Knife edge is the same as straight and level only on your side.
The last two (11, 12) on the sheet show how well you made the plane look real and how nice you flew it between manoeuvres. So don’t do 10g loops to get back upwind for the next manoeuvre.
Dat’s it boys. Either you are all going to hate me for this or we will have a lot of fun. Either way, I will be accepting the brown envelopes any time between now and.... anytime really.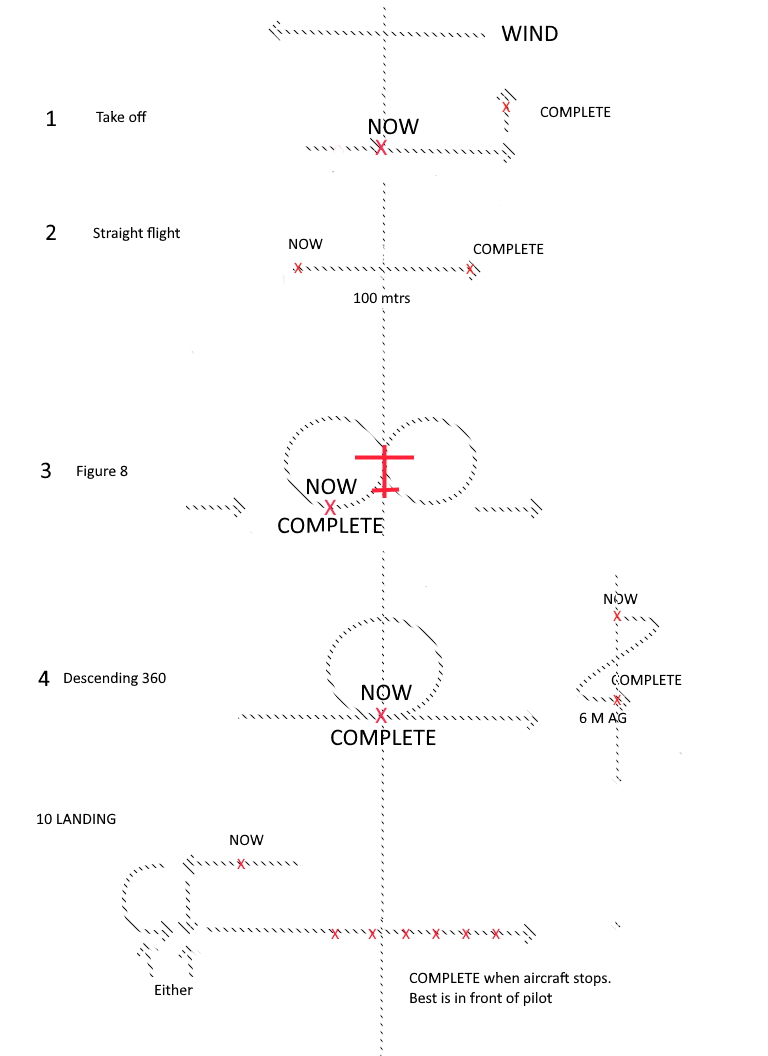

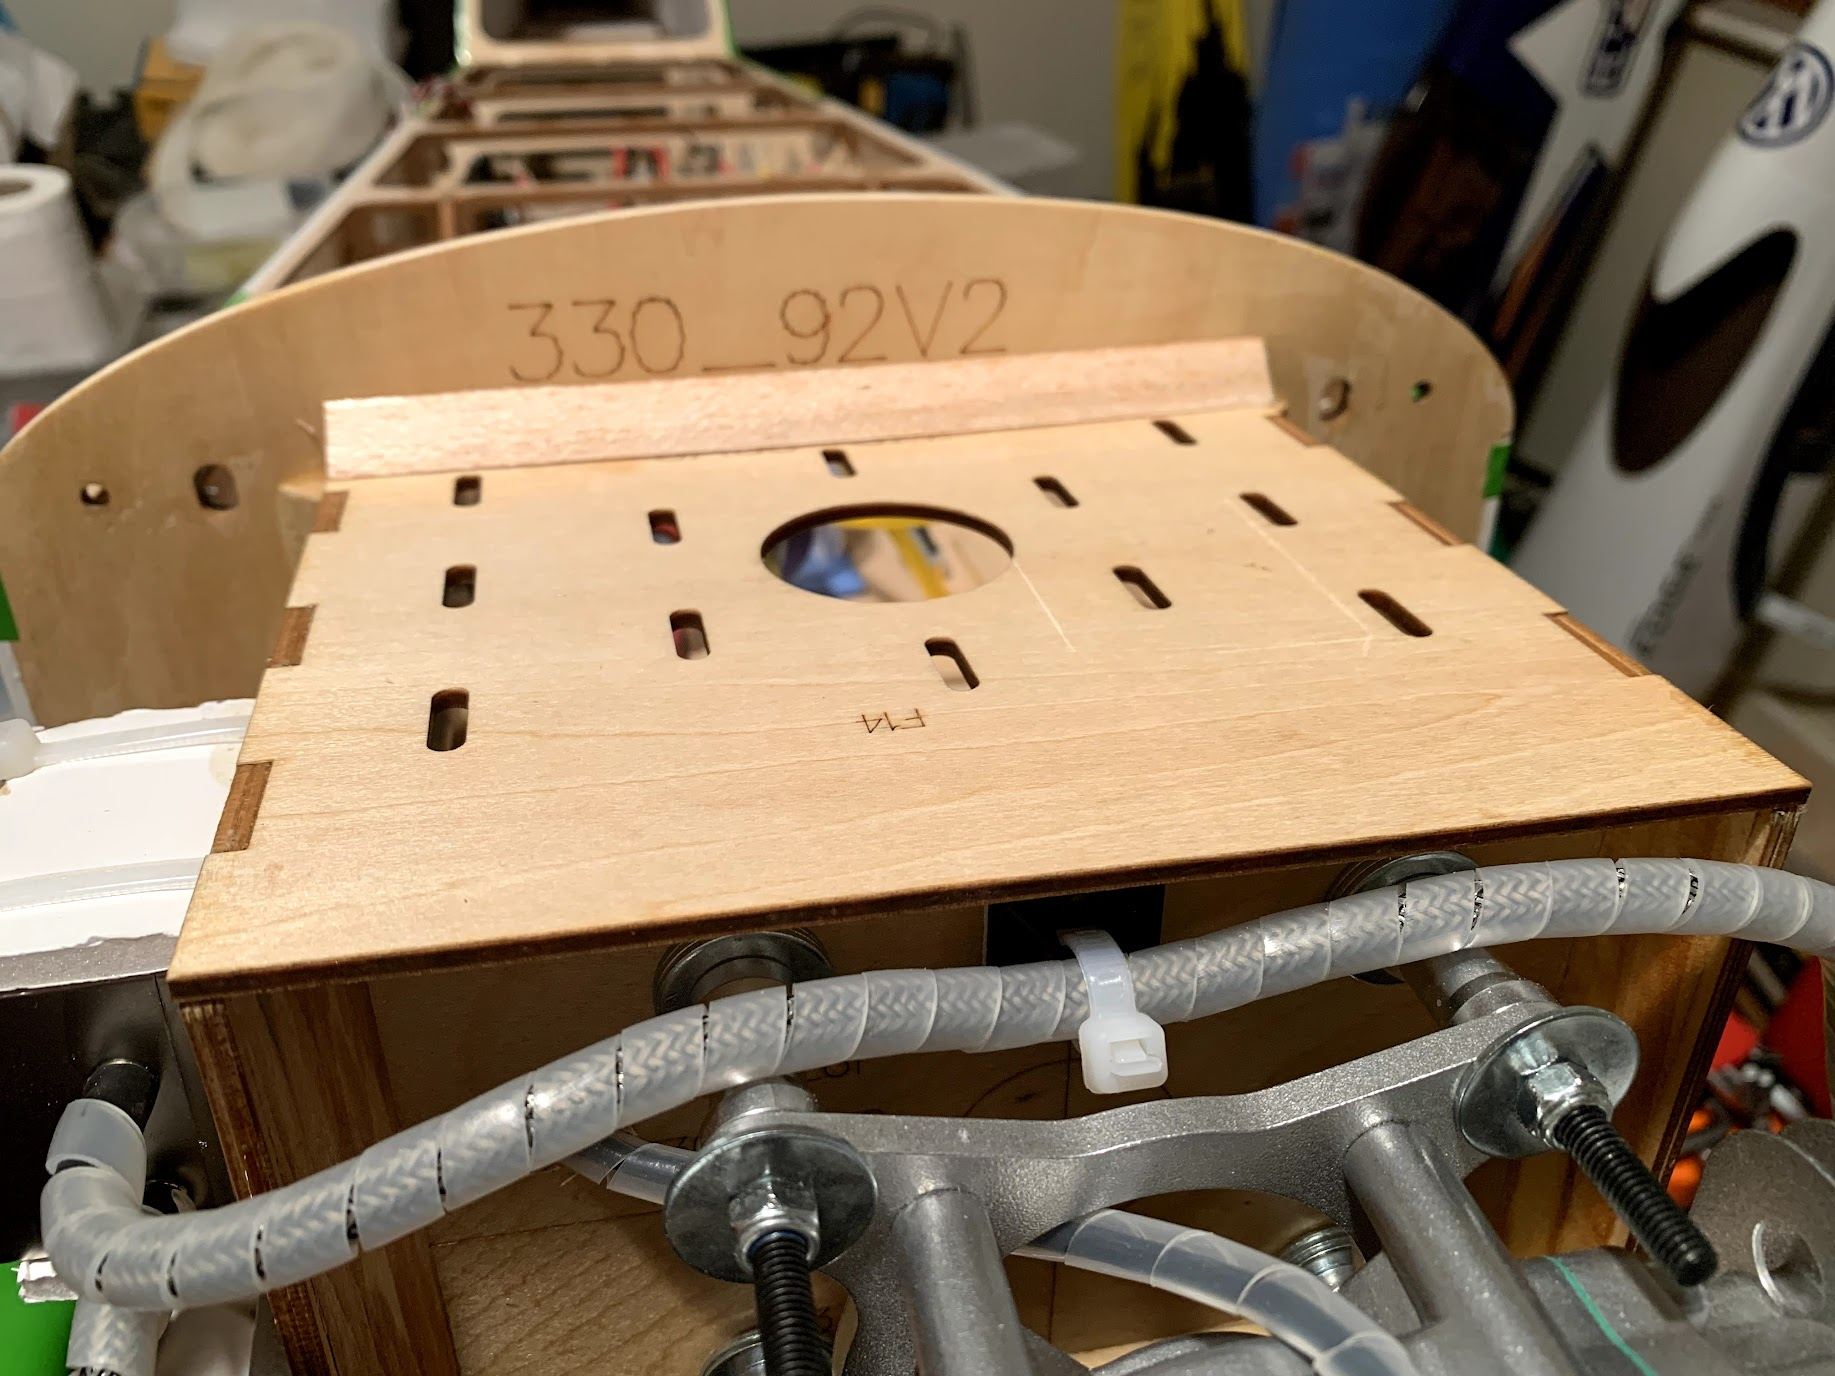
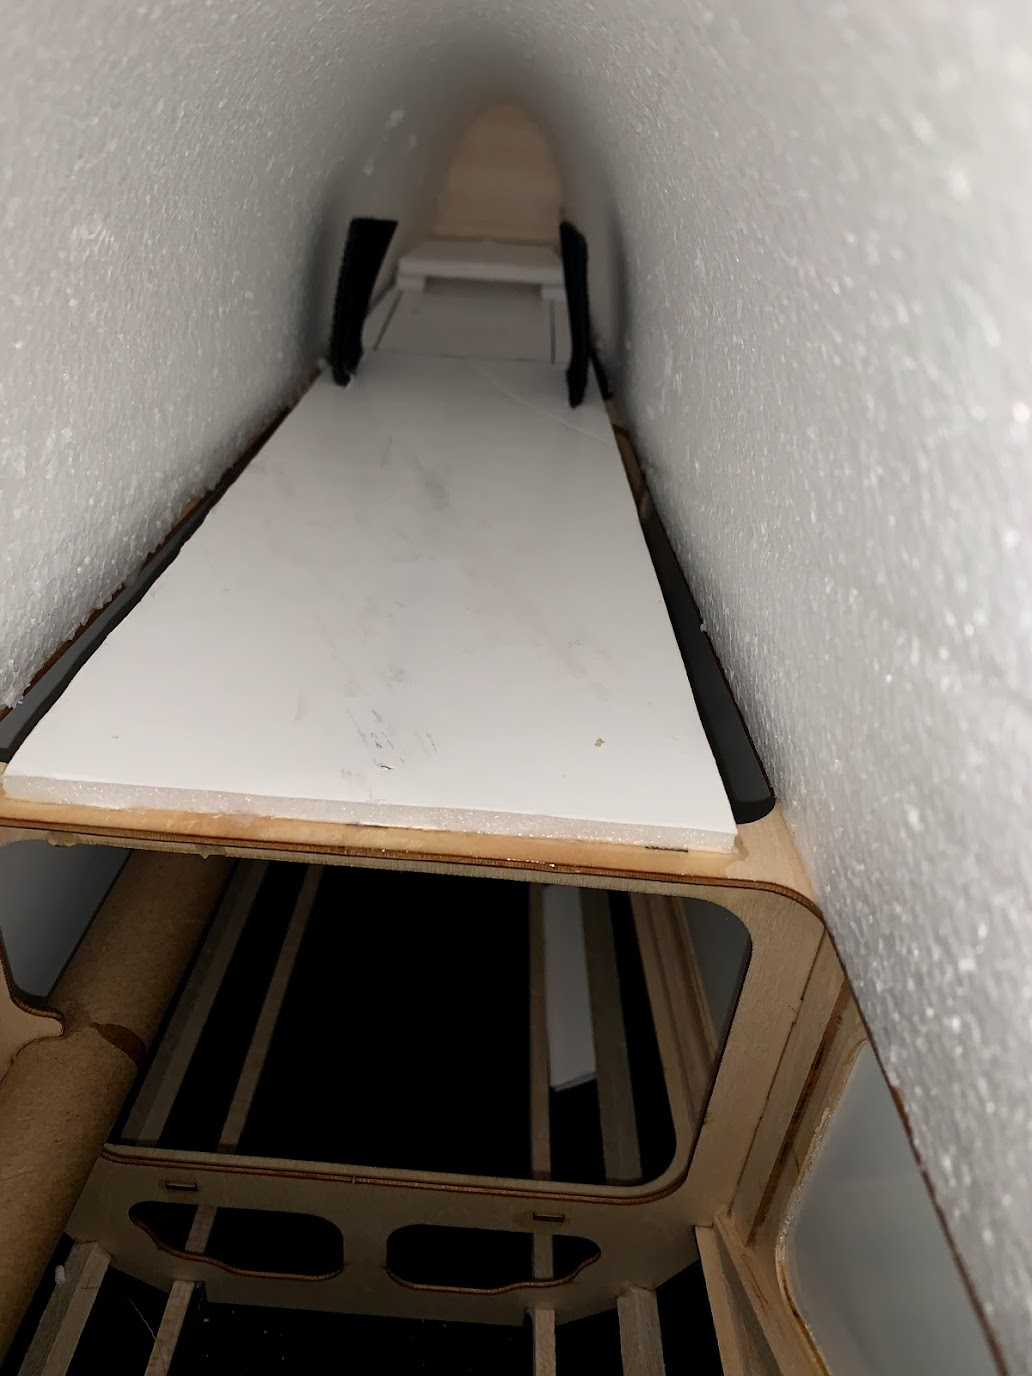
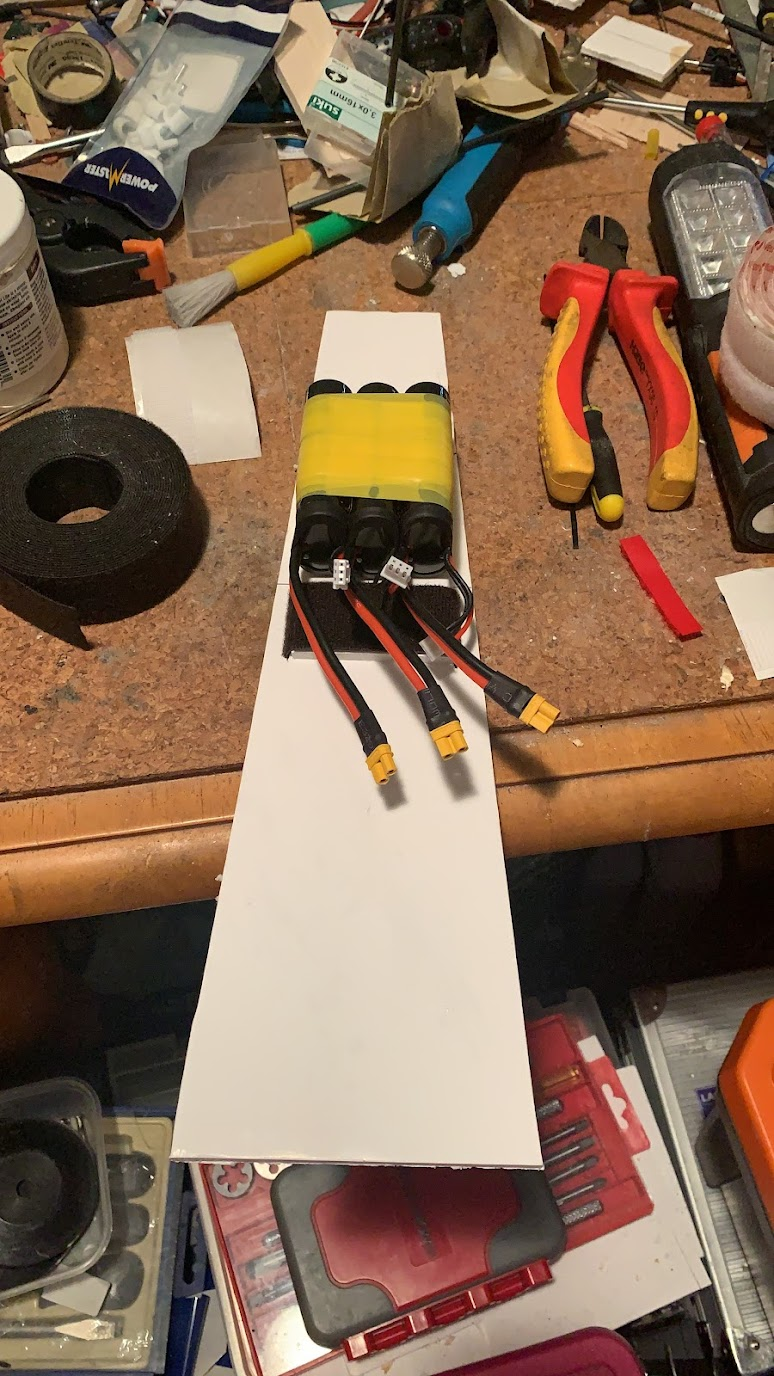
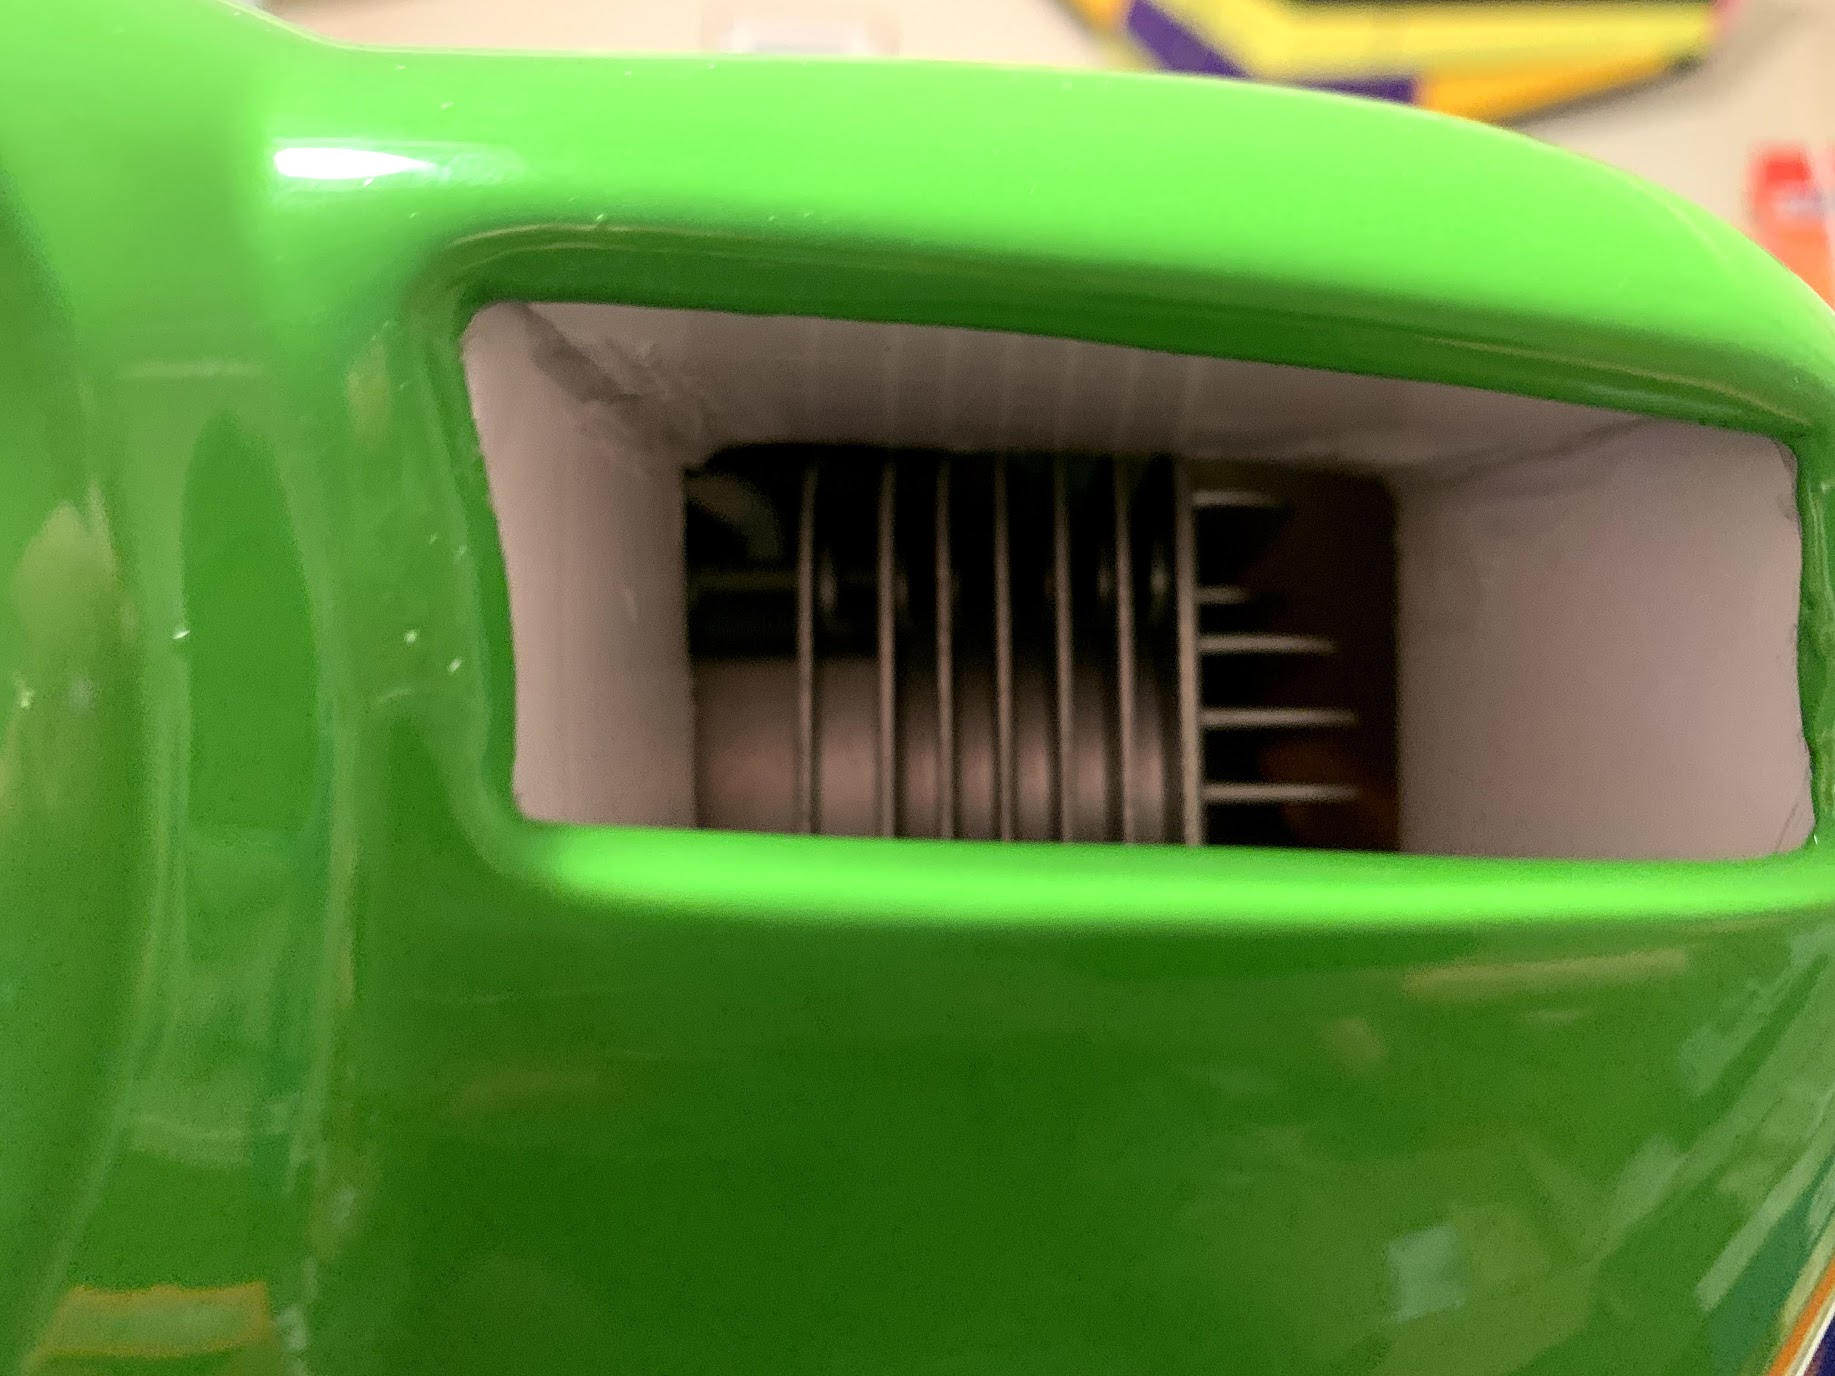
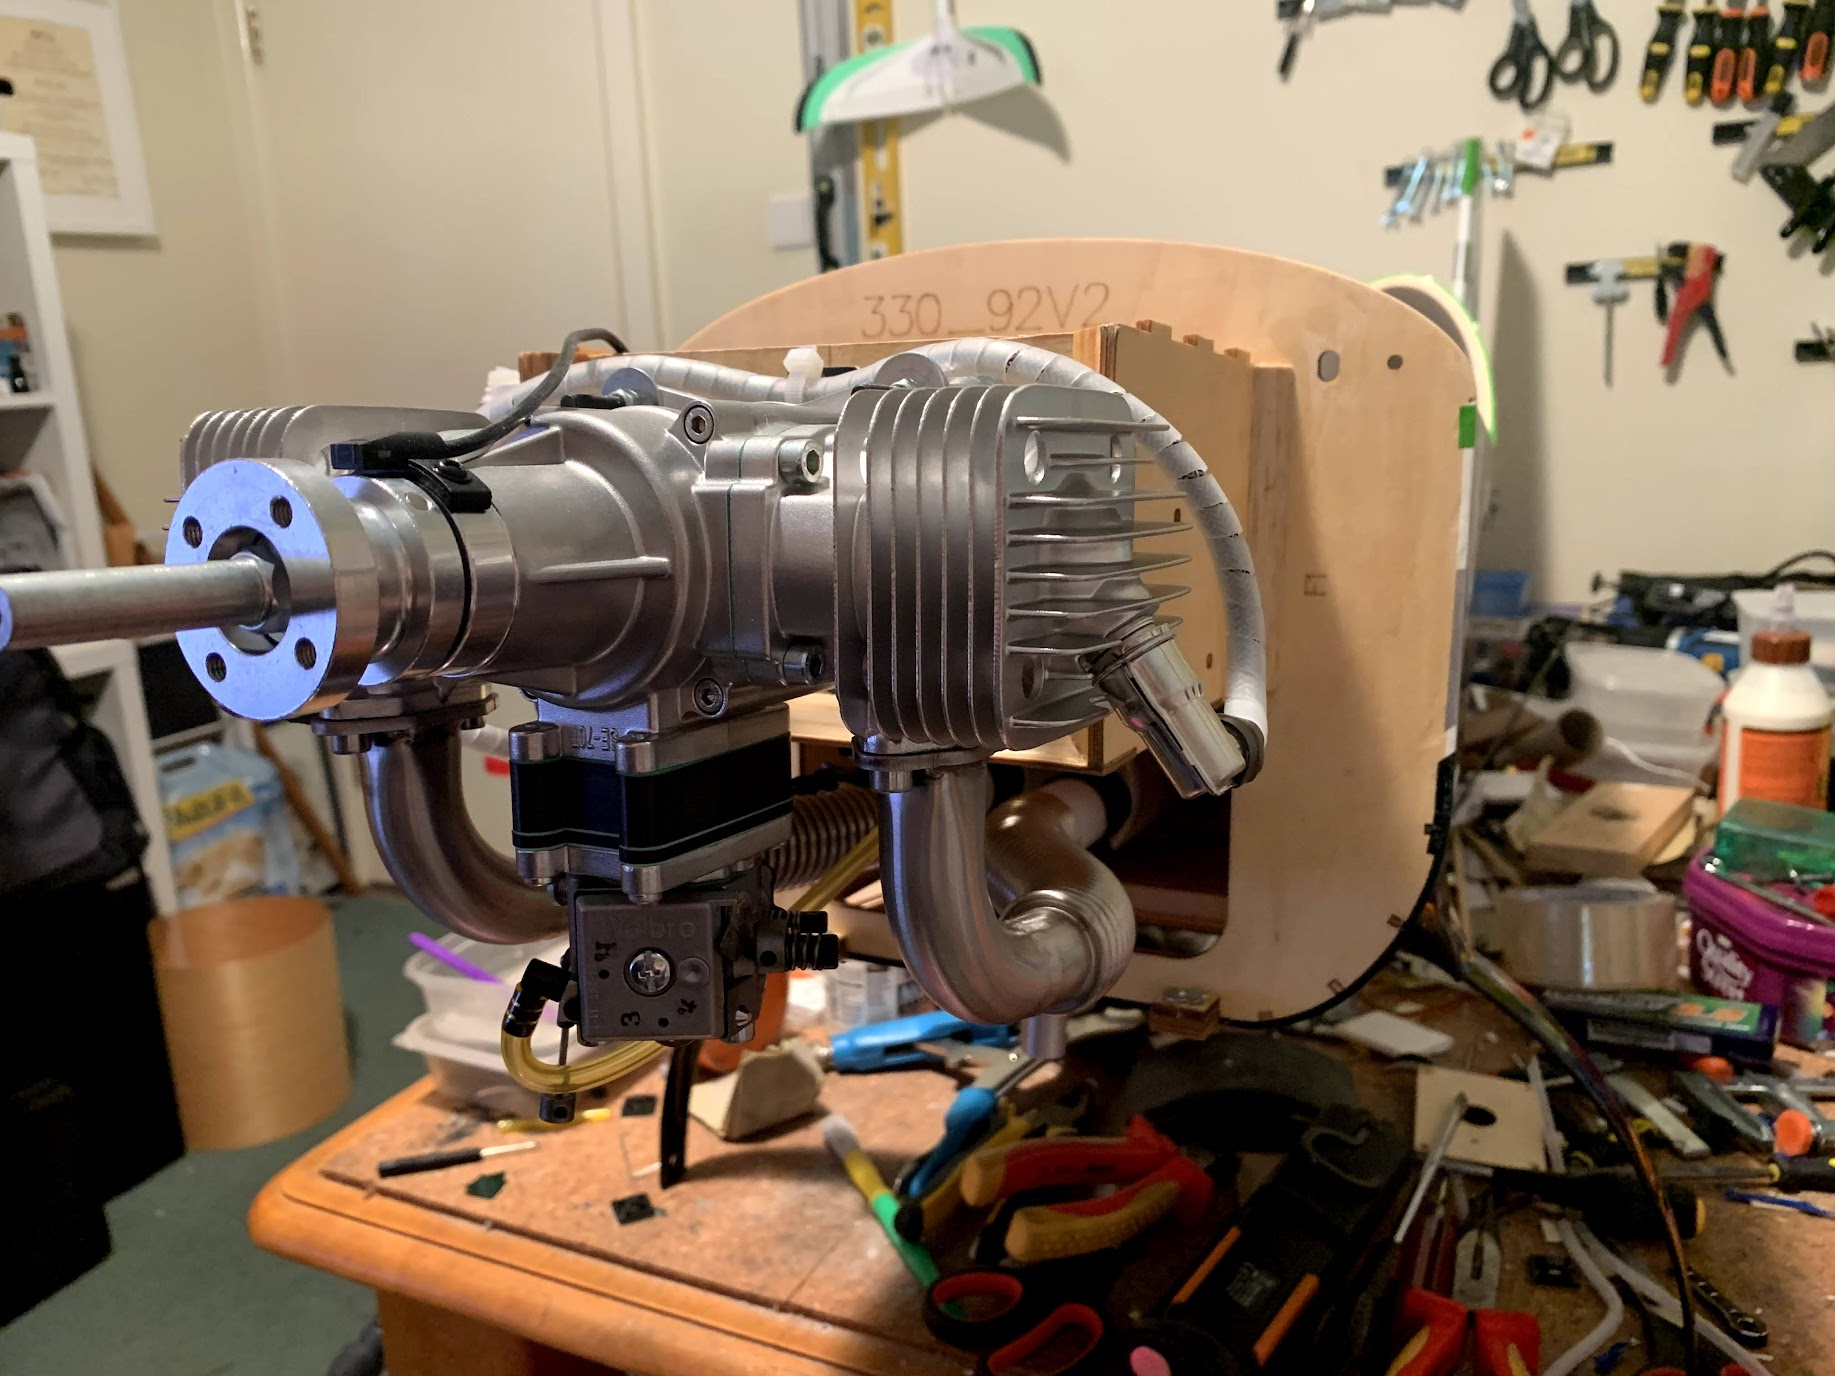
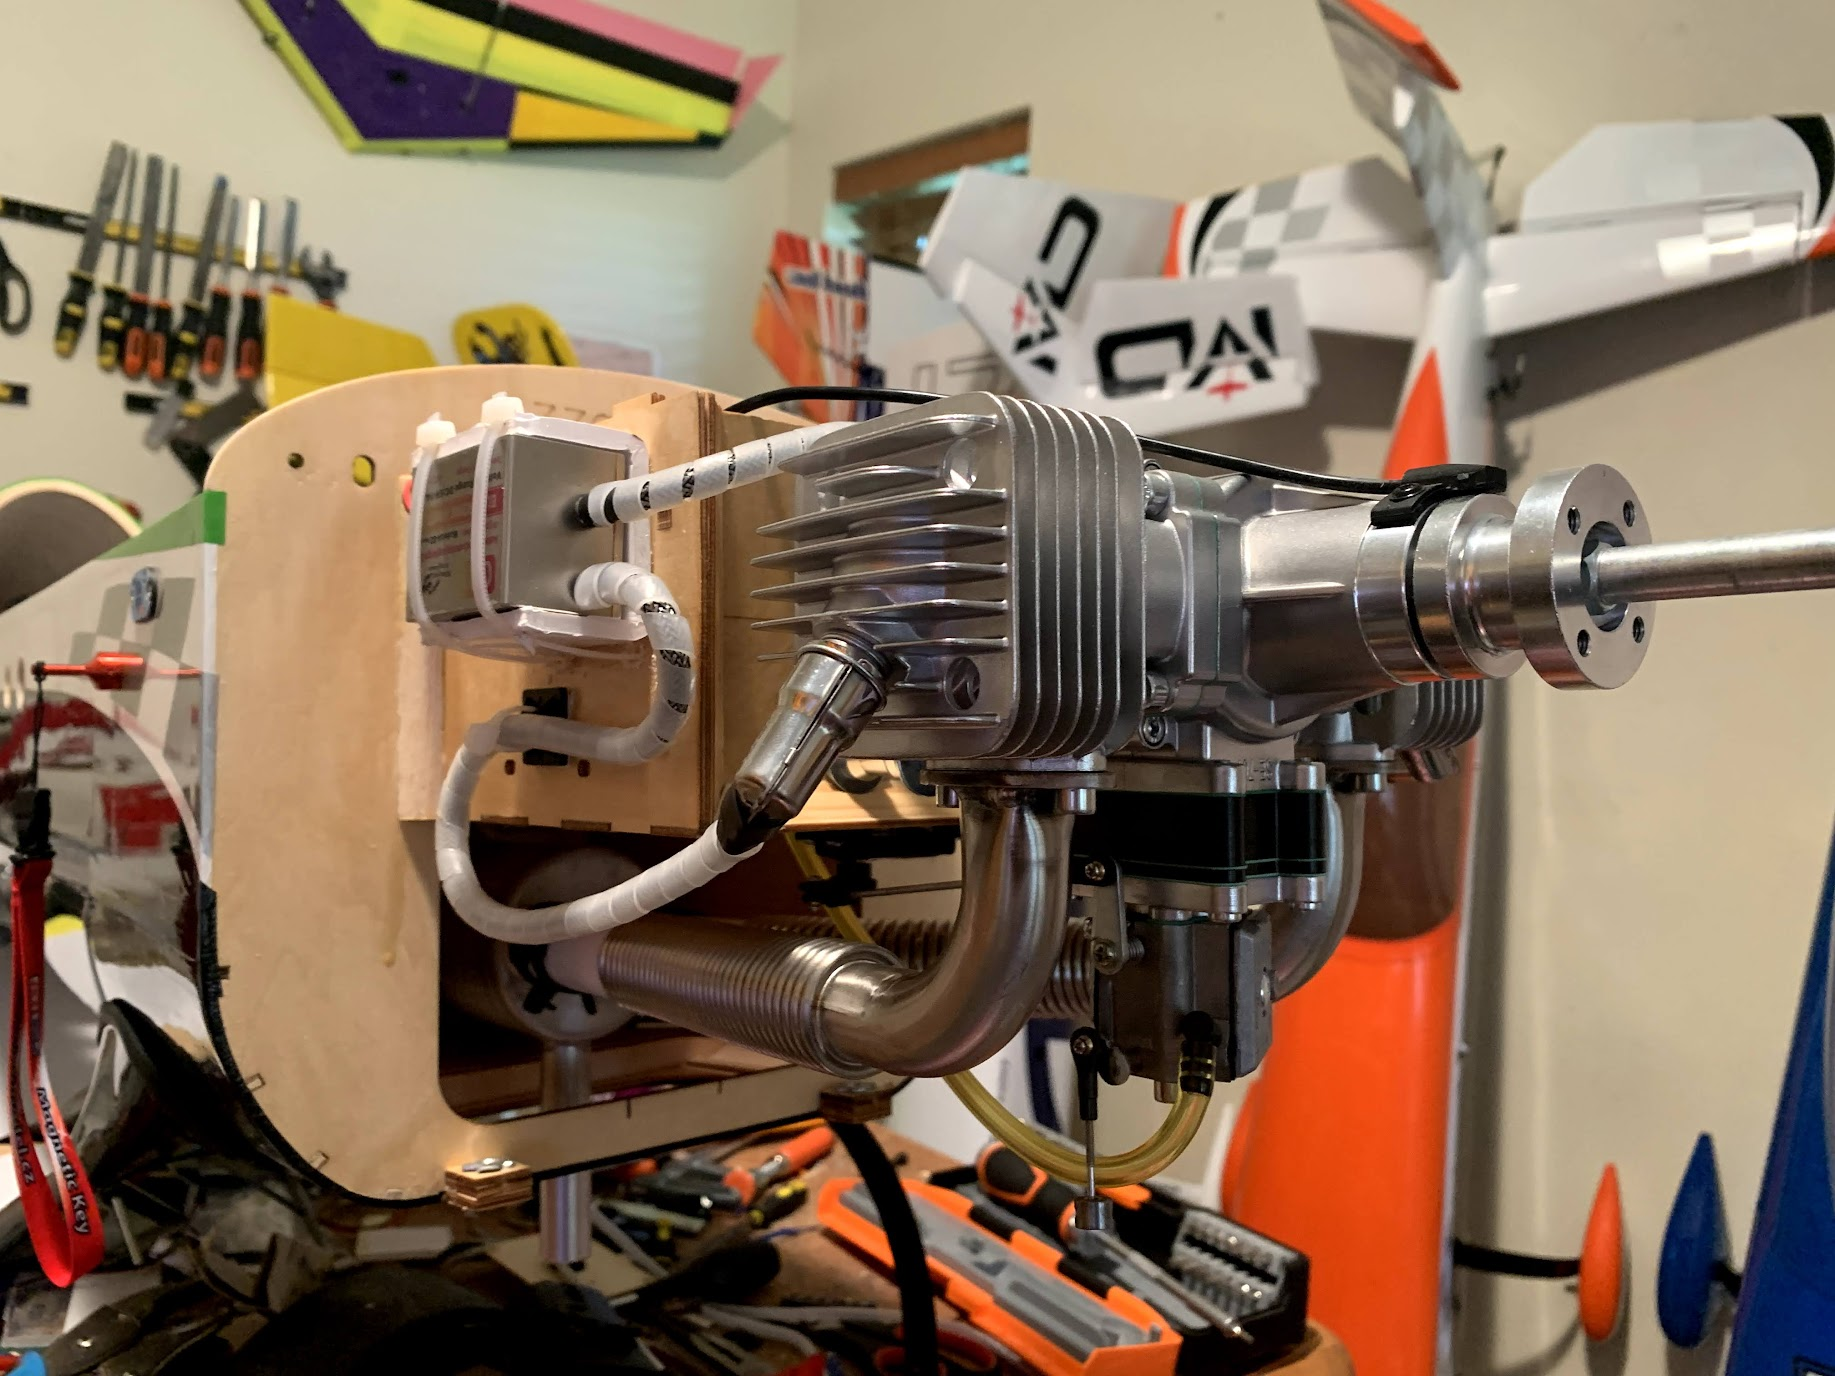
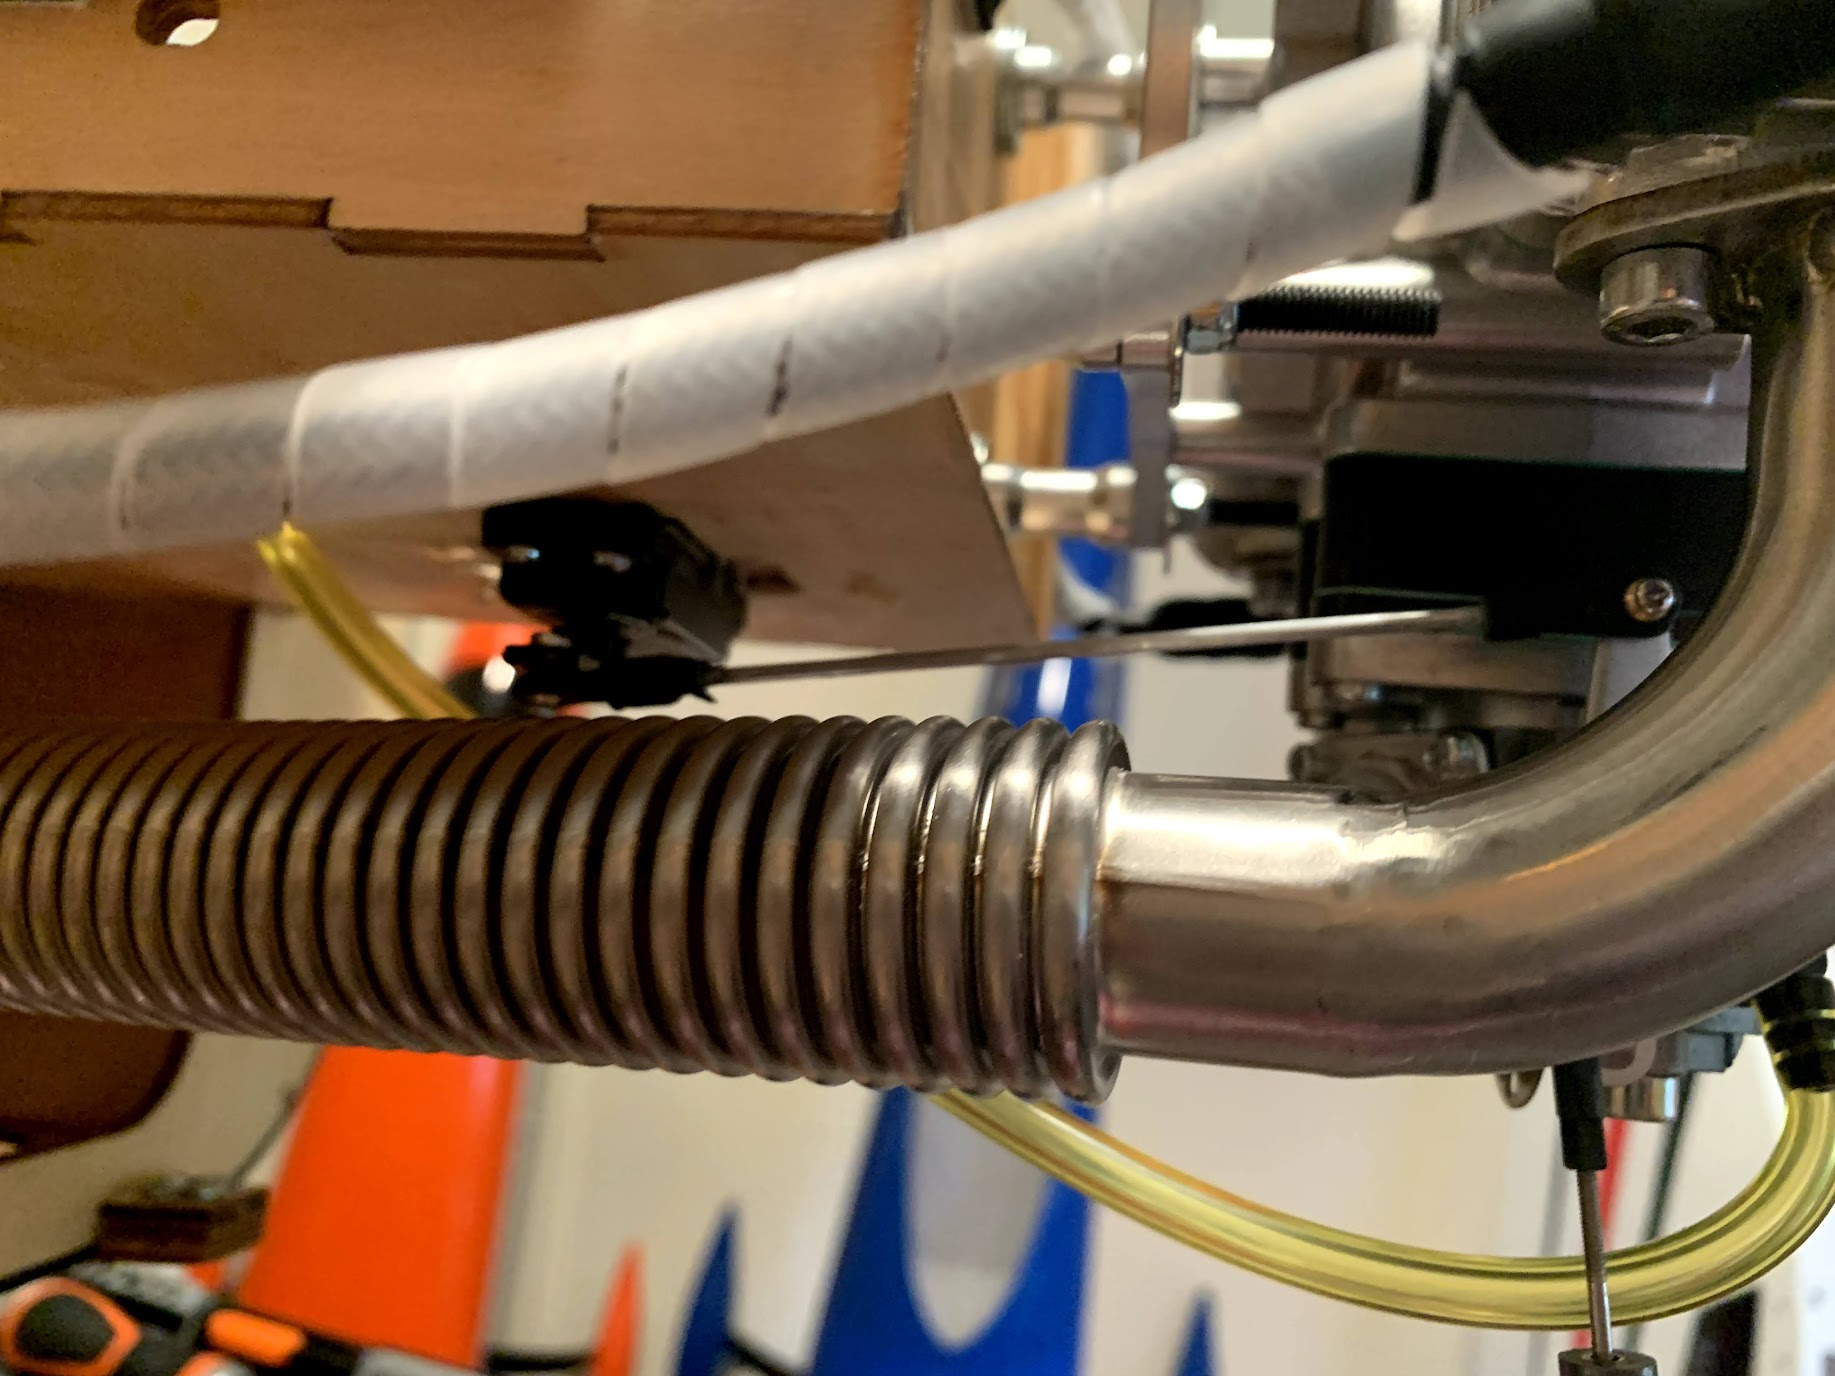
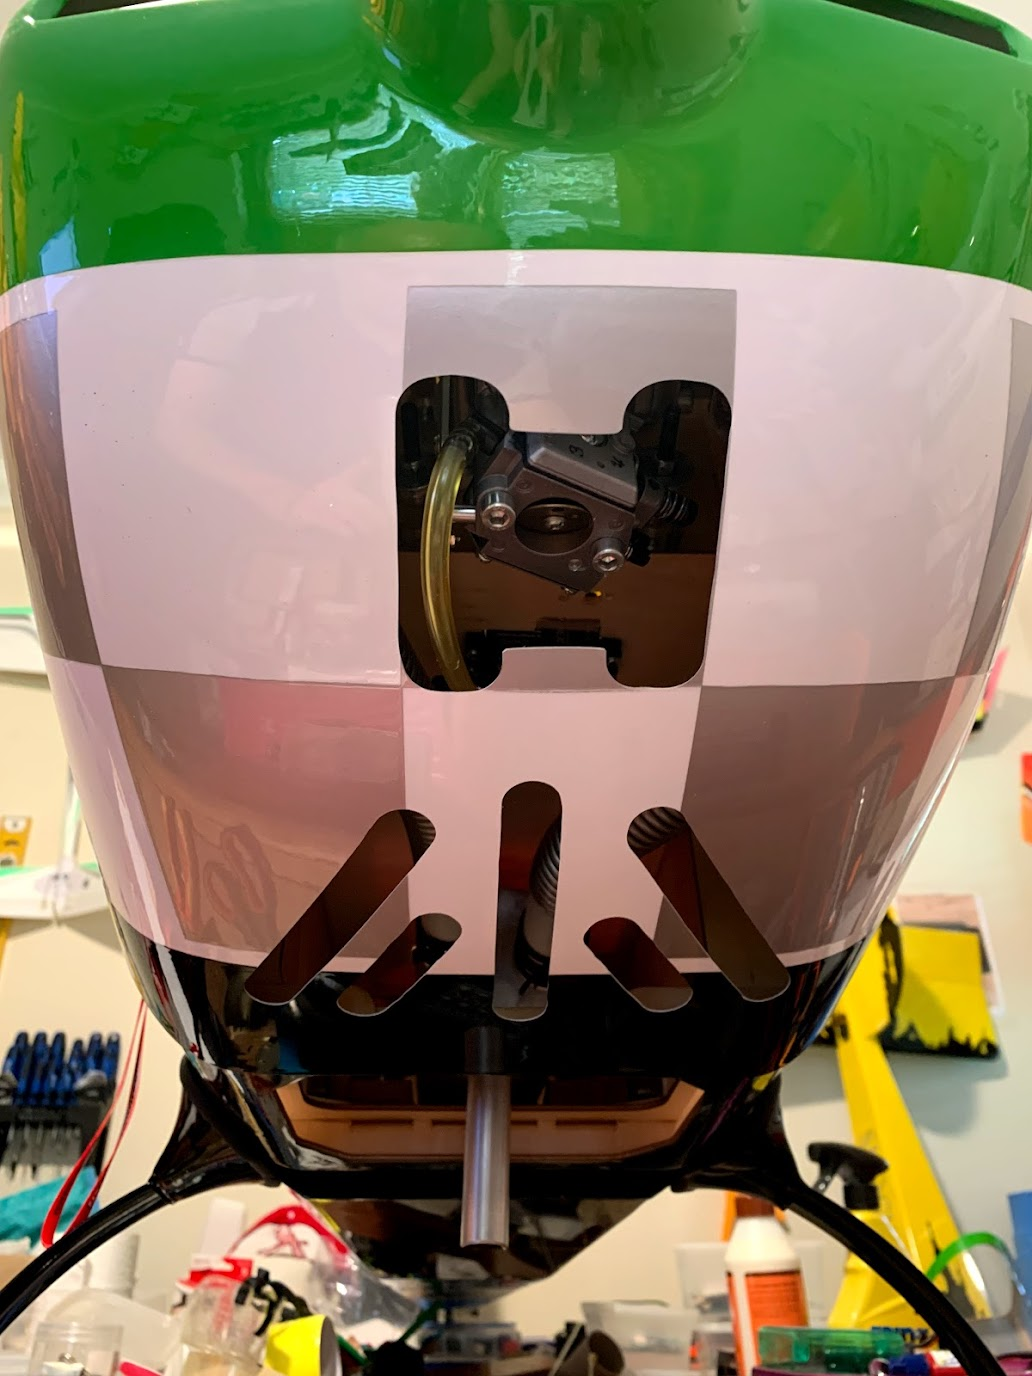
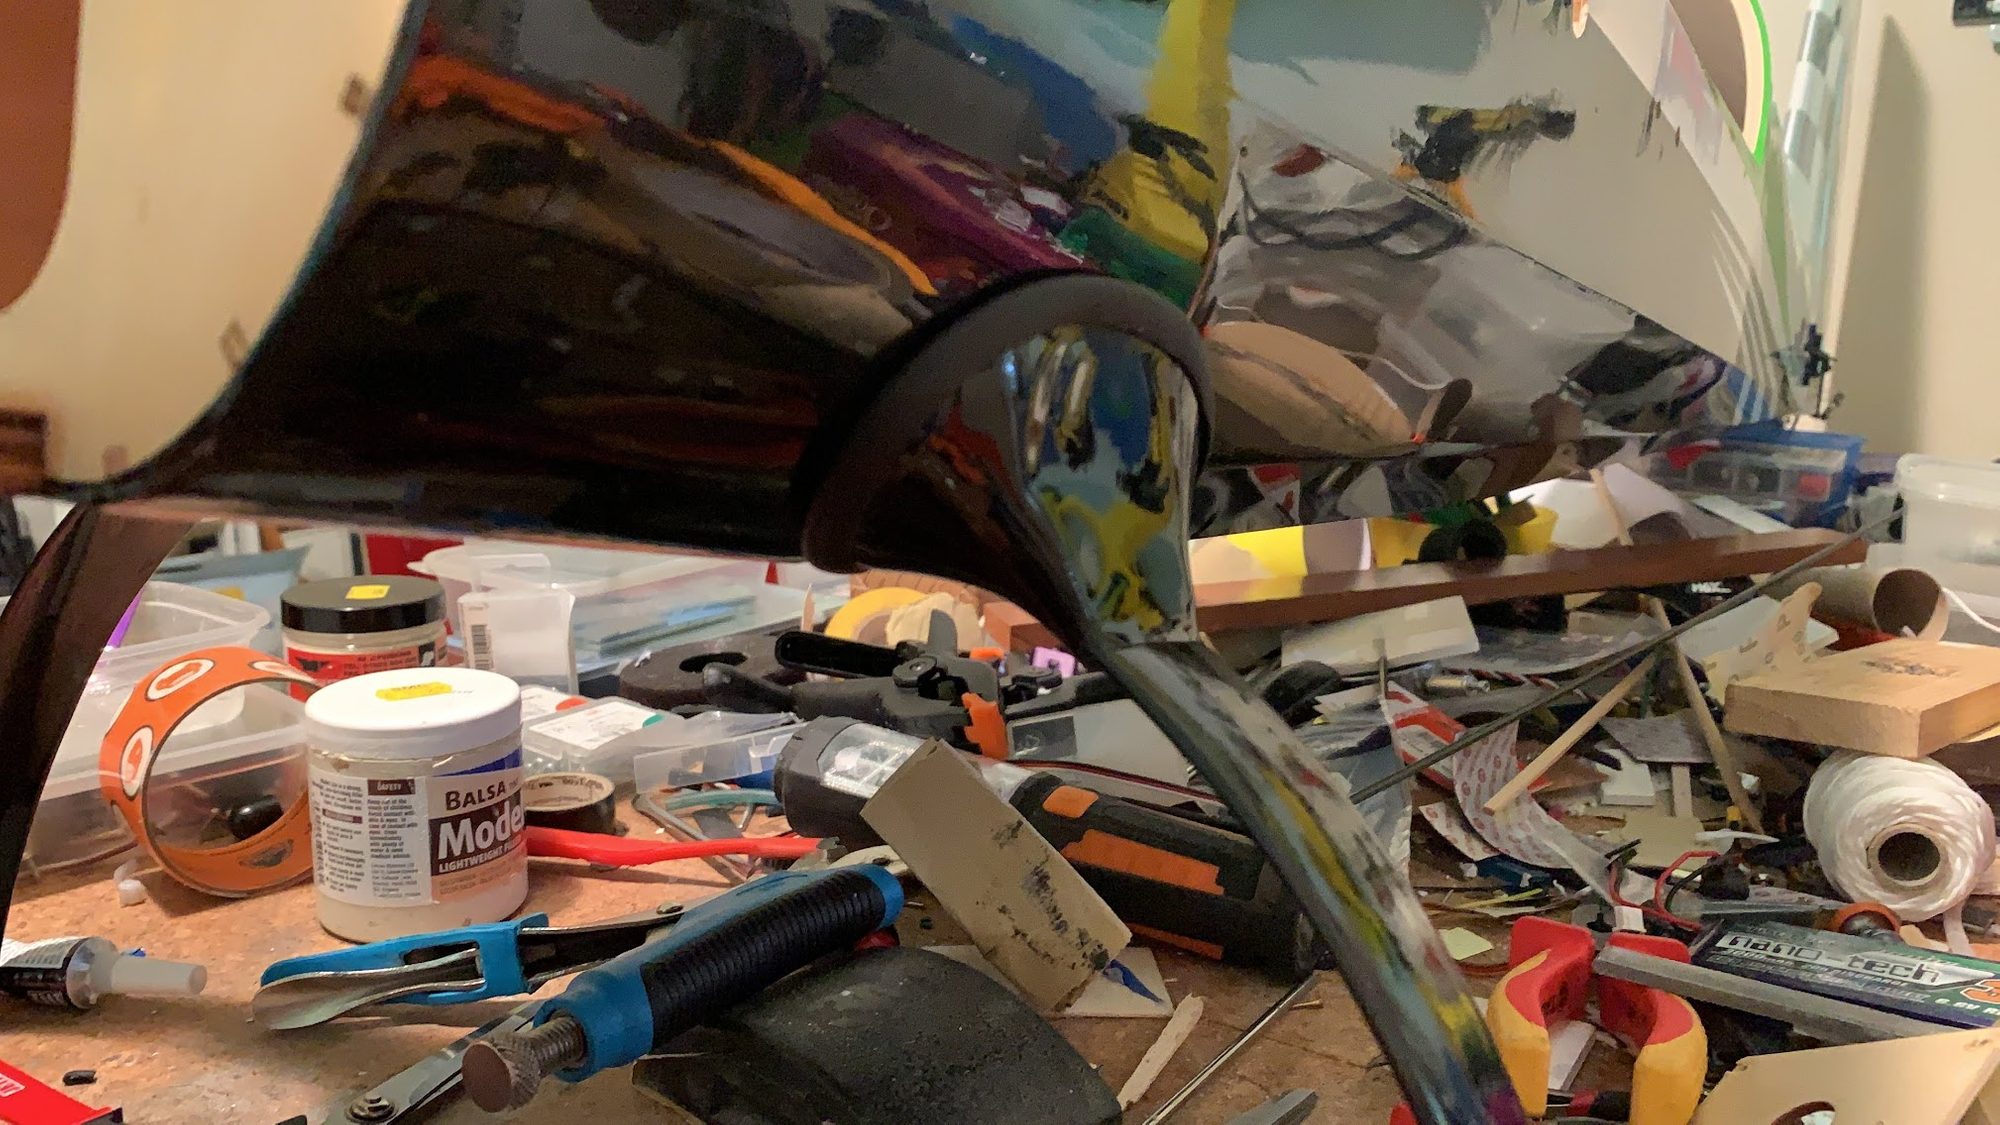
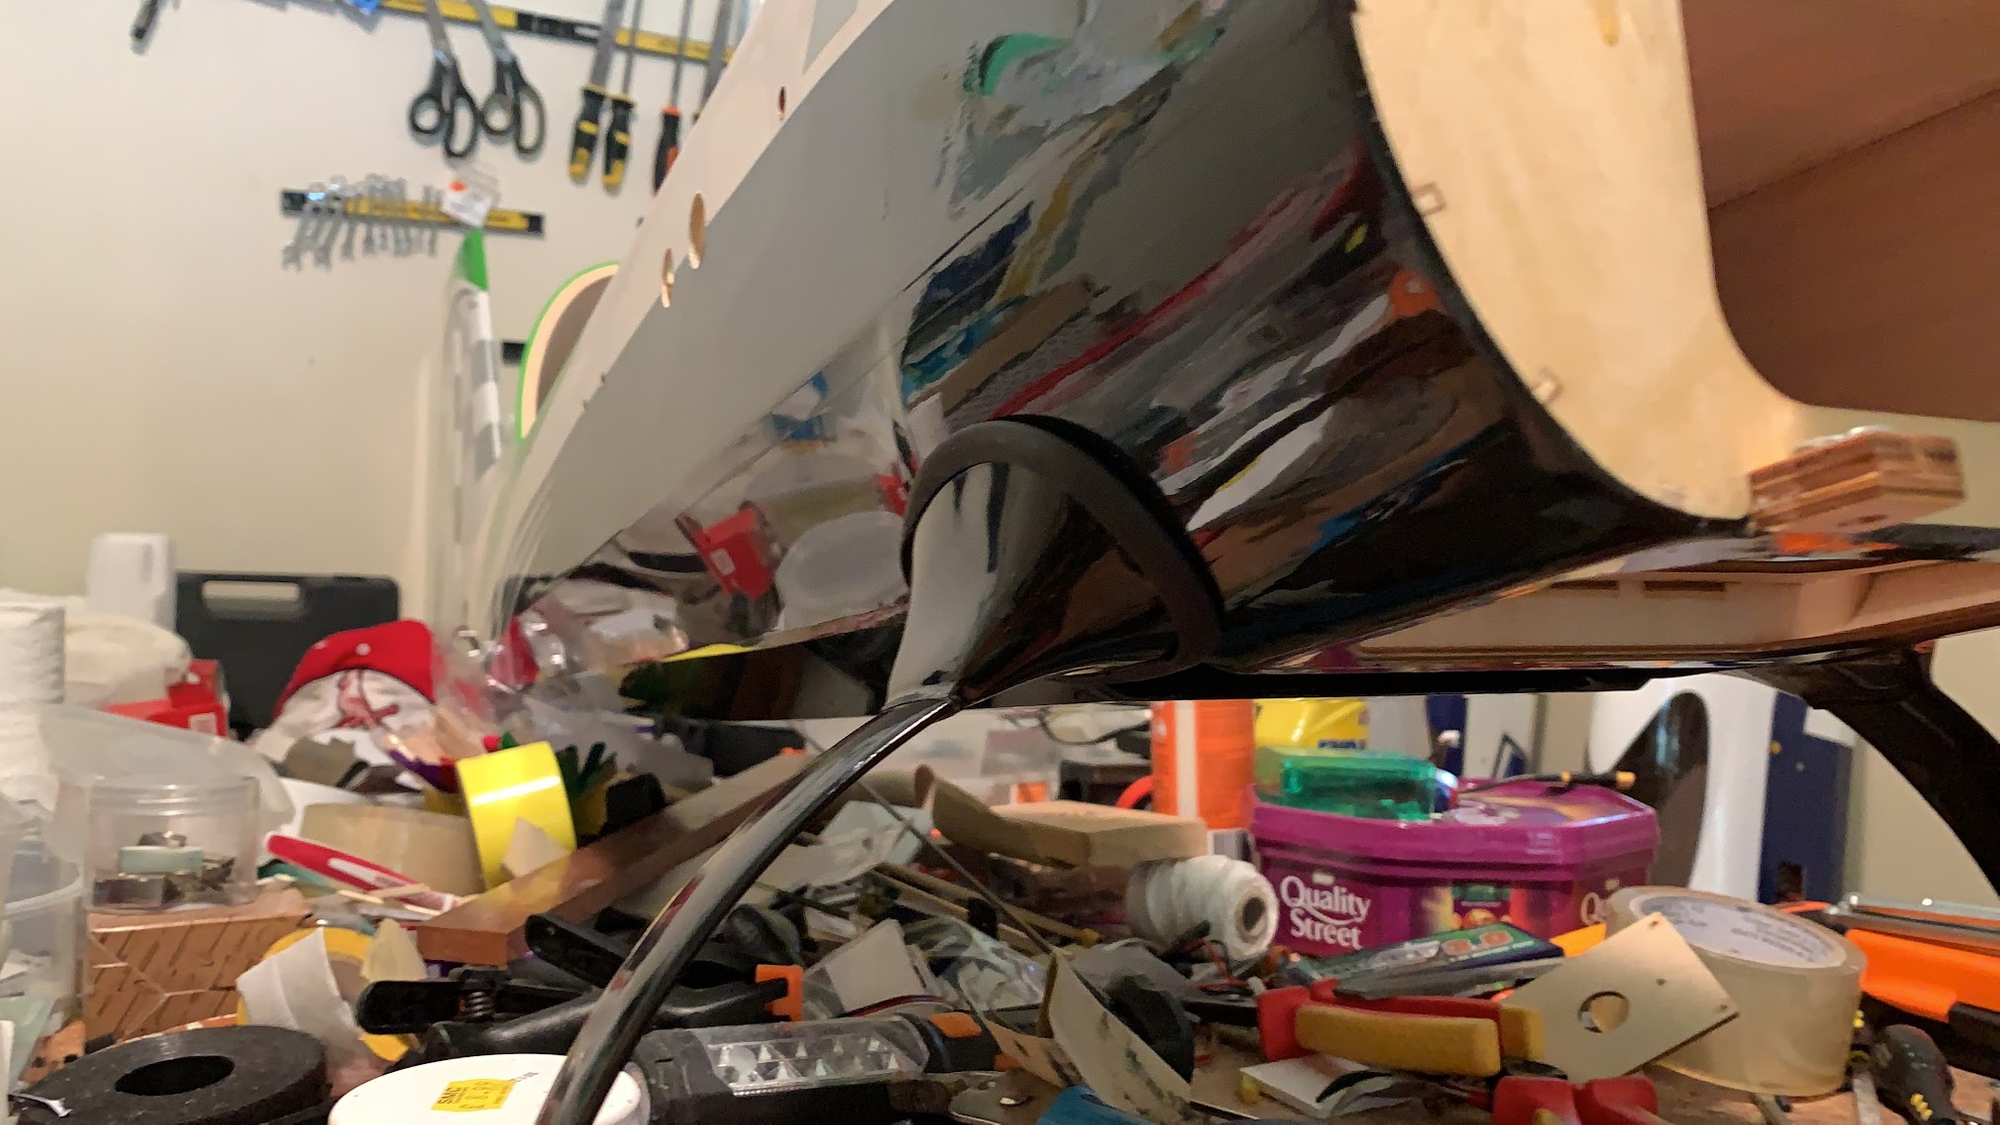
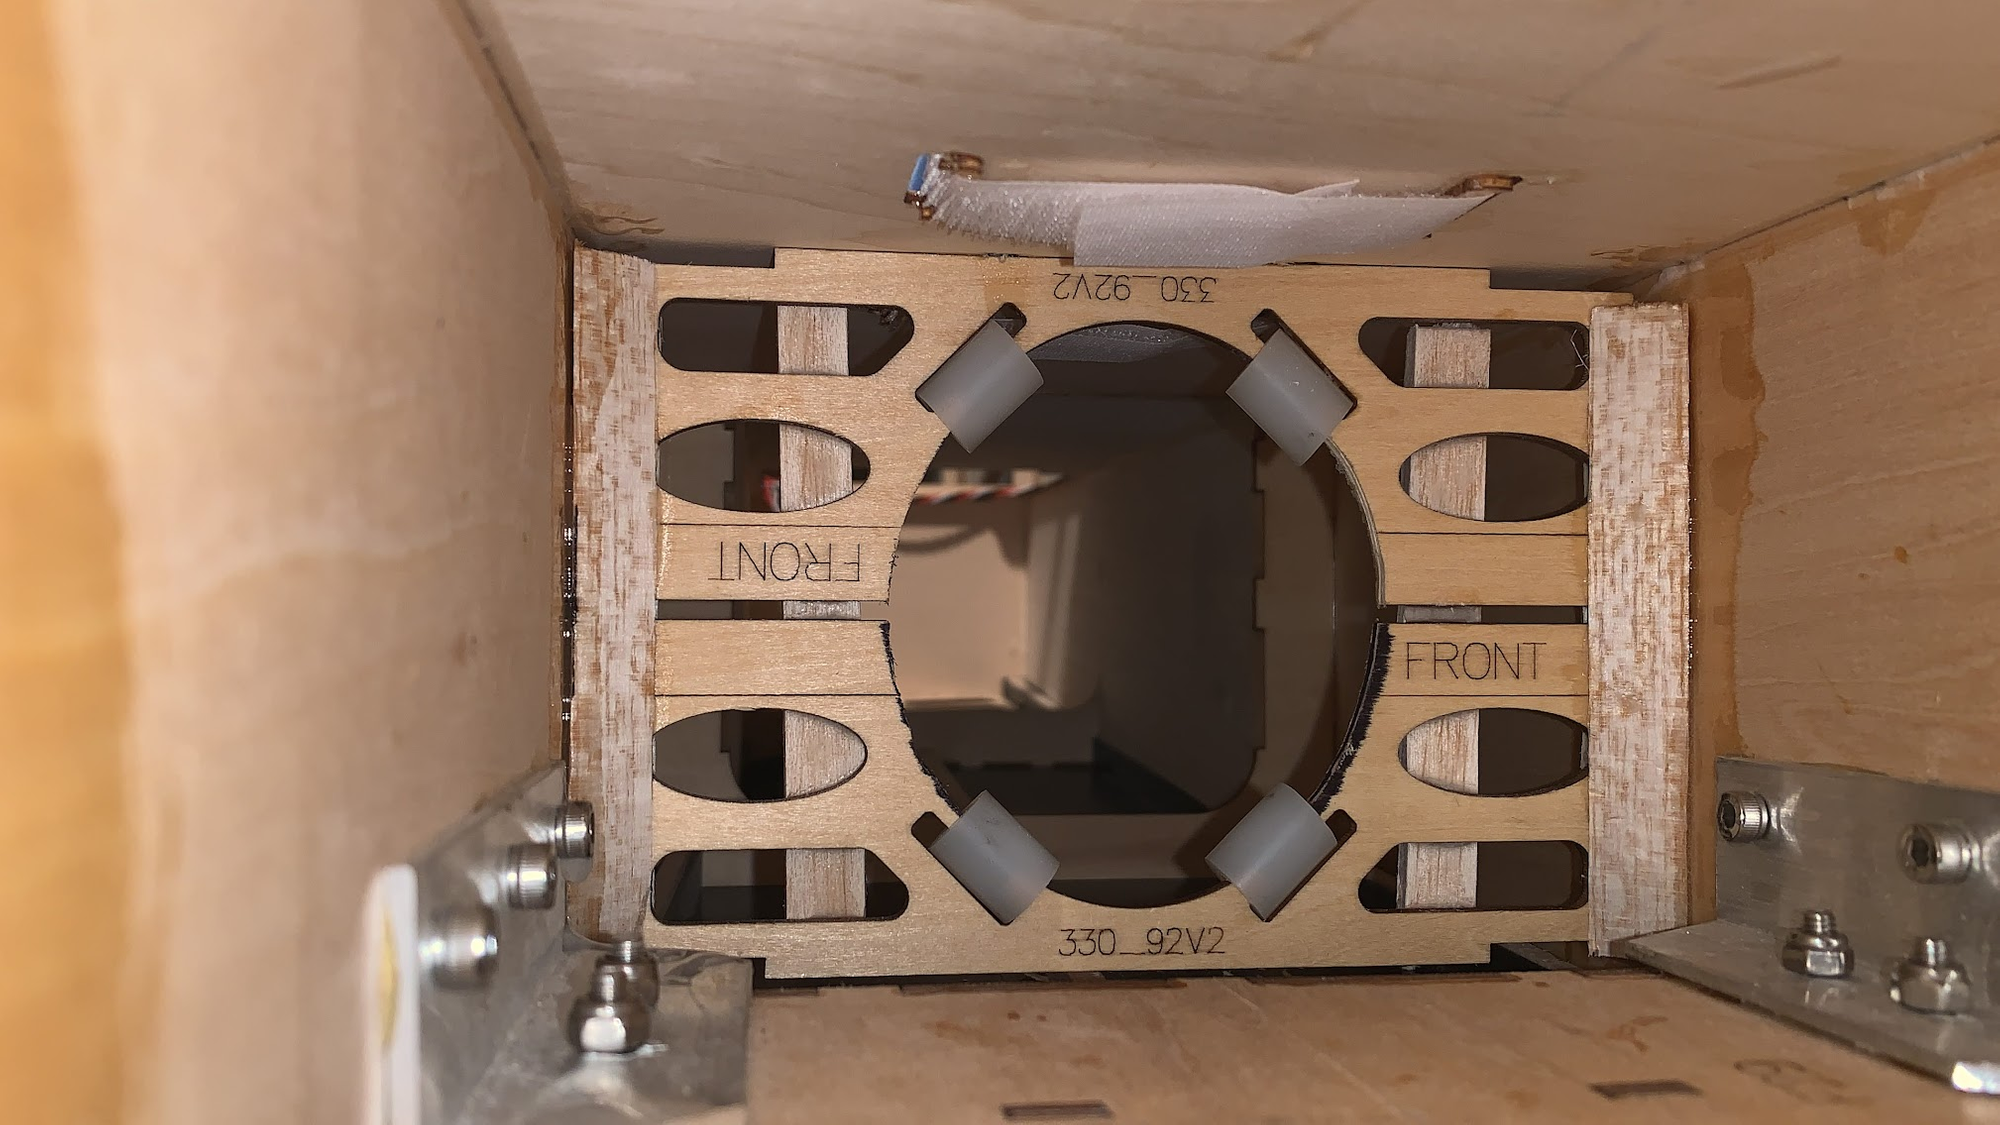
PilocRC Extra 330sc 92" build
- Updated on Tue, 07 Sep 2021 by John Allen
PilocRC Extra 330sc build


Two successful maidens today
- Updated on Sun, 06 Dec 2020 by John Allen
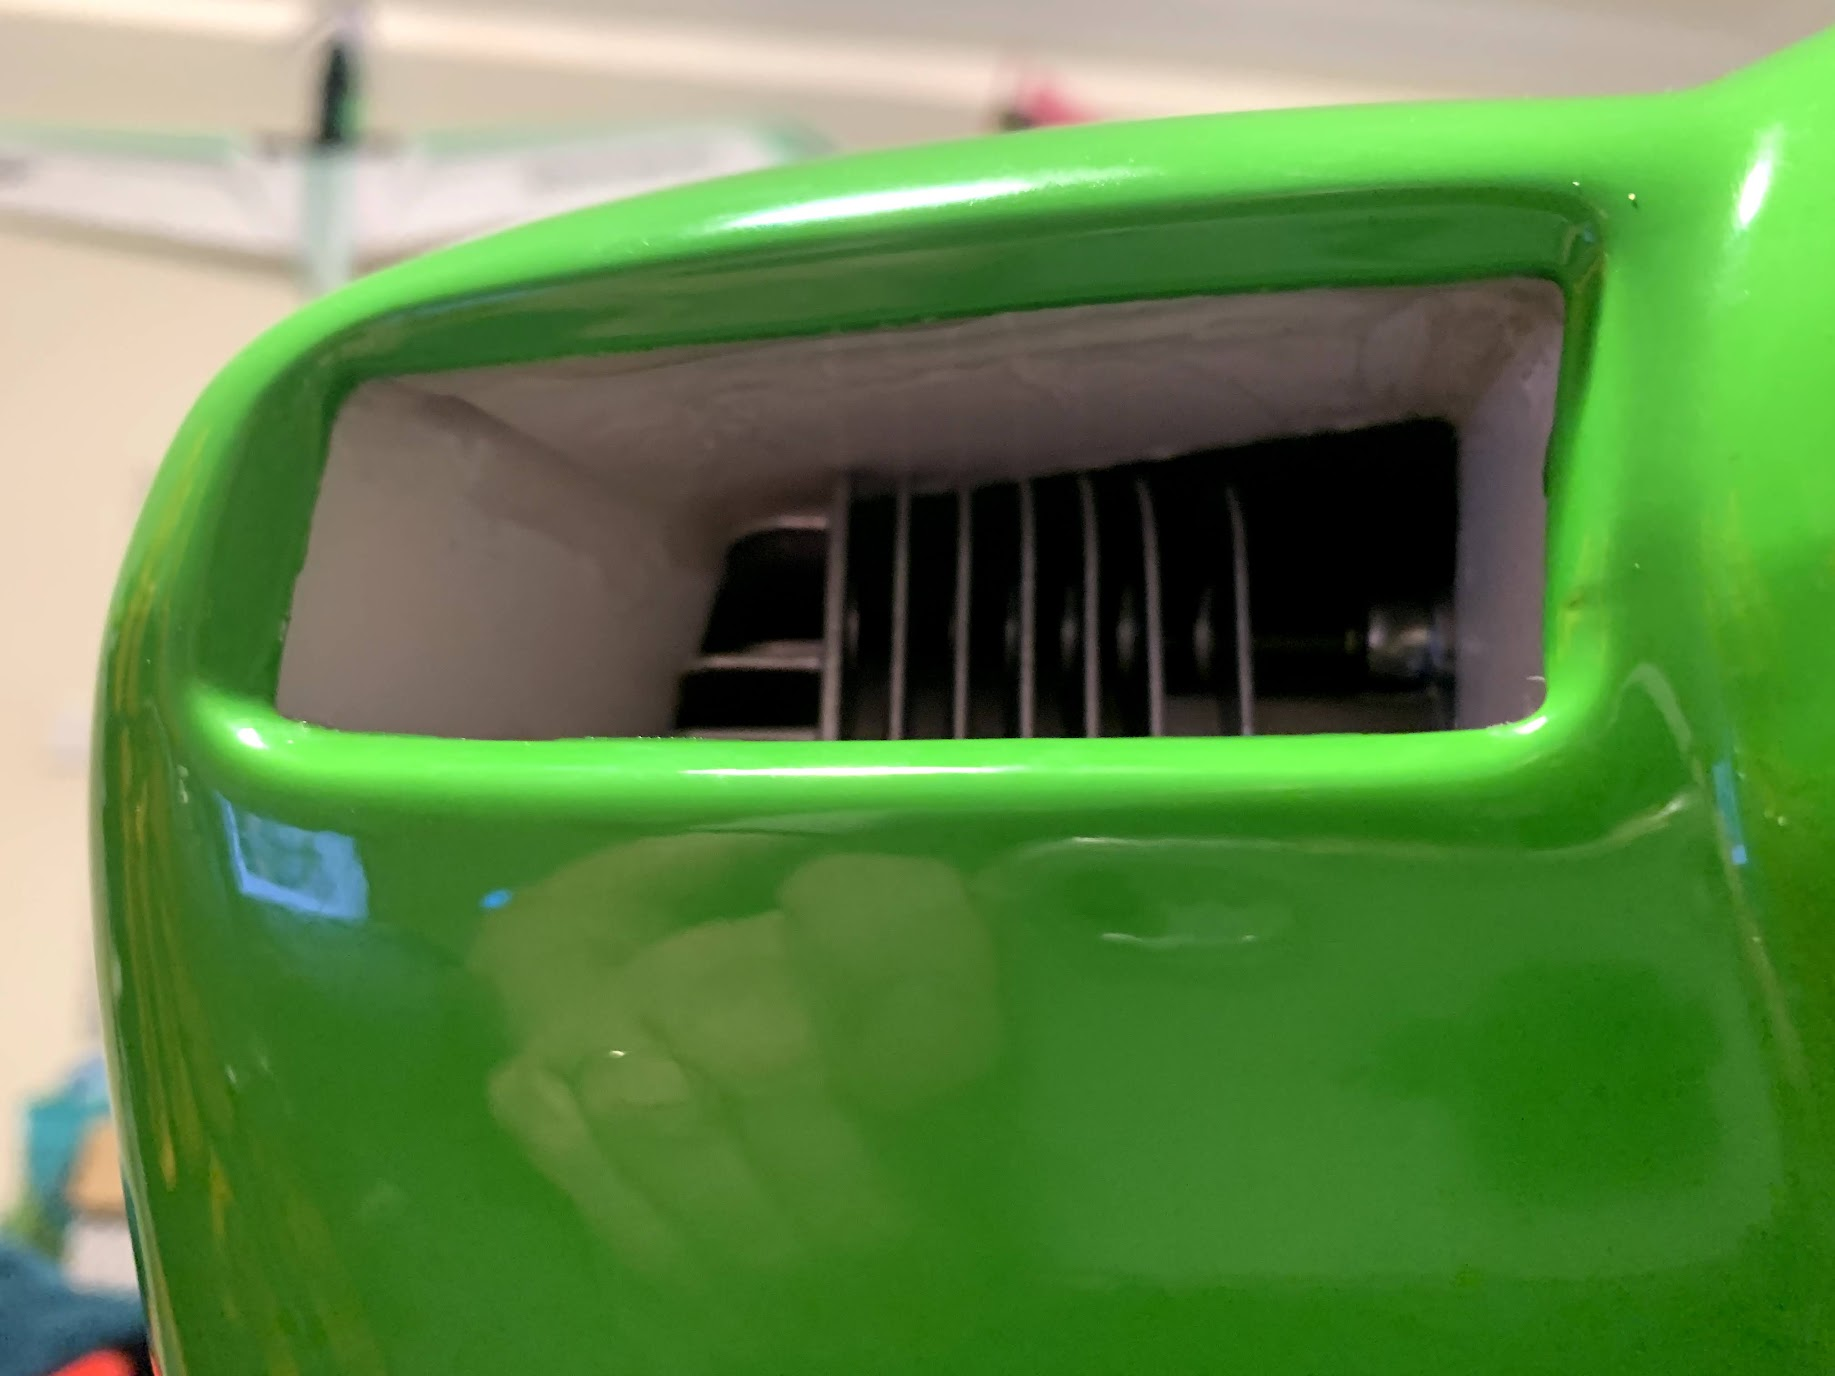
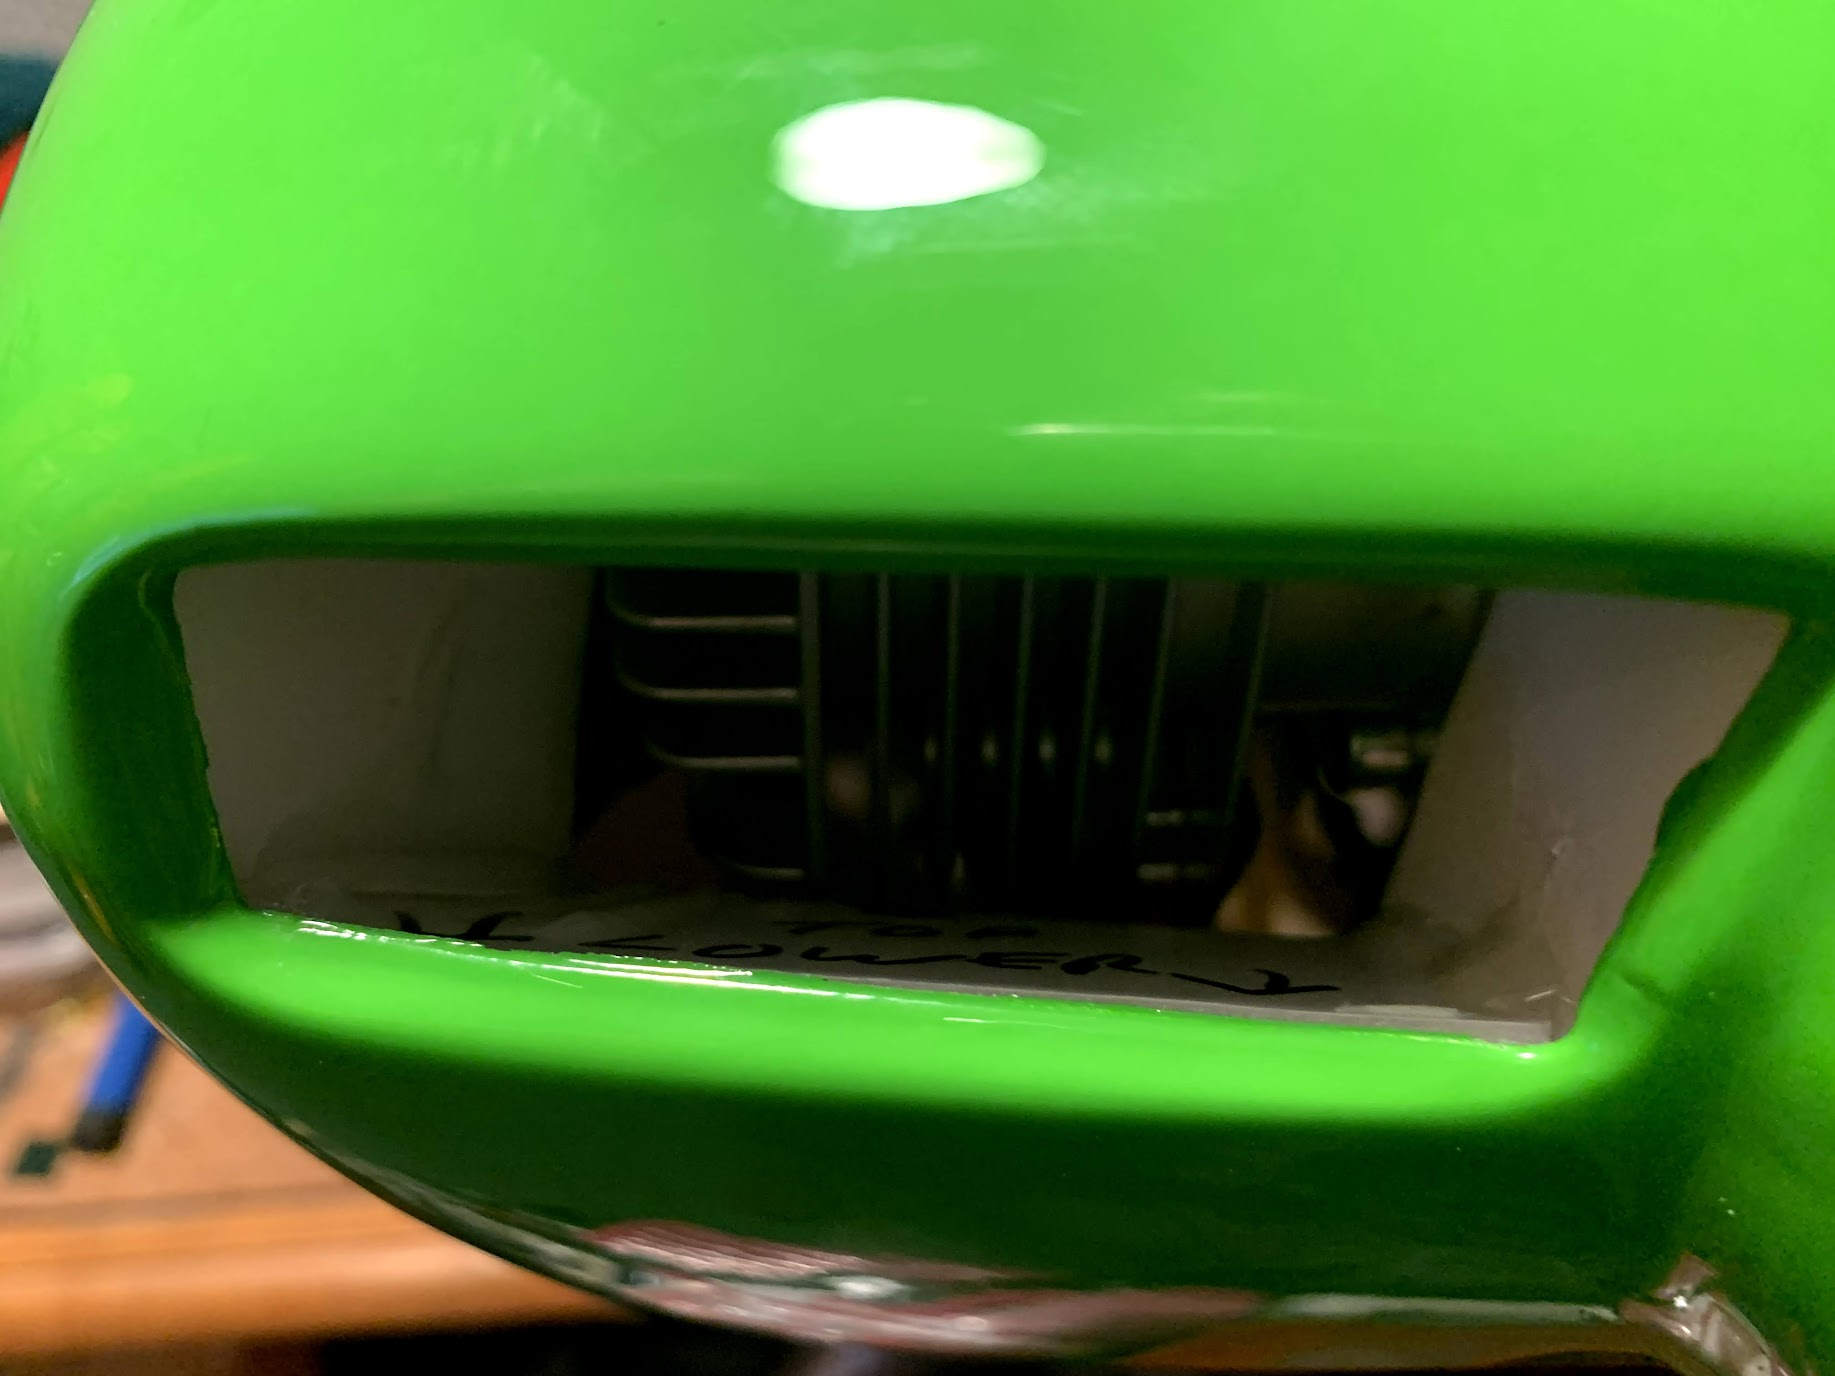
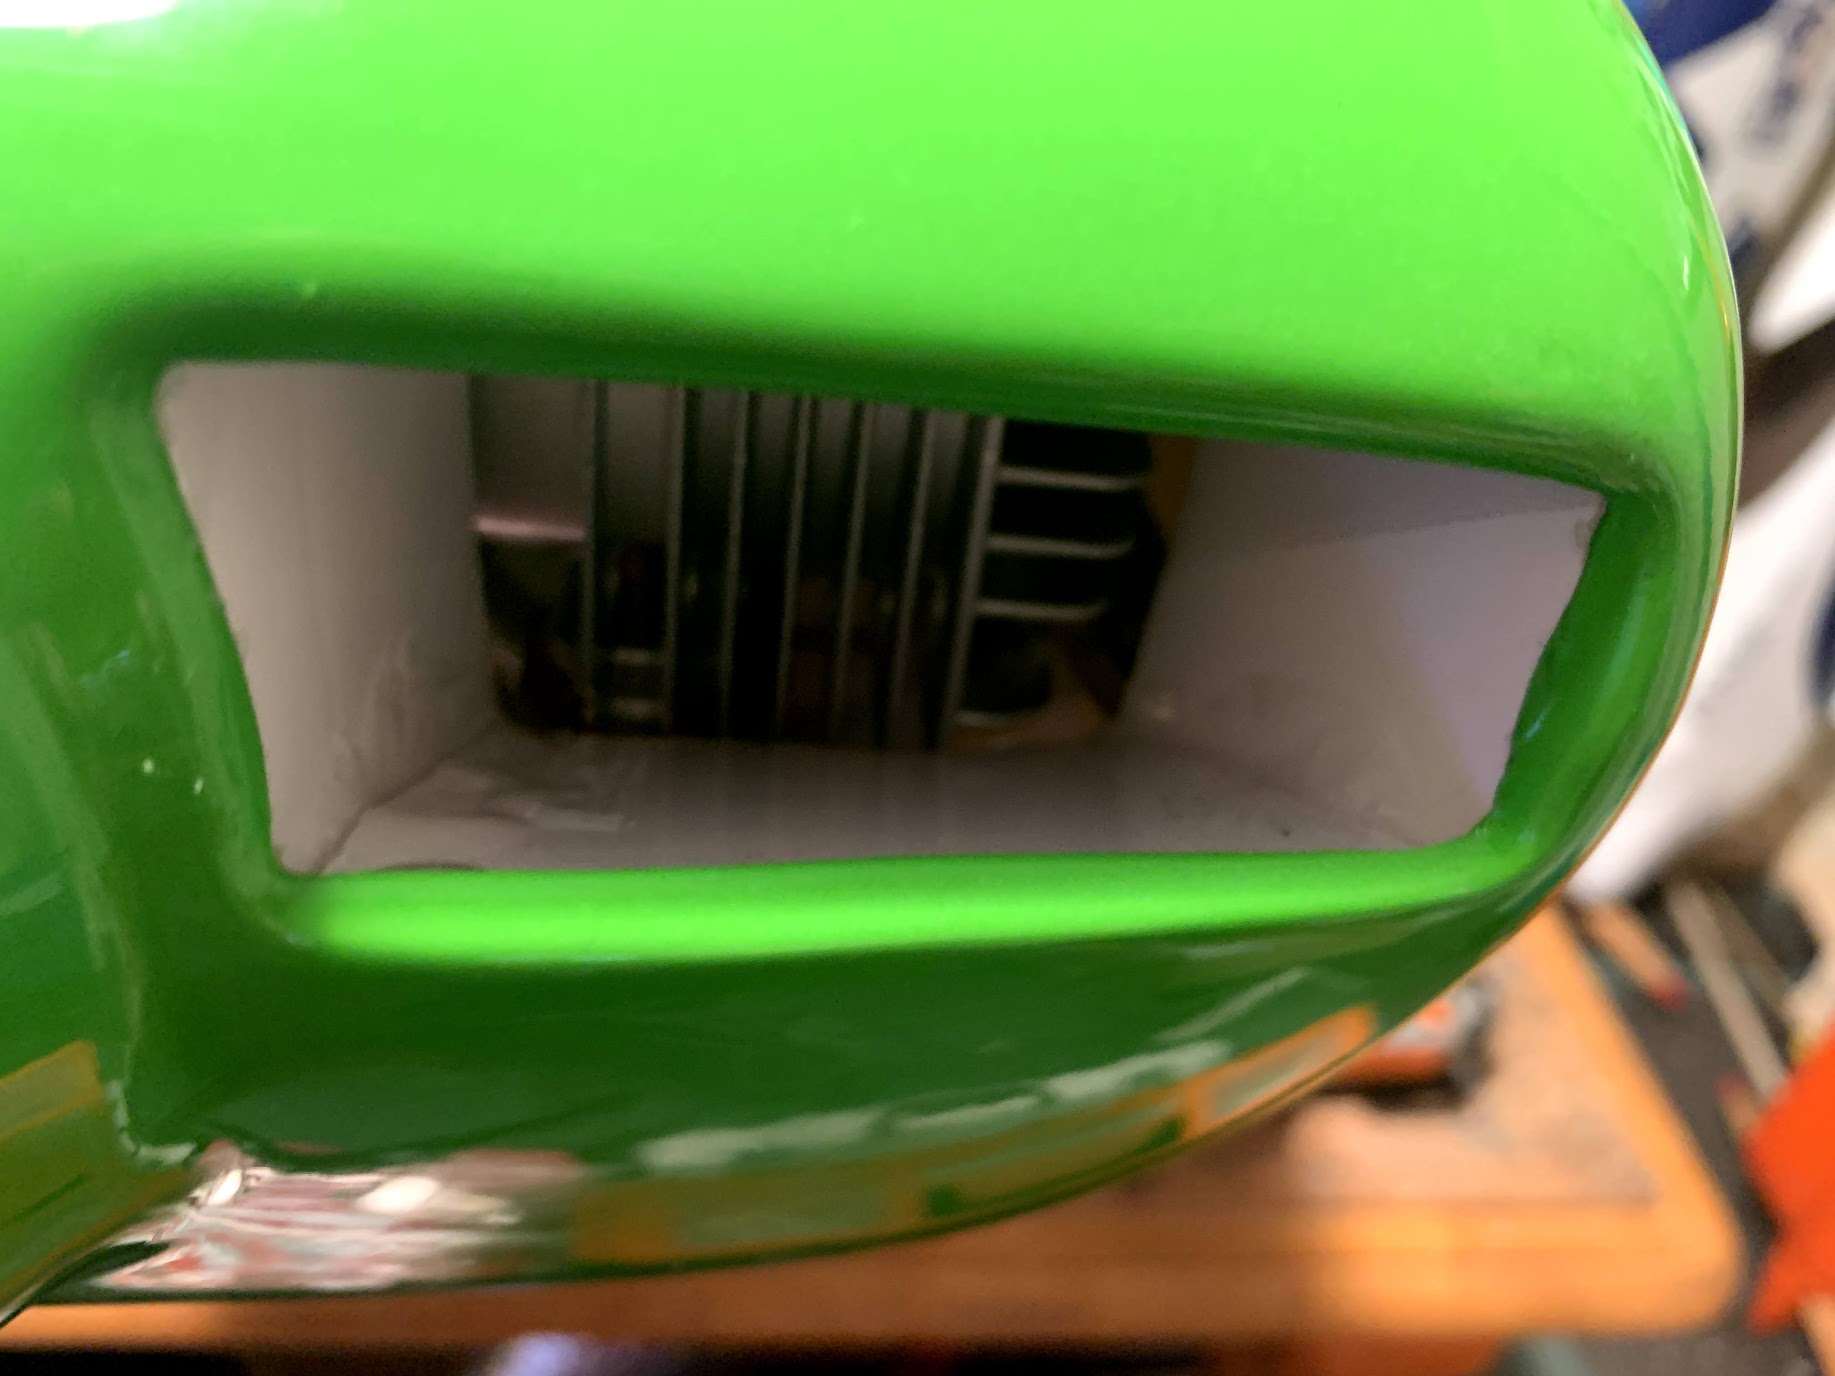
Today we maidend two new models, Barry Waugh's PilotRC Laser 73" and John Allen's Aeroplus Edge 76".
Barry's Laser was powered by a PTE36R with FrSky RX8R & xm+, with JX 30kg brushless servos.
John's Edge was powered by a DLE35RA with FrSky RB10 with X8R and xm+, with KST BLS815 on the Elevators and Kingmax CLS2008S on all other surfaces.
Both maidens went well with little trimming required. John's Edge looks like it needs some downthrust as it climbed signficantly under full power. Barry's Laser looks to be a little nose heavy.

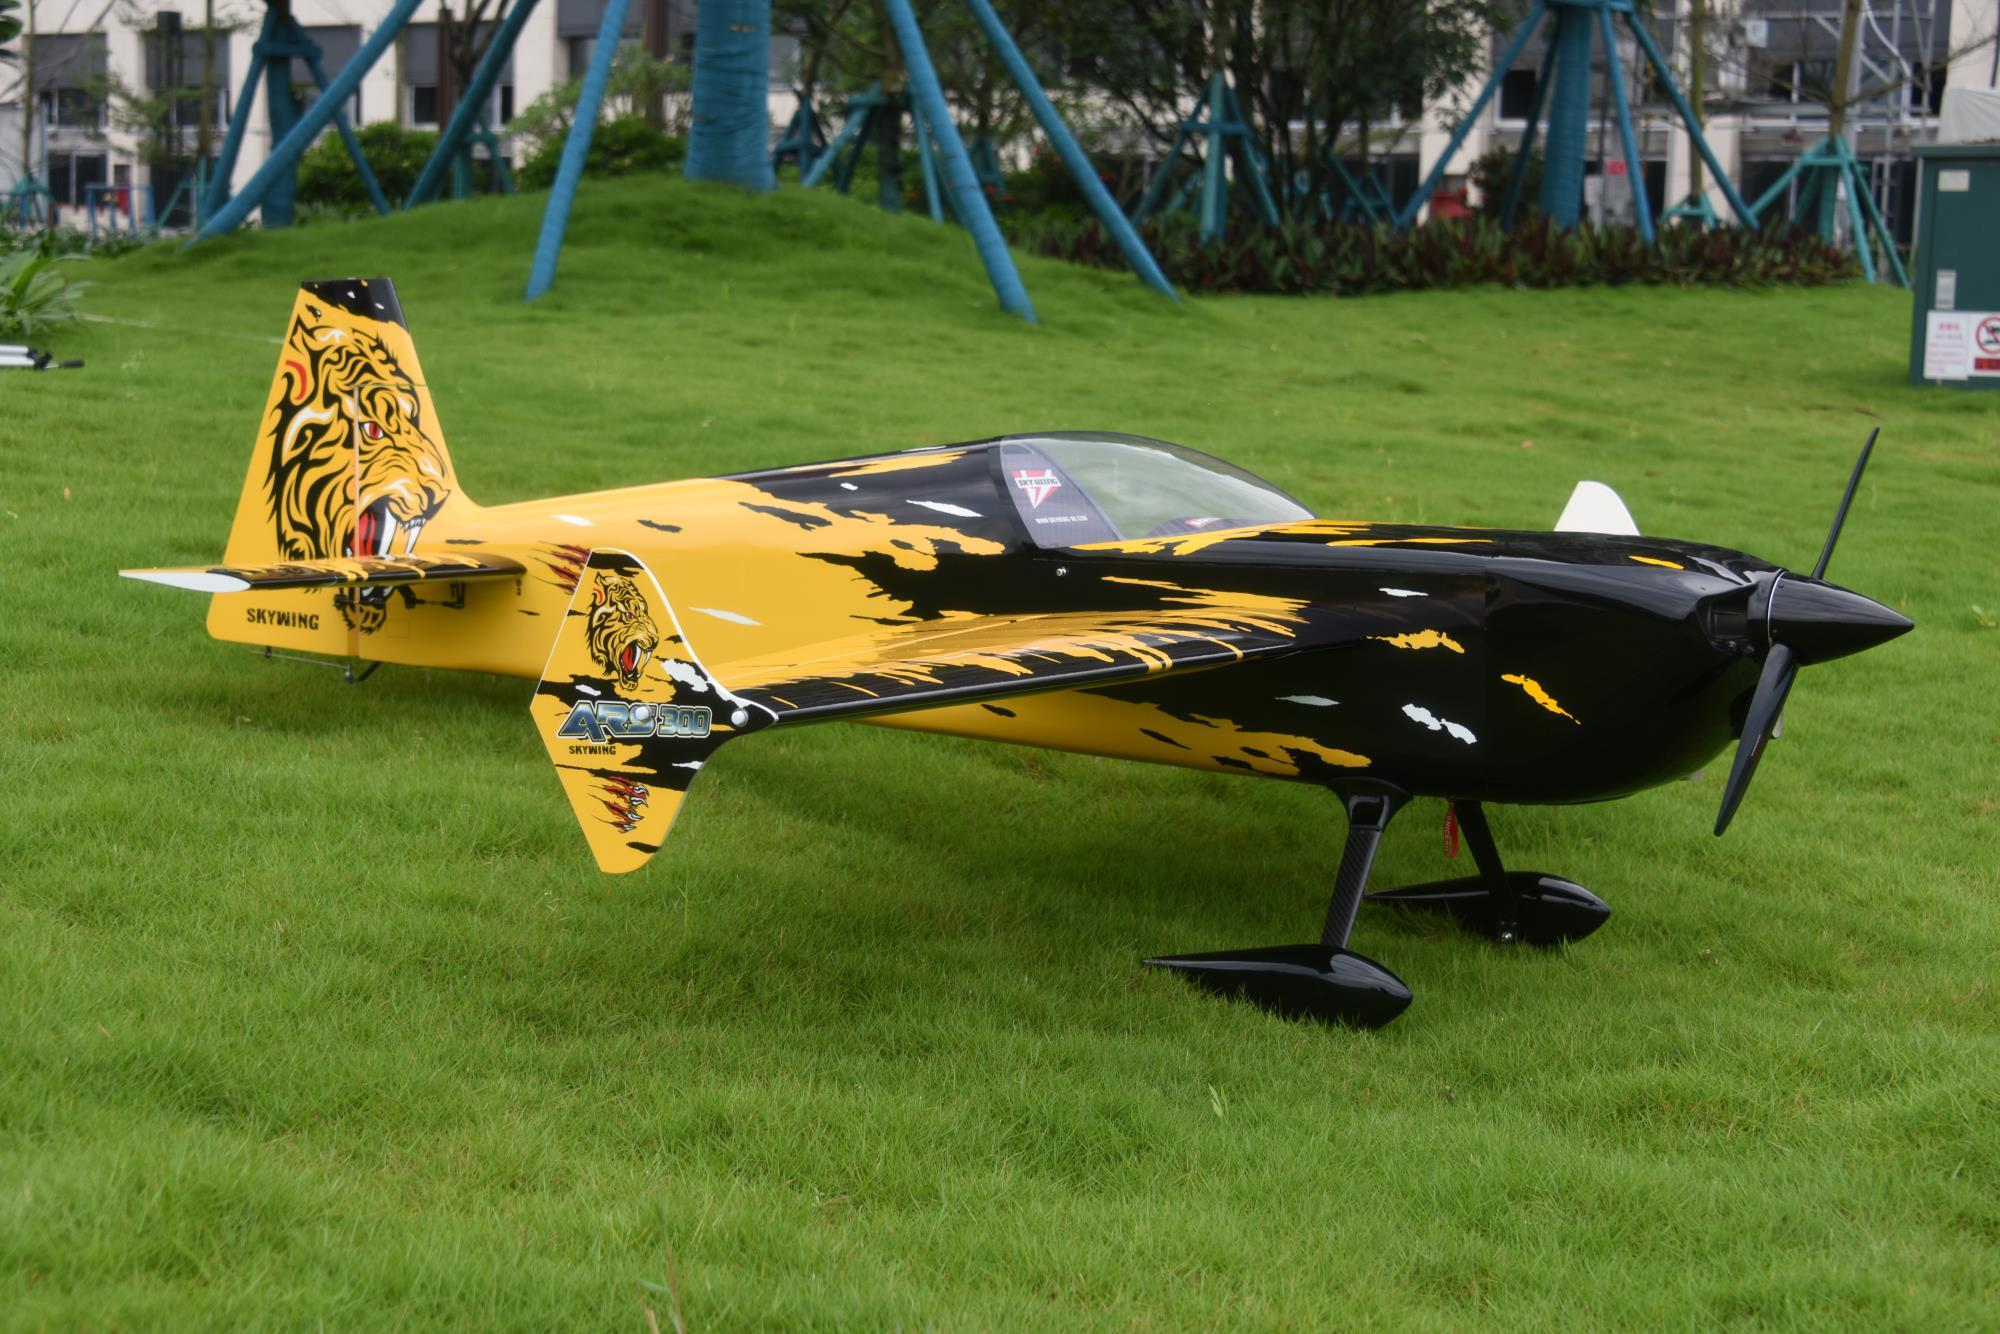
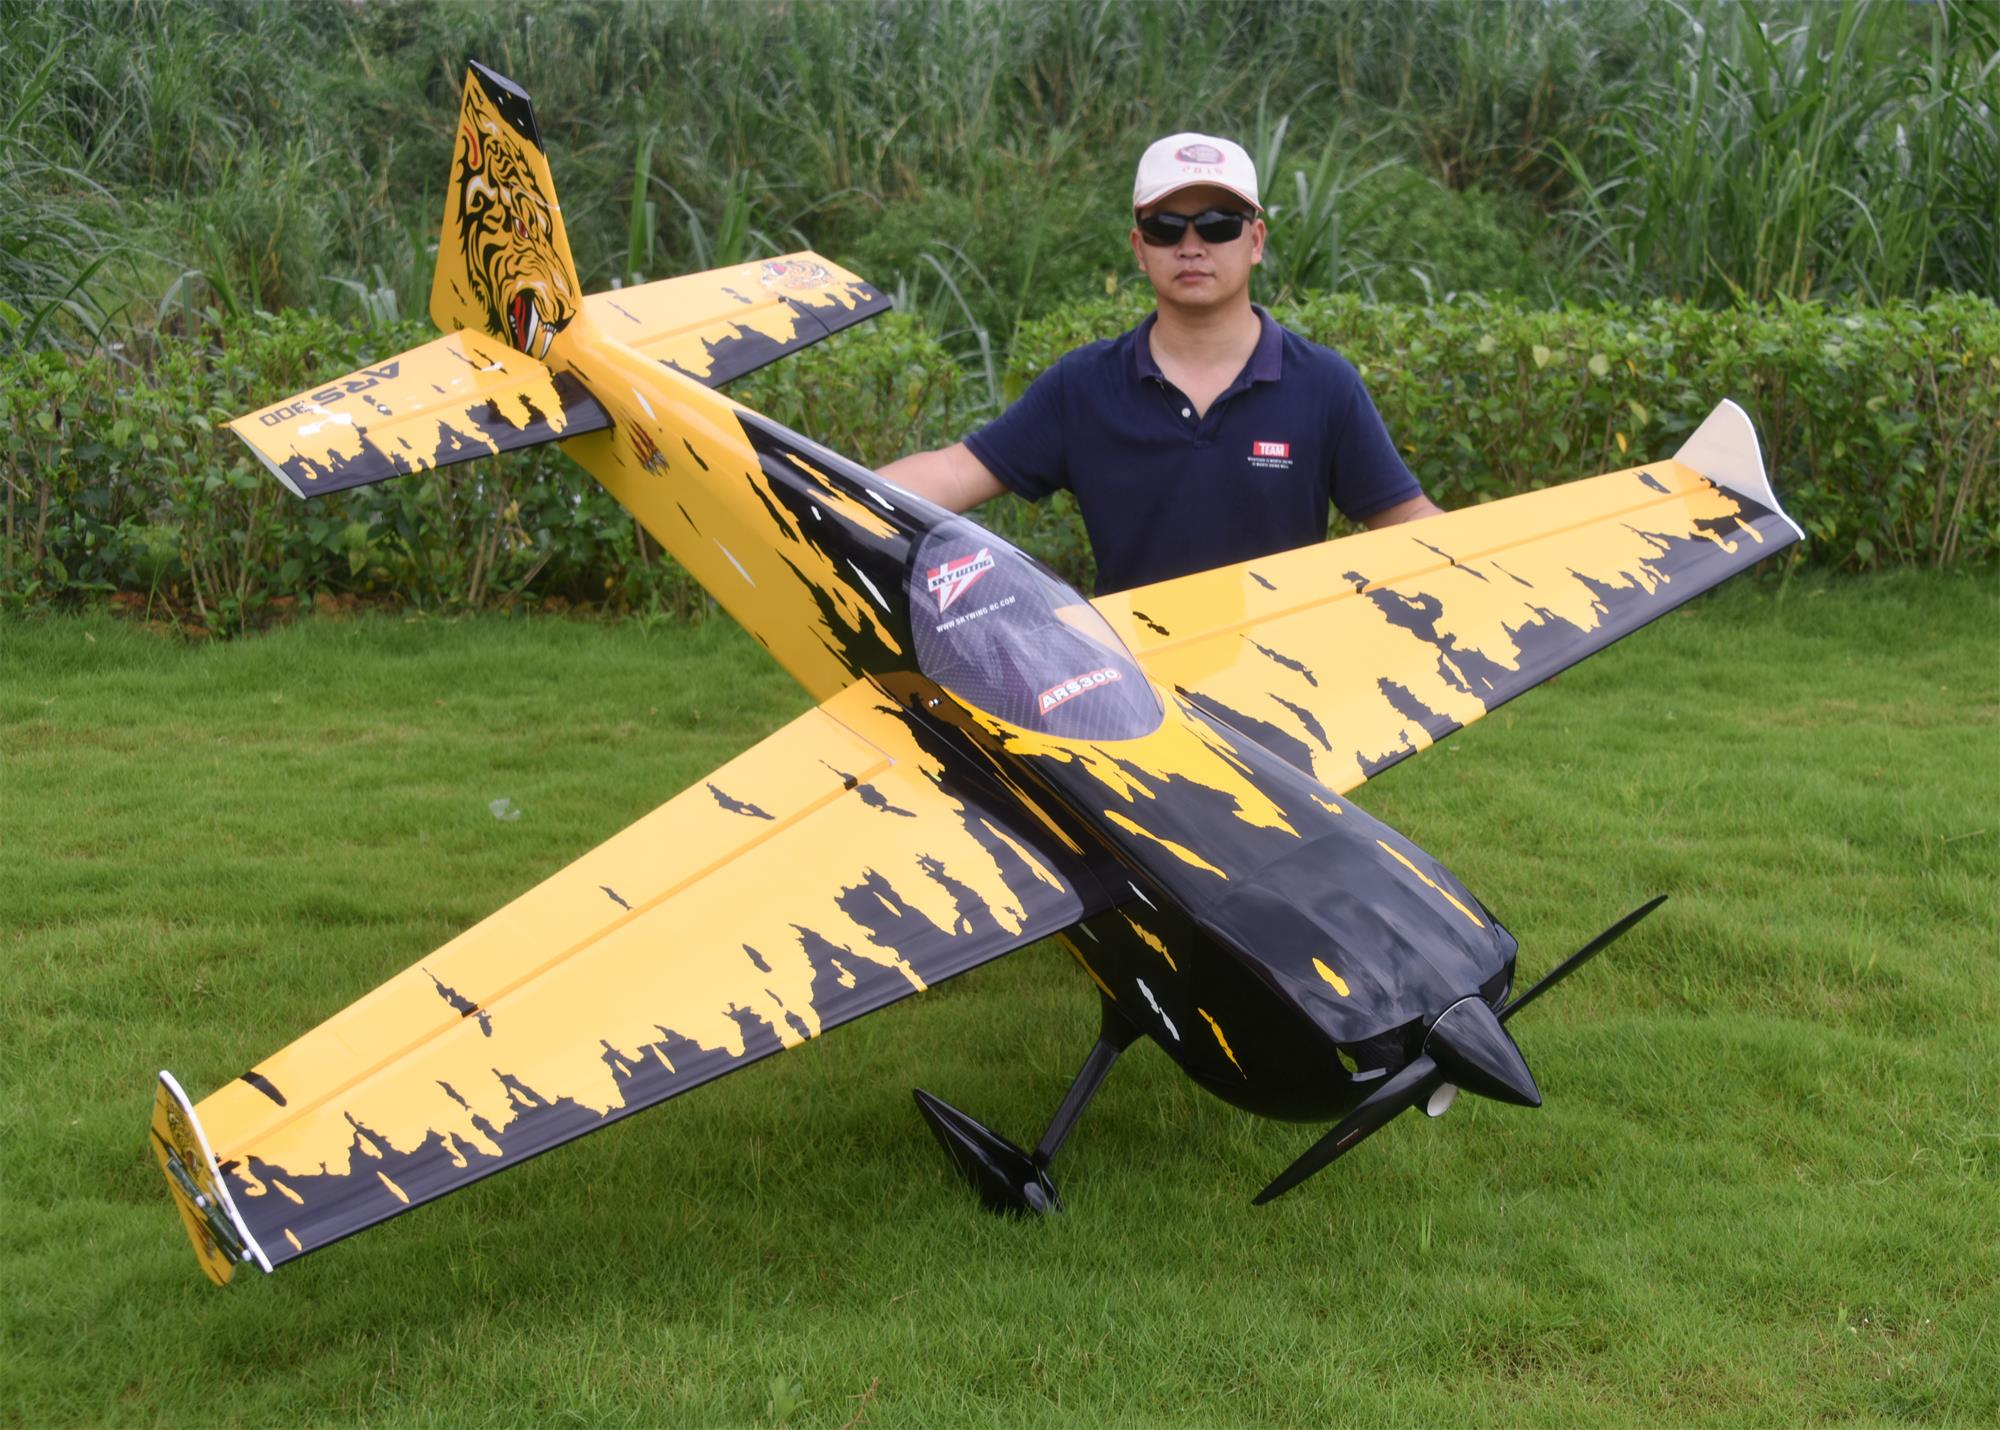
Skywing ARS300
- Updated on Thu, 01 Oct 2020 by John Allen
FrSky Taranis
- Updated on Tue, 29 Sep 2020 by John Allen

The latest Taranis transmitters & X series receivers have the EU compliant firmware, this means those old X series receivers need a firmware update to work with the new transmitter, and old transmitters require a firmware update to work with the new receivers.
I have an old transmitter, and when I got some new EU compliant X8R receivers I simply loaded the non-EU firmware to them and all works just fine.
FrSky's new transmitter, the Taranis X9D, continues to generate great interest. I've acquired one from t9hobbysport, and all I can say is its fantastic. Programming it is a bit different than Futaba/JR/Spektrum, thought Multiplex users would find it very similar. I'll have it up at the field at the next available opportunity, and will gladly help anyone who buys one to program it.
The 8 channel telemetry receivers X8R cost about €30 (ex delivery), and compare very favourably to the considerably more expensive big brand counterparts.
Non-telemetry receivers such as the new FrSky V8FR-II 8 are even cheaper, and are Taranis compatible in 8 channel mode.
This is an excellent replacement for the stock NiMh, although the more recent radios come with a 2000mah LSD battery which lasts all day.
FrSky Taranis - review and photo gallery
Available from t9hobbysportShankill RFC Forum
- Updated on Tue, 29 Sep 2020 by John Allen
We have a new discussion form here
Ghost blogging resources
- Updated on Mon, 28 Sep 2020 by John Allen
At the Shankill Radio Flying Club we use Ghost to manage our blog. Here are some nice Ghost blogging guides. You can ignore the parts about installing and managing users etc... just concentrate on getting some stuff written.
By default Ghost saves your posts as drafts, you need to change the dropdown from "SAVE DRAFT" to "PUBLISH NOW" to actually publish your article. This allows you to work away on your article until you're ready to publish it, but still have it saved on the server.
Aerobatic Competition Spring 2023
Copyright 2012-2021 Shankill Radio Flying Club, All rights reserved.
Reproduction/redistribution in any form whatsoever is expressly forbidden without the written consent of Shankill Radio Flying Club.